| Table of Contents |
|---|
View Construction History
- Navigate to the Construction History window
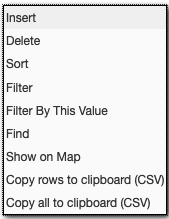
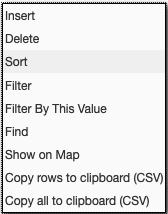
- From there you can browse through the project-level records or right-click to use the Sort/Search/Filter functions to locate a specific construction history
...
- Construction History Sections Location
- Region
- Residency
- Information on the beginning reference marker
- Information on the ending reference marker
- Information on the linear reference if applicable
- Material Layer Information
- Layer
- Color
- Material code from the selected project
- Thickness
- Date Updated
- User Update
- Attachments
- Comments
Create Construction History
- Navigate to the Construction History window
- Insert the project by right-clicking and selecting Insert
Fill in the available section(s)by either selecting from the drop-down menu or typing into the field
Note Note: * indicate required fields. Ex:
- Add the location(s) for this project
- Add layer structure for Typical Section
- Click
Edit Construction History
| Note |
|---|
Note: The construction history record cannot be deleted or edited once its status is set to Approved. |
- Navigate to the Construction History window
- Locate the specific project record using Sort, Filter, and Find functions in the right-click menu
- Make any needed changes
- Click
Delete Construction History
- Navigate to the Construction History window
- Locate the specific project record using Sort, Filter, and Find functions in the right-click menu
- Once your desired project is selected, use the delete function to either delete the entire project, a Typical Section under the project, a location under the Typical Section, or a layer under the Typical Section
- Click
...


