Pavement Structure (Construction History) is for storing the completed construction projects, their linear locations and material layer information of each construction location. In the Construction History window, you can view, edit, and modify data related to work performed on pavements.
View Construction History
Click Here for Construction History Exercises
The objective of this lesson is for the participant to understand how to access to the Construction History window and view details of any existing record. At the end of this lesson, the user should be able to open the Construction History window and review any record along with it's details. |
|---|
In this example, we review a Construction History record by following the steps below:
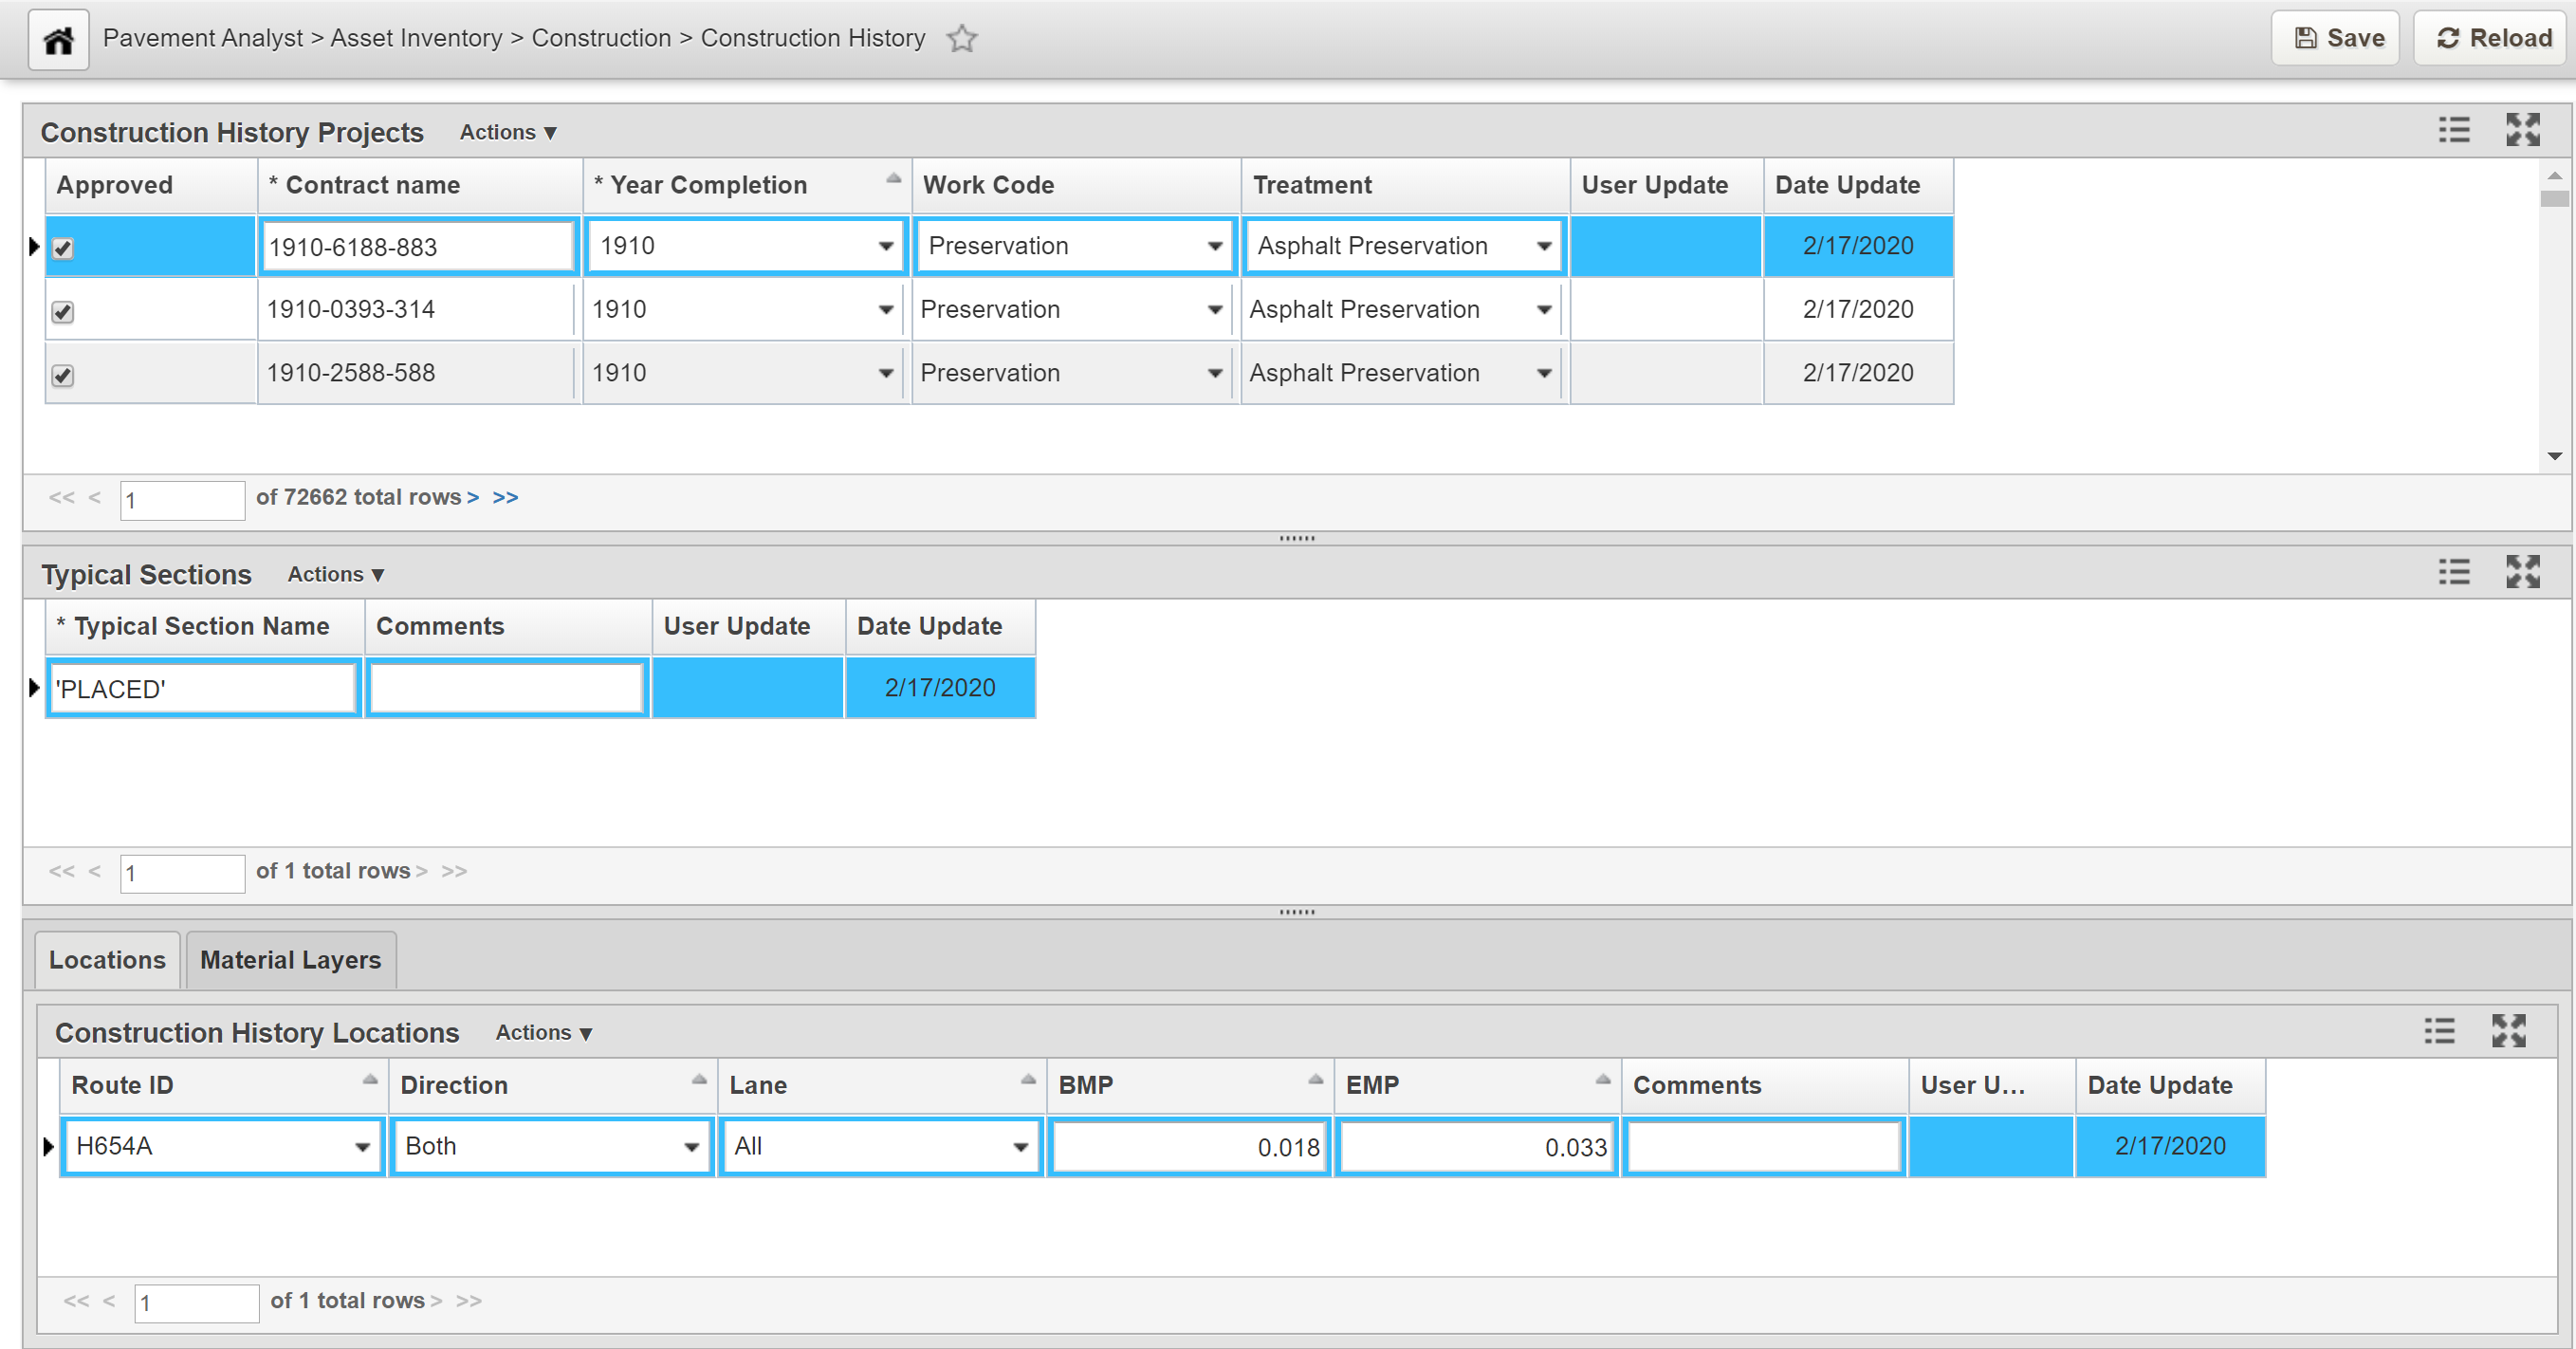
- Open the Construction History window: Pavement Analyst > Asset Inventory > Construction > Construction History
- In the Construction History Project pane, click on the record of interest to review it's details
- Notice that for each record that you select in the Construction History pane, additional information linked to this record are displayed in the Typical Sections pane and Location/Materials pane (if applicable)
- Repeat steps 2-3 as needed to view more records
Edit Construction History
The objective of this lesson is for the participant to learn how to modify a record in the Construction History window. At the end of this lesson, the user should be able to make edits a record and save the changes. |
|---|
In this example, we edit a Construction History record and save the changes by following the steps below:
- Open the Construction History window: Pavement Analyst > Asset Inventory > Construction > Construction History
- Find the record of interest to be edited and un-approve it by clicking the check mark in the Approved check-box
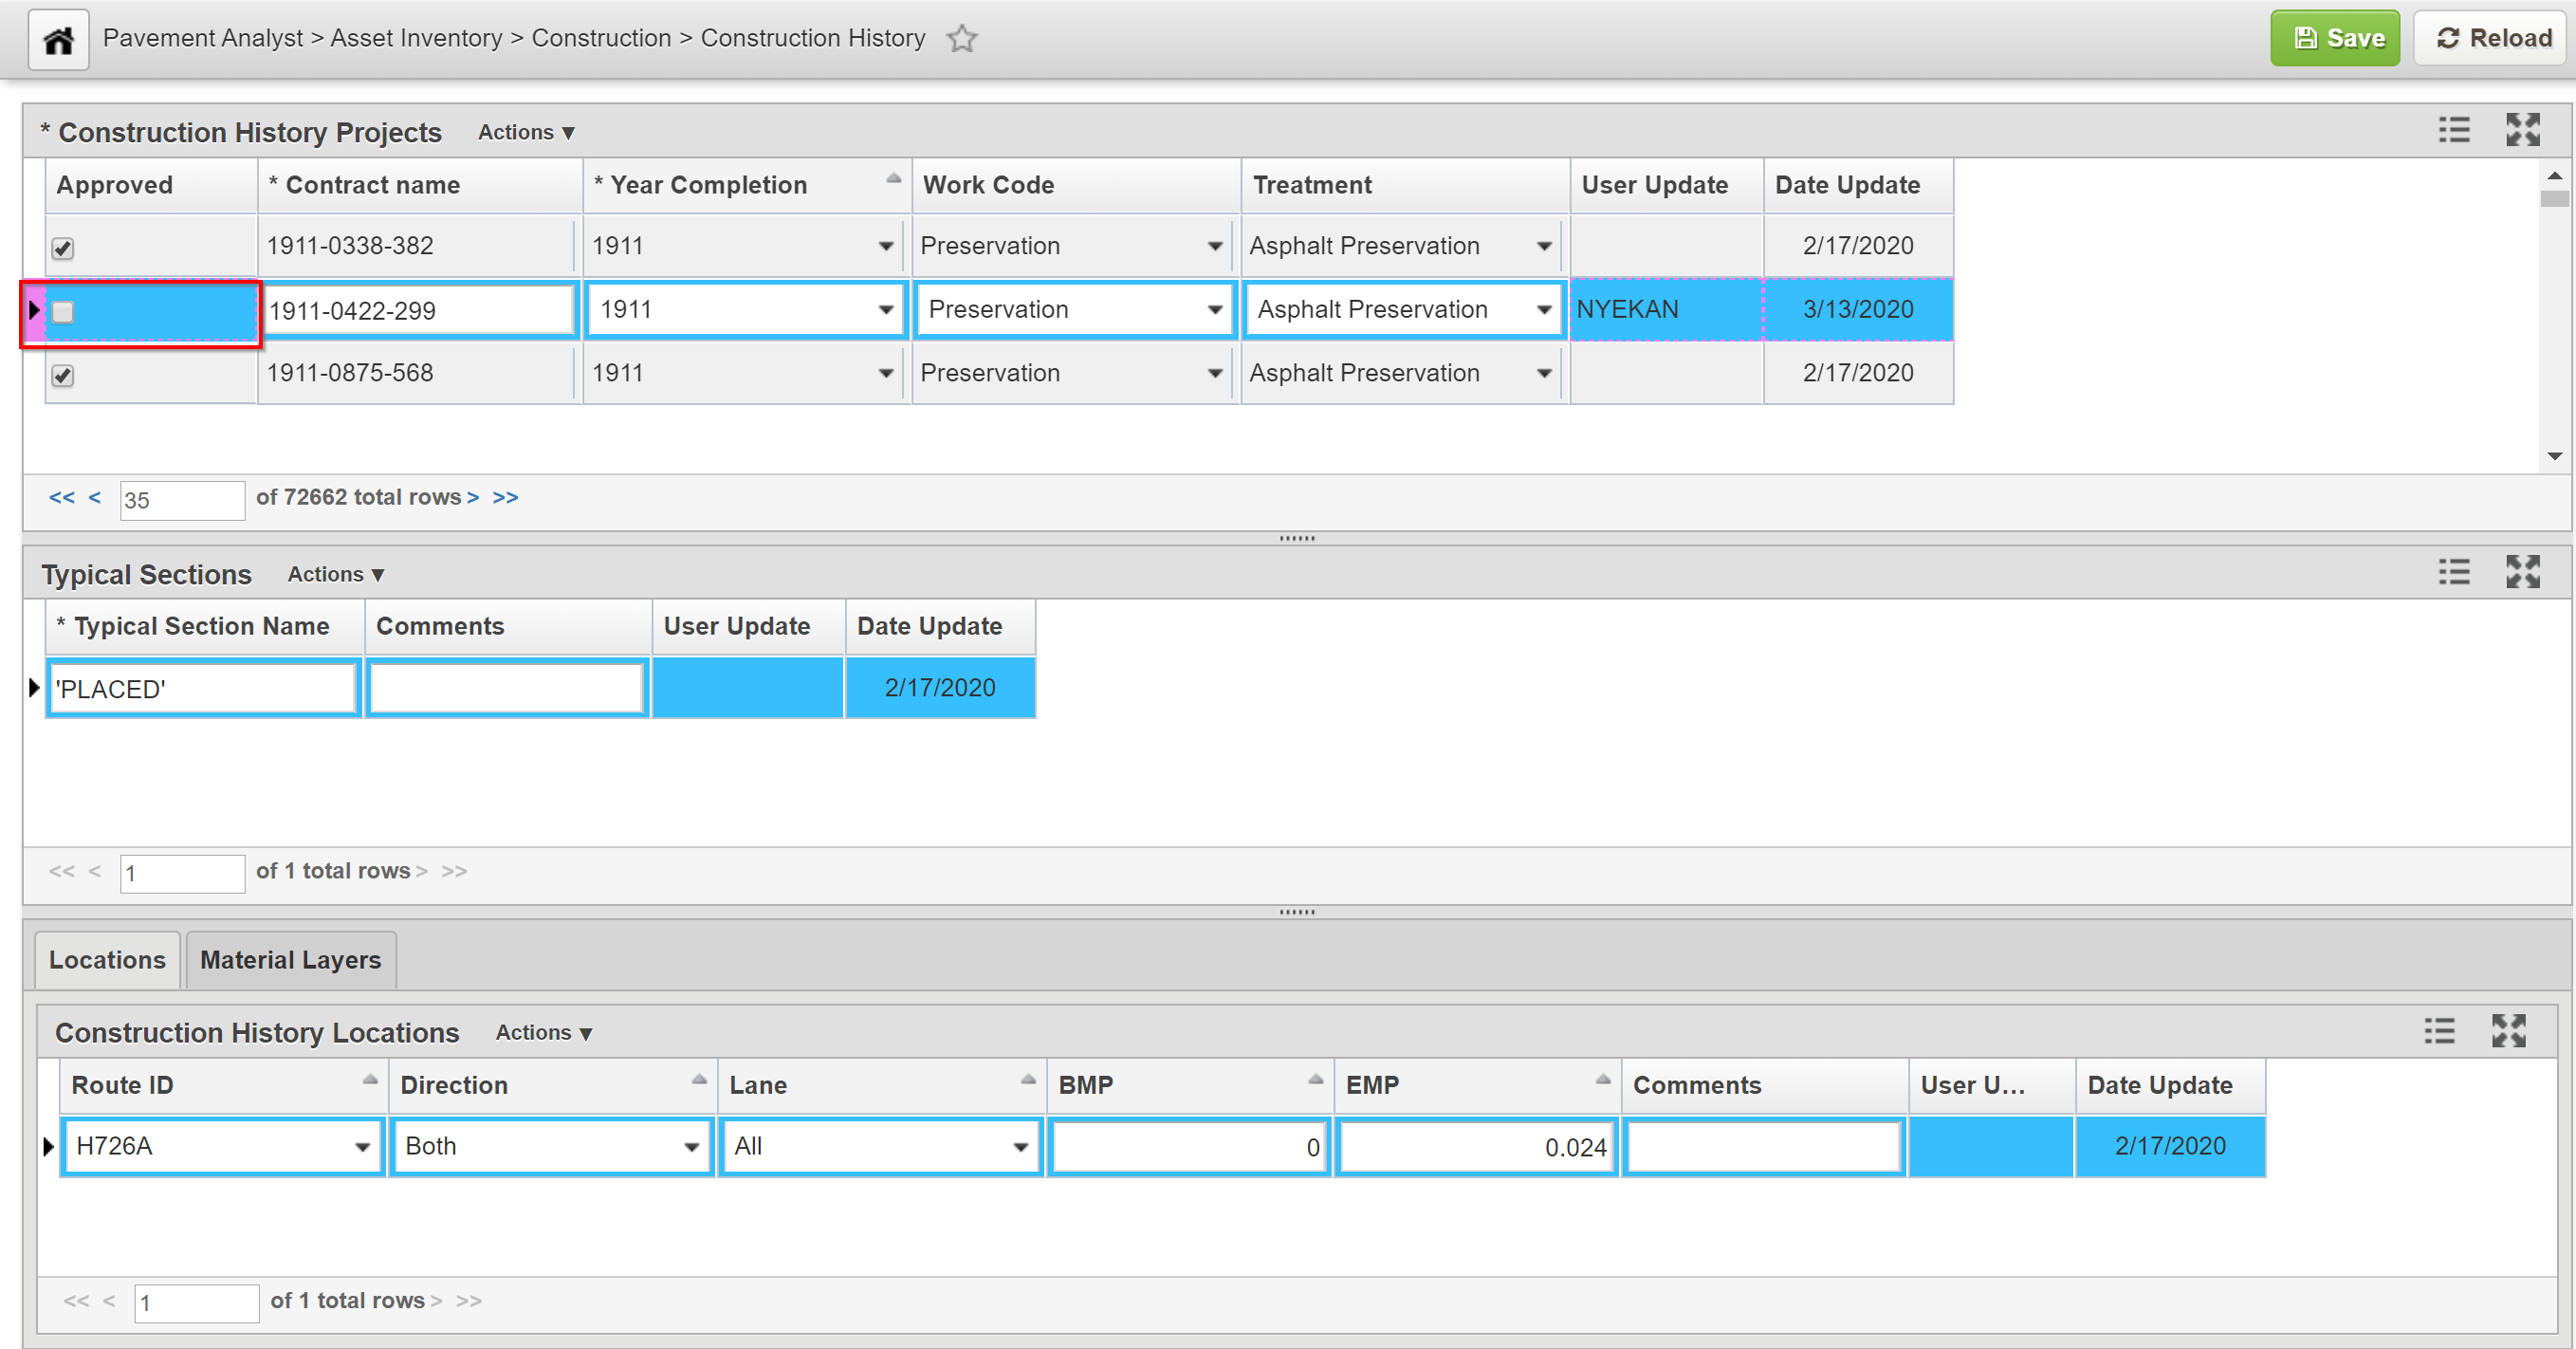
- Click Save to save the change
- Make the necessary data update to the record (i.e. update Work Code)
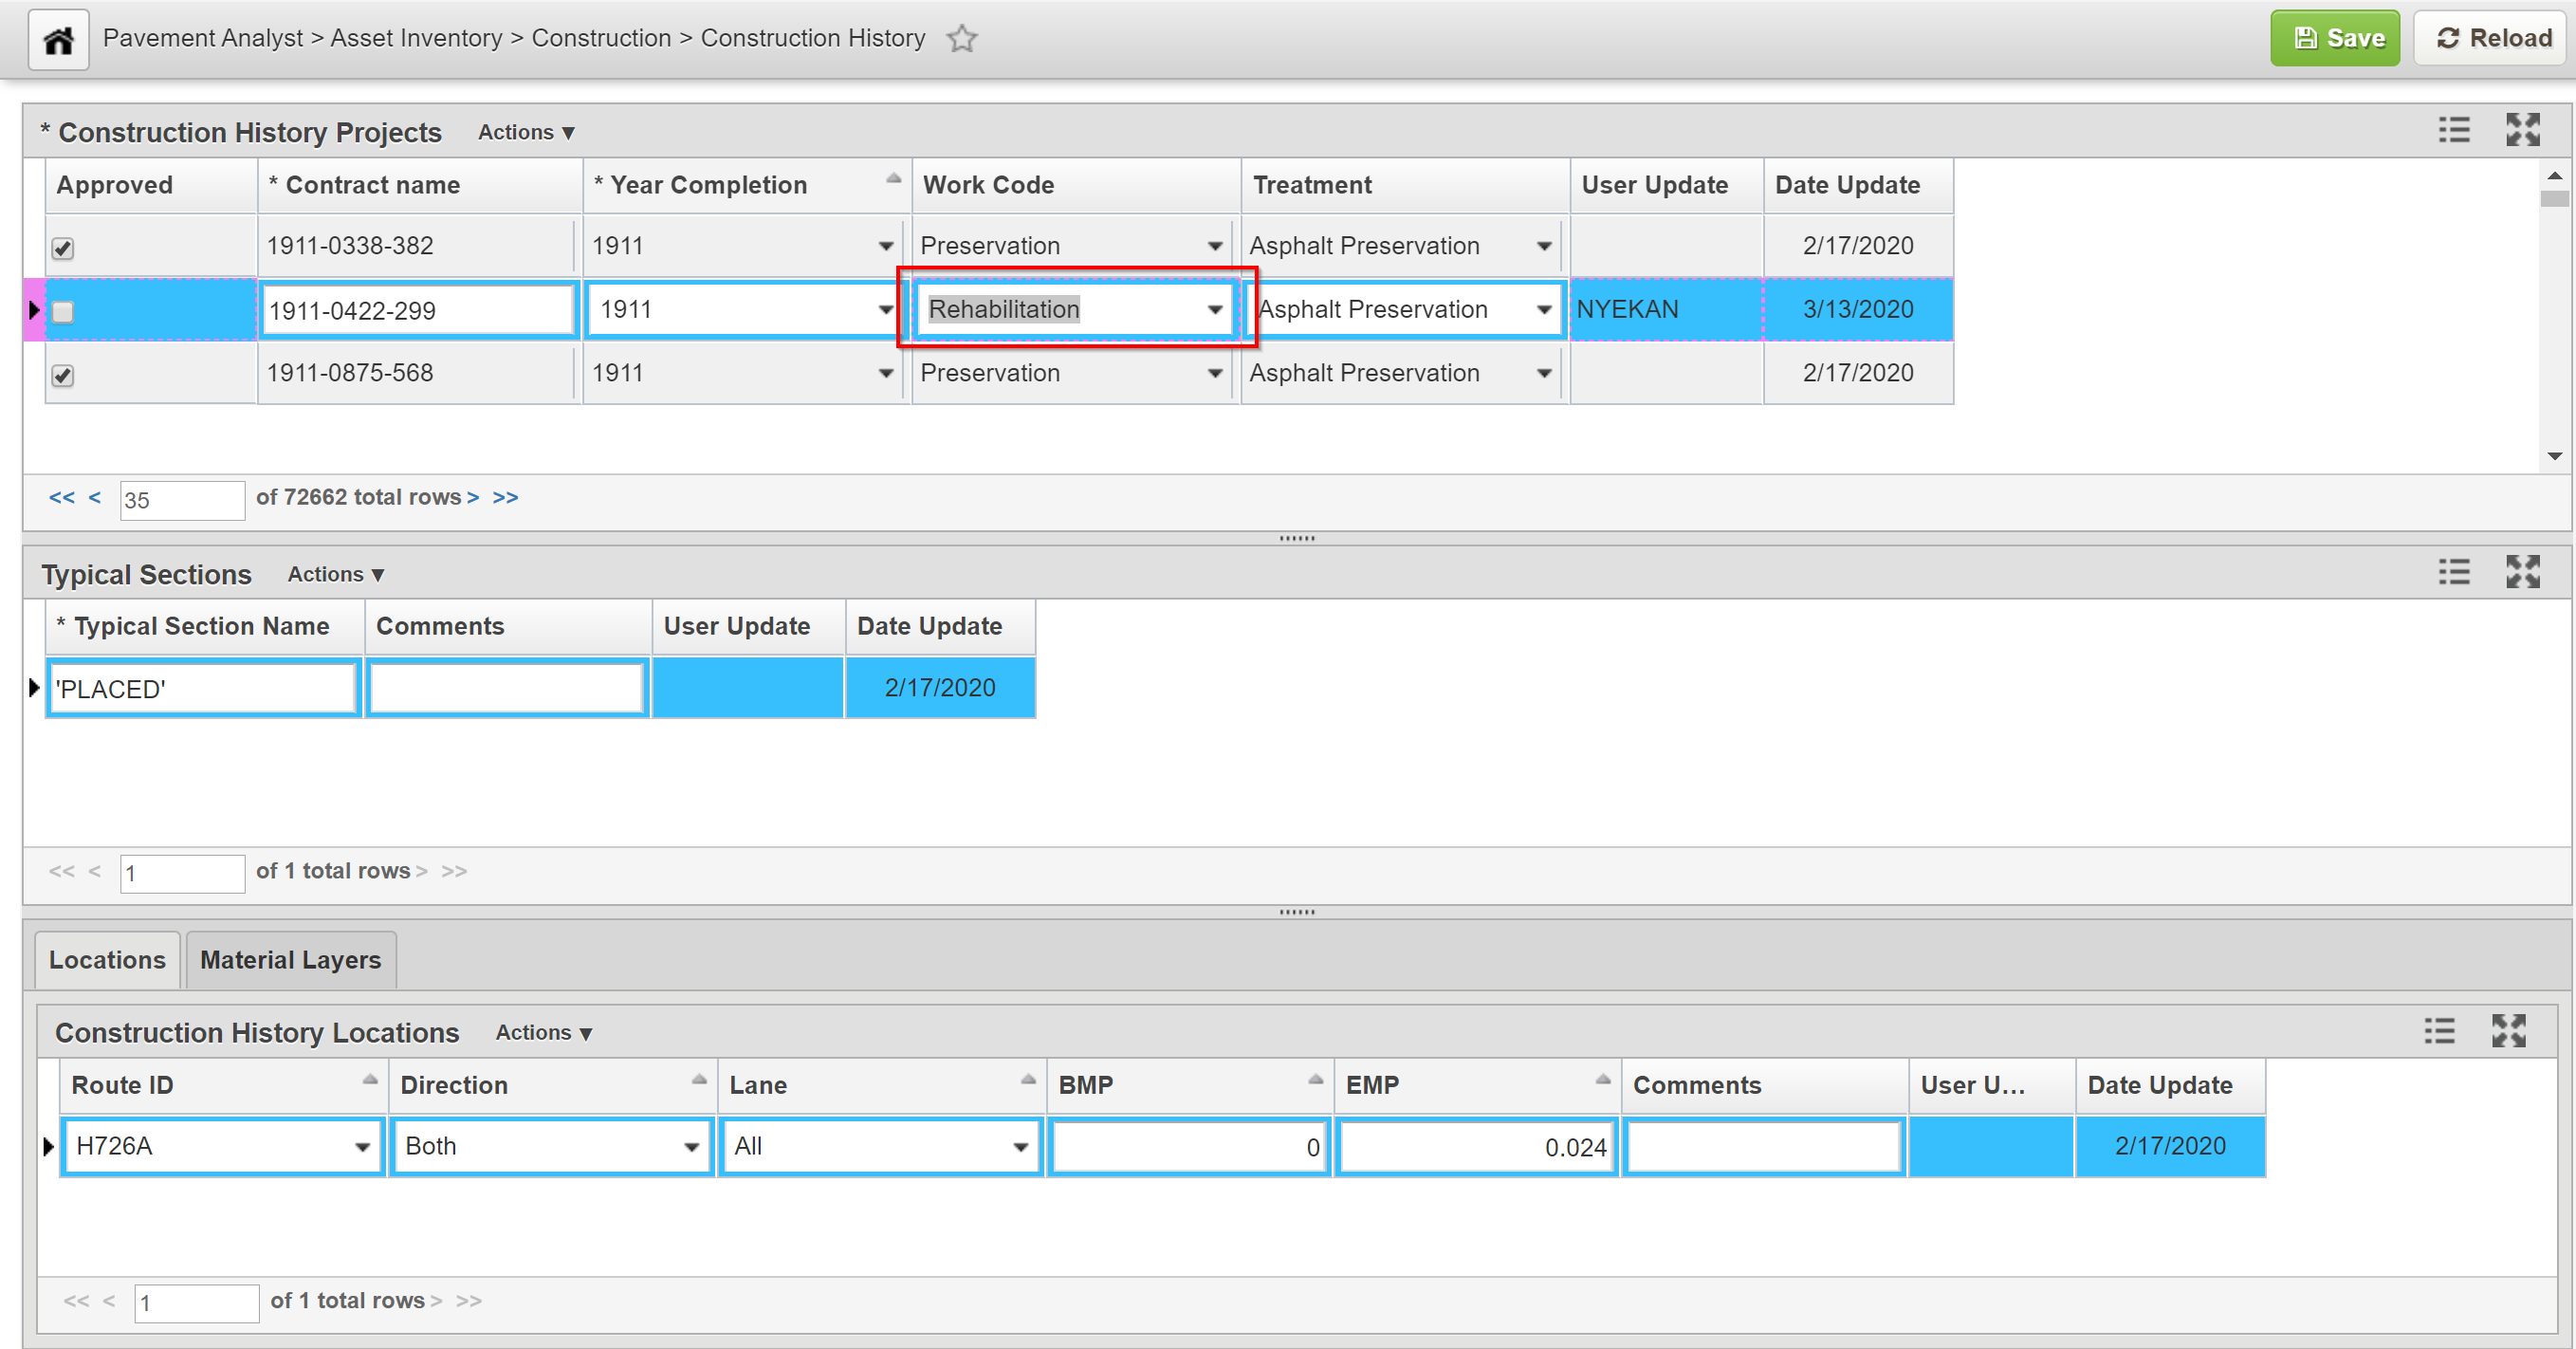
- Click Save to save your changes.
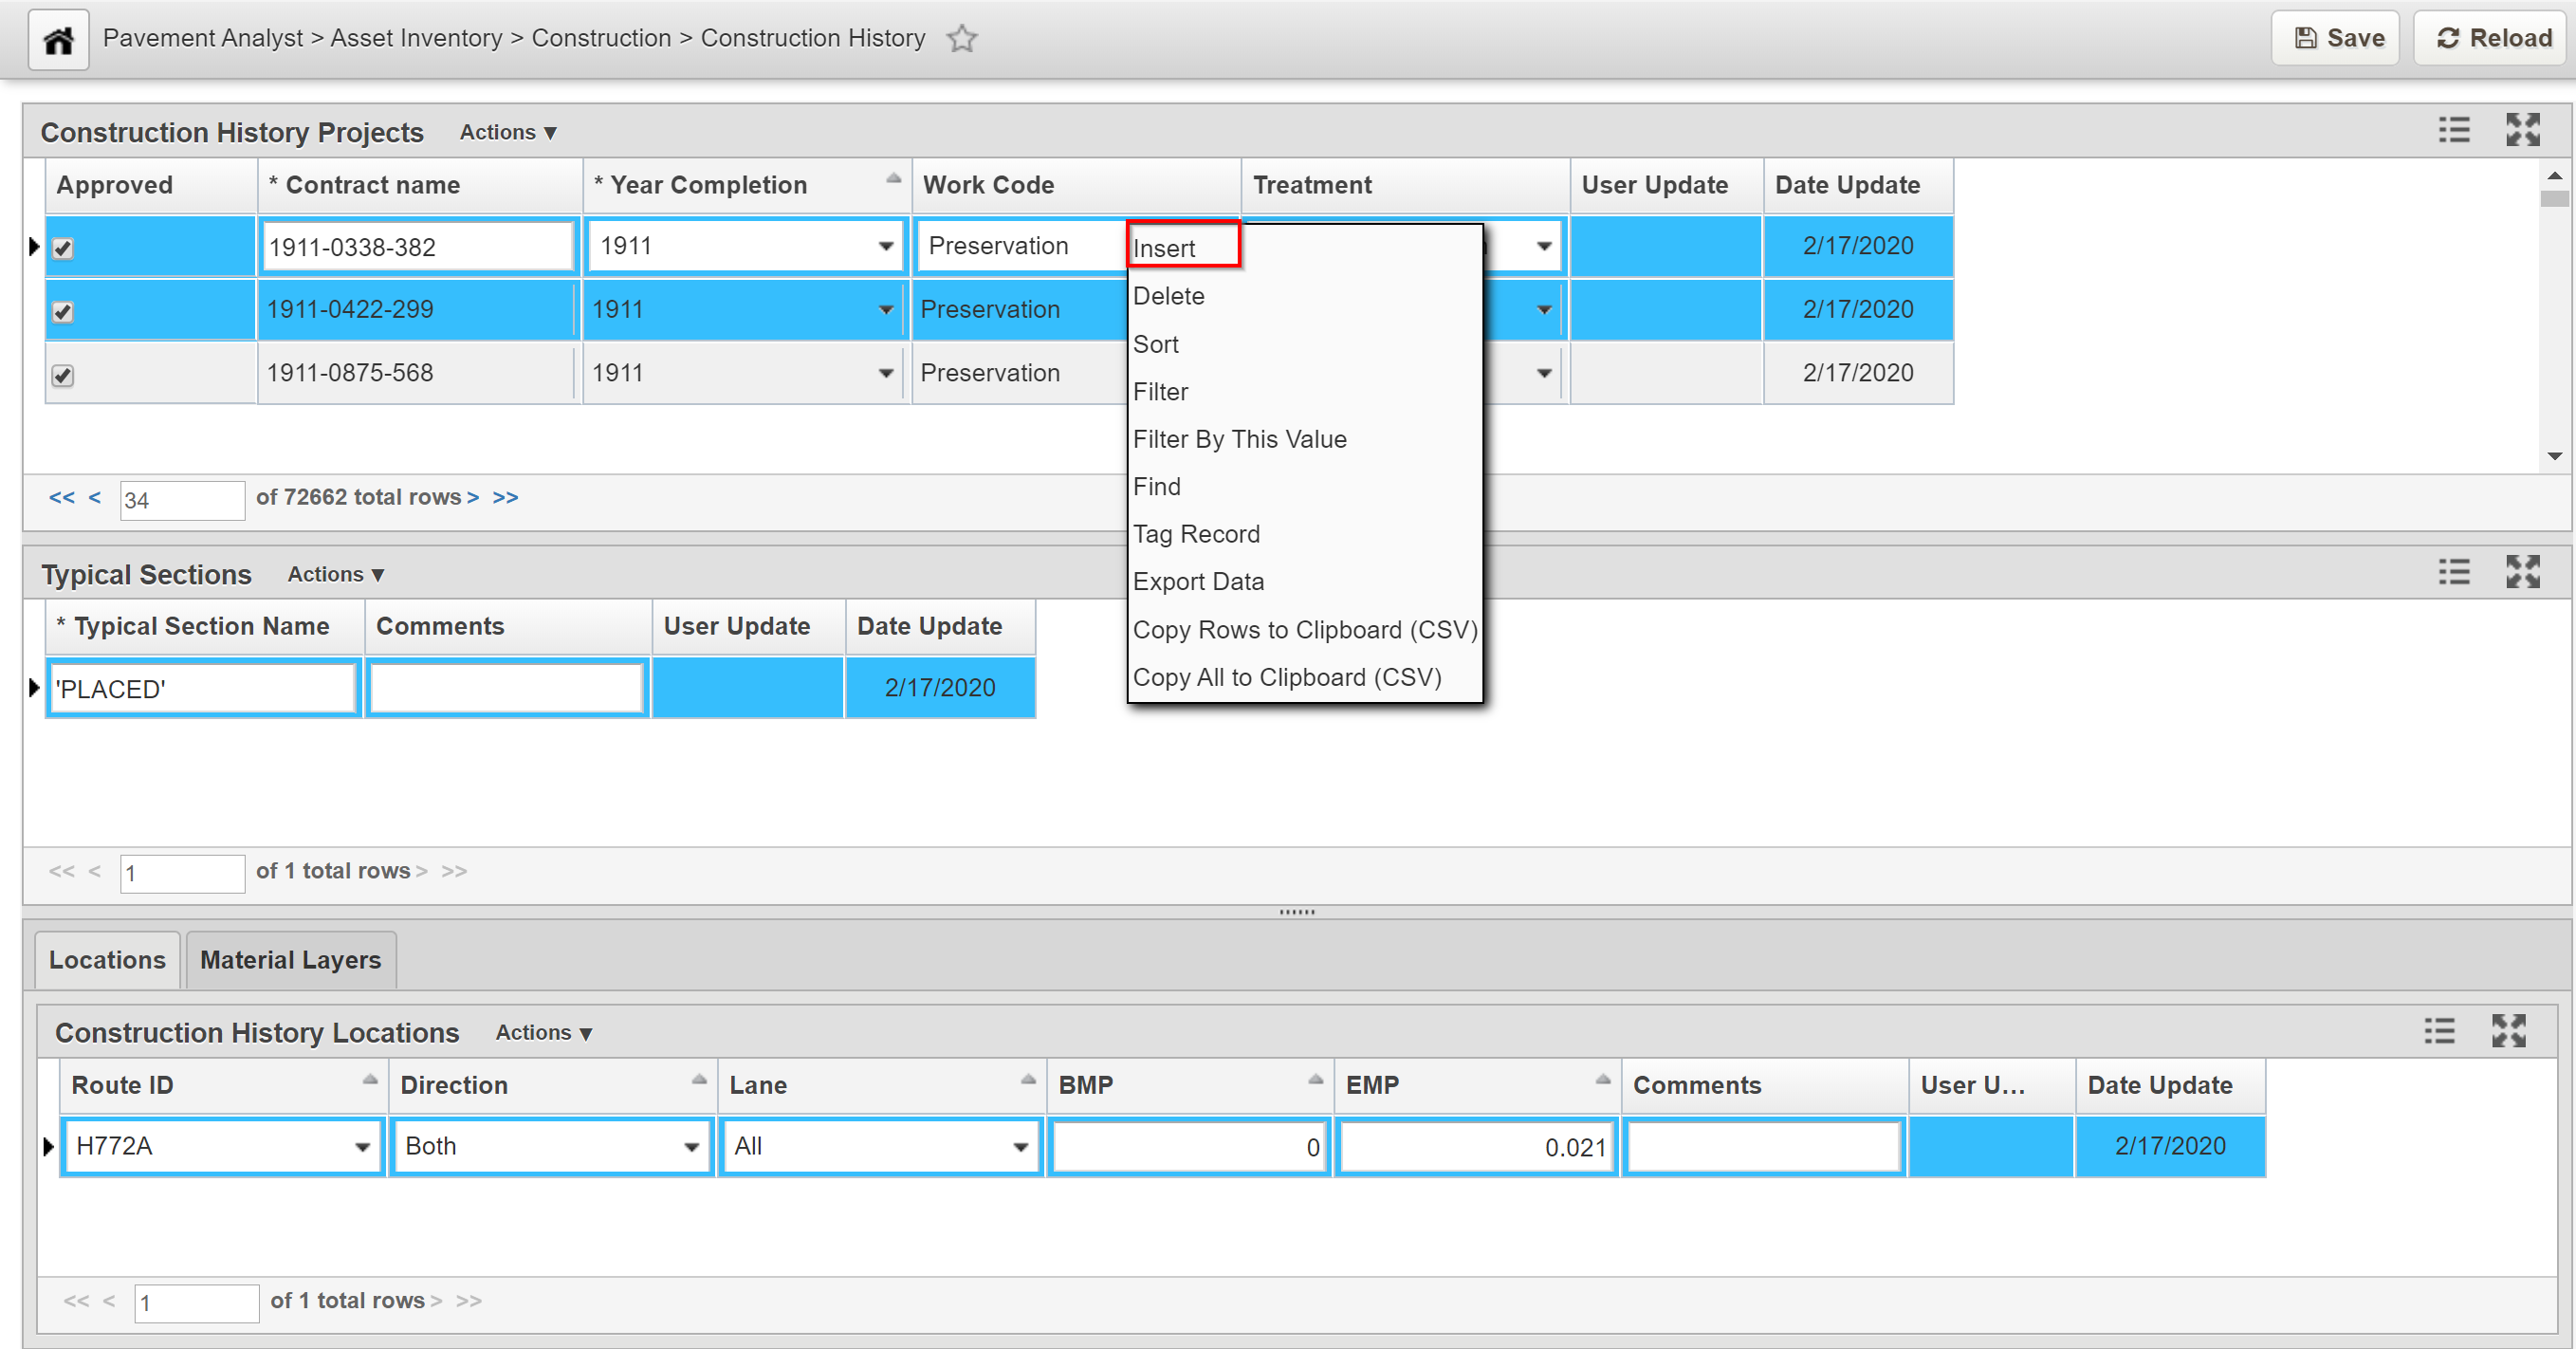
Insert Construction History
The objective of this lesson is for the participant to learn how to create a record in the Construction History window. At the end of this lesson, the user should be able to create a new record and save it. |
|---|
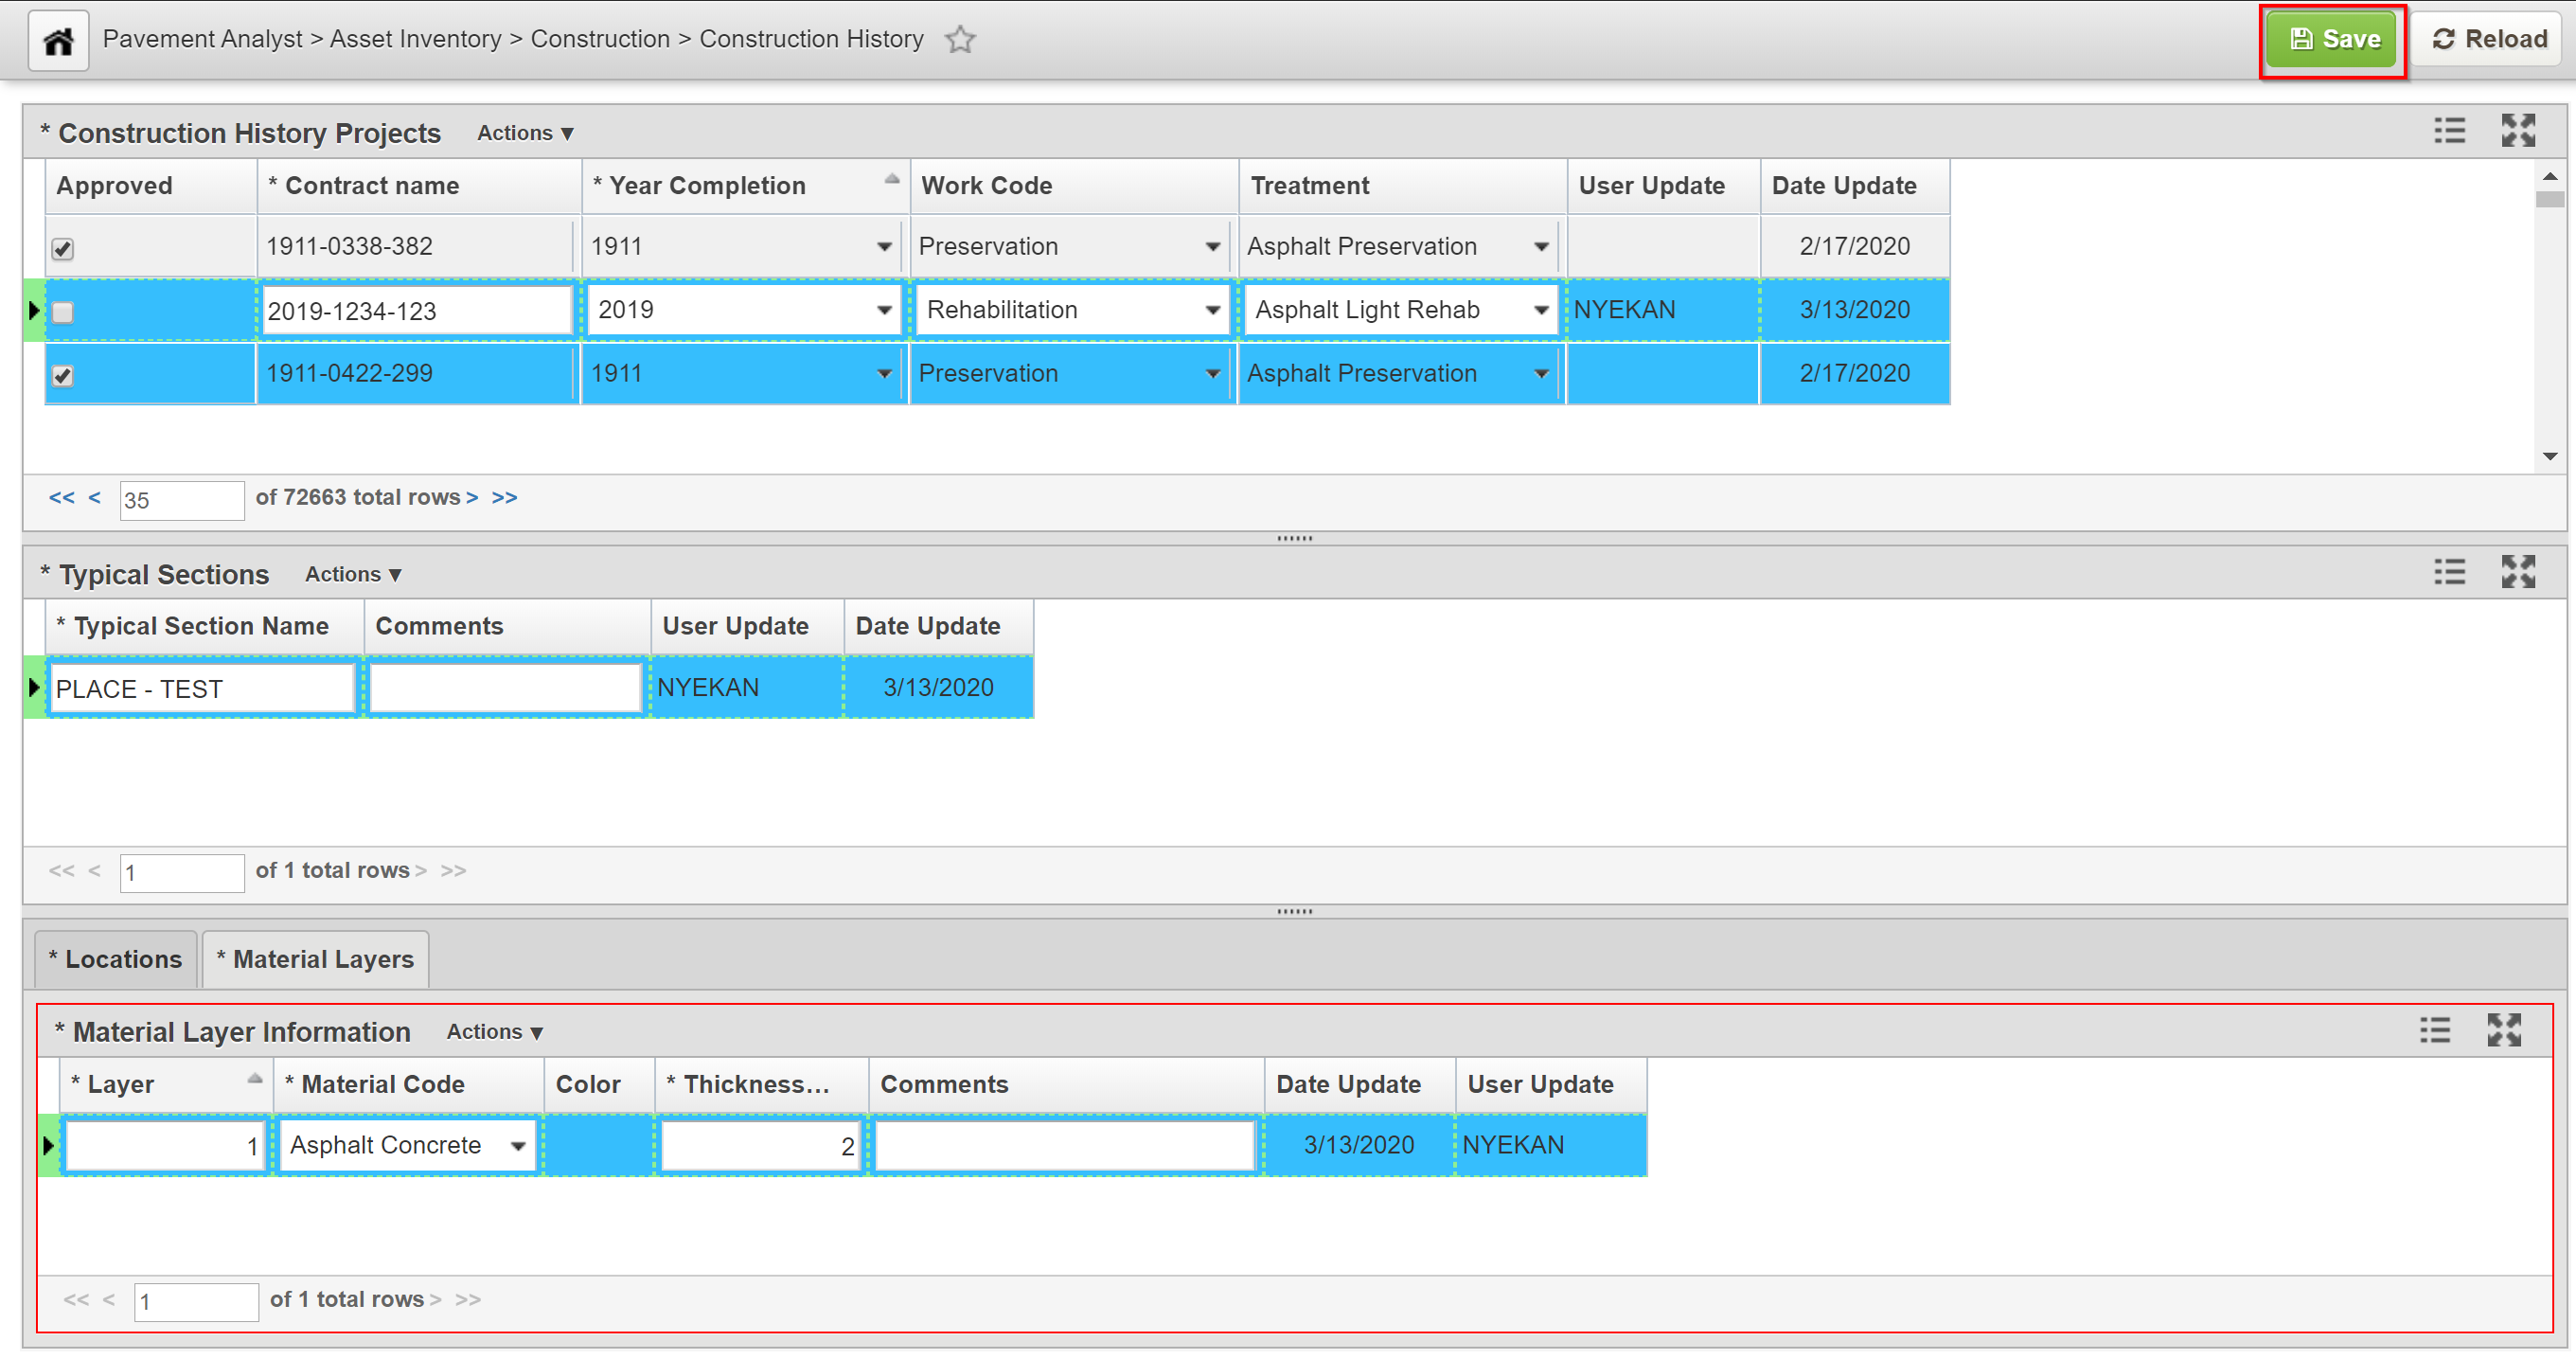
In this example, we add a Construction History record by following the steps below:
- Open the Construction History window: Pavement Analyst > Asset Inventory > Construction > Construction History
- Right-click in the Construction History Projects (top) pane and then select Insert
- Enter data into all fields that are applicable
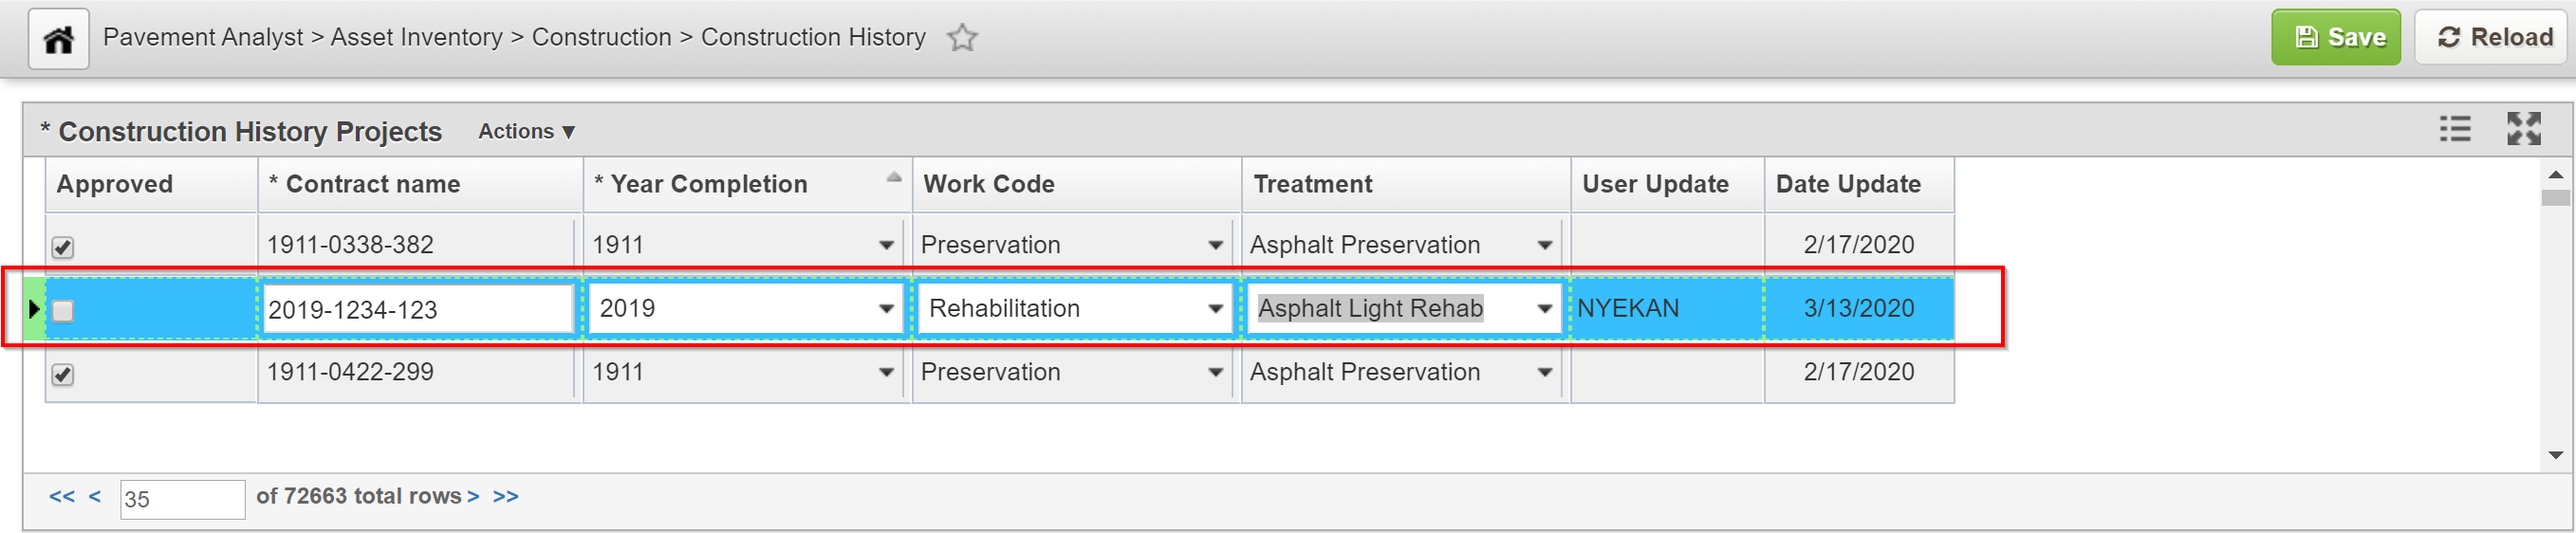
- Right-click in the Typical Sections (middle) pane and choose Insert

- Overwrite the system generated name with the name of interest

- In the bottom pane, the Location tab is highlight by default, right-click in the Location (bottom right) pane and choose Insert

- Enter data in all applicable fields

- Select the Material Layers tab to access it's pane

- Right-click in the Material Layers pane and choose Insert

- Enter data in all applicable fields

- Click Save to save the record
Edit Standard Structure Section
The objective of this lesson is for the participant to understand how to modify records in the Standard Structure Sections window. At the end of this lesson, the user should be able to modify any record in the window and save the changes. |
|---|
In this example, we edit a Standard Structure Section record by following the steps below:
- Open the Typical Sections window (Pavement Analyst >Setup > Construction History > Typical Sections)
- Make the necessary data update to the record (i.e. Standard Section Name)
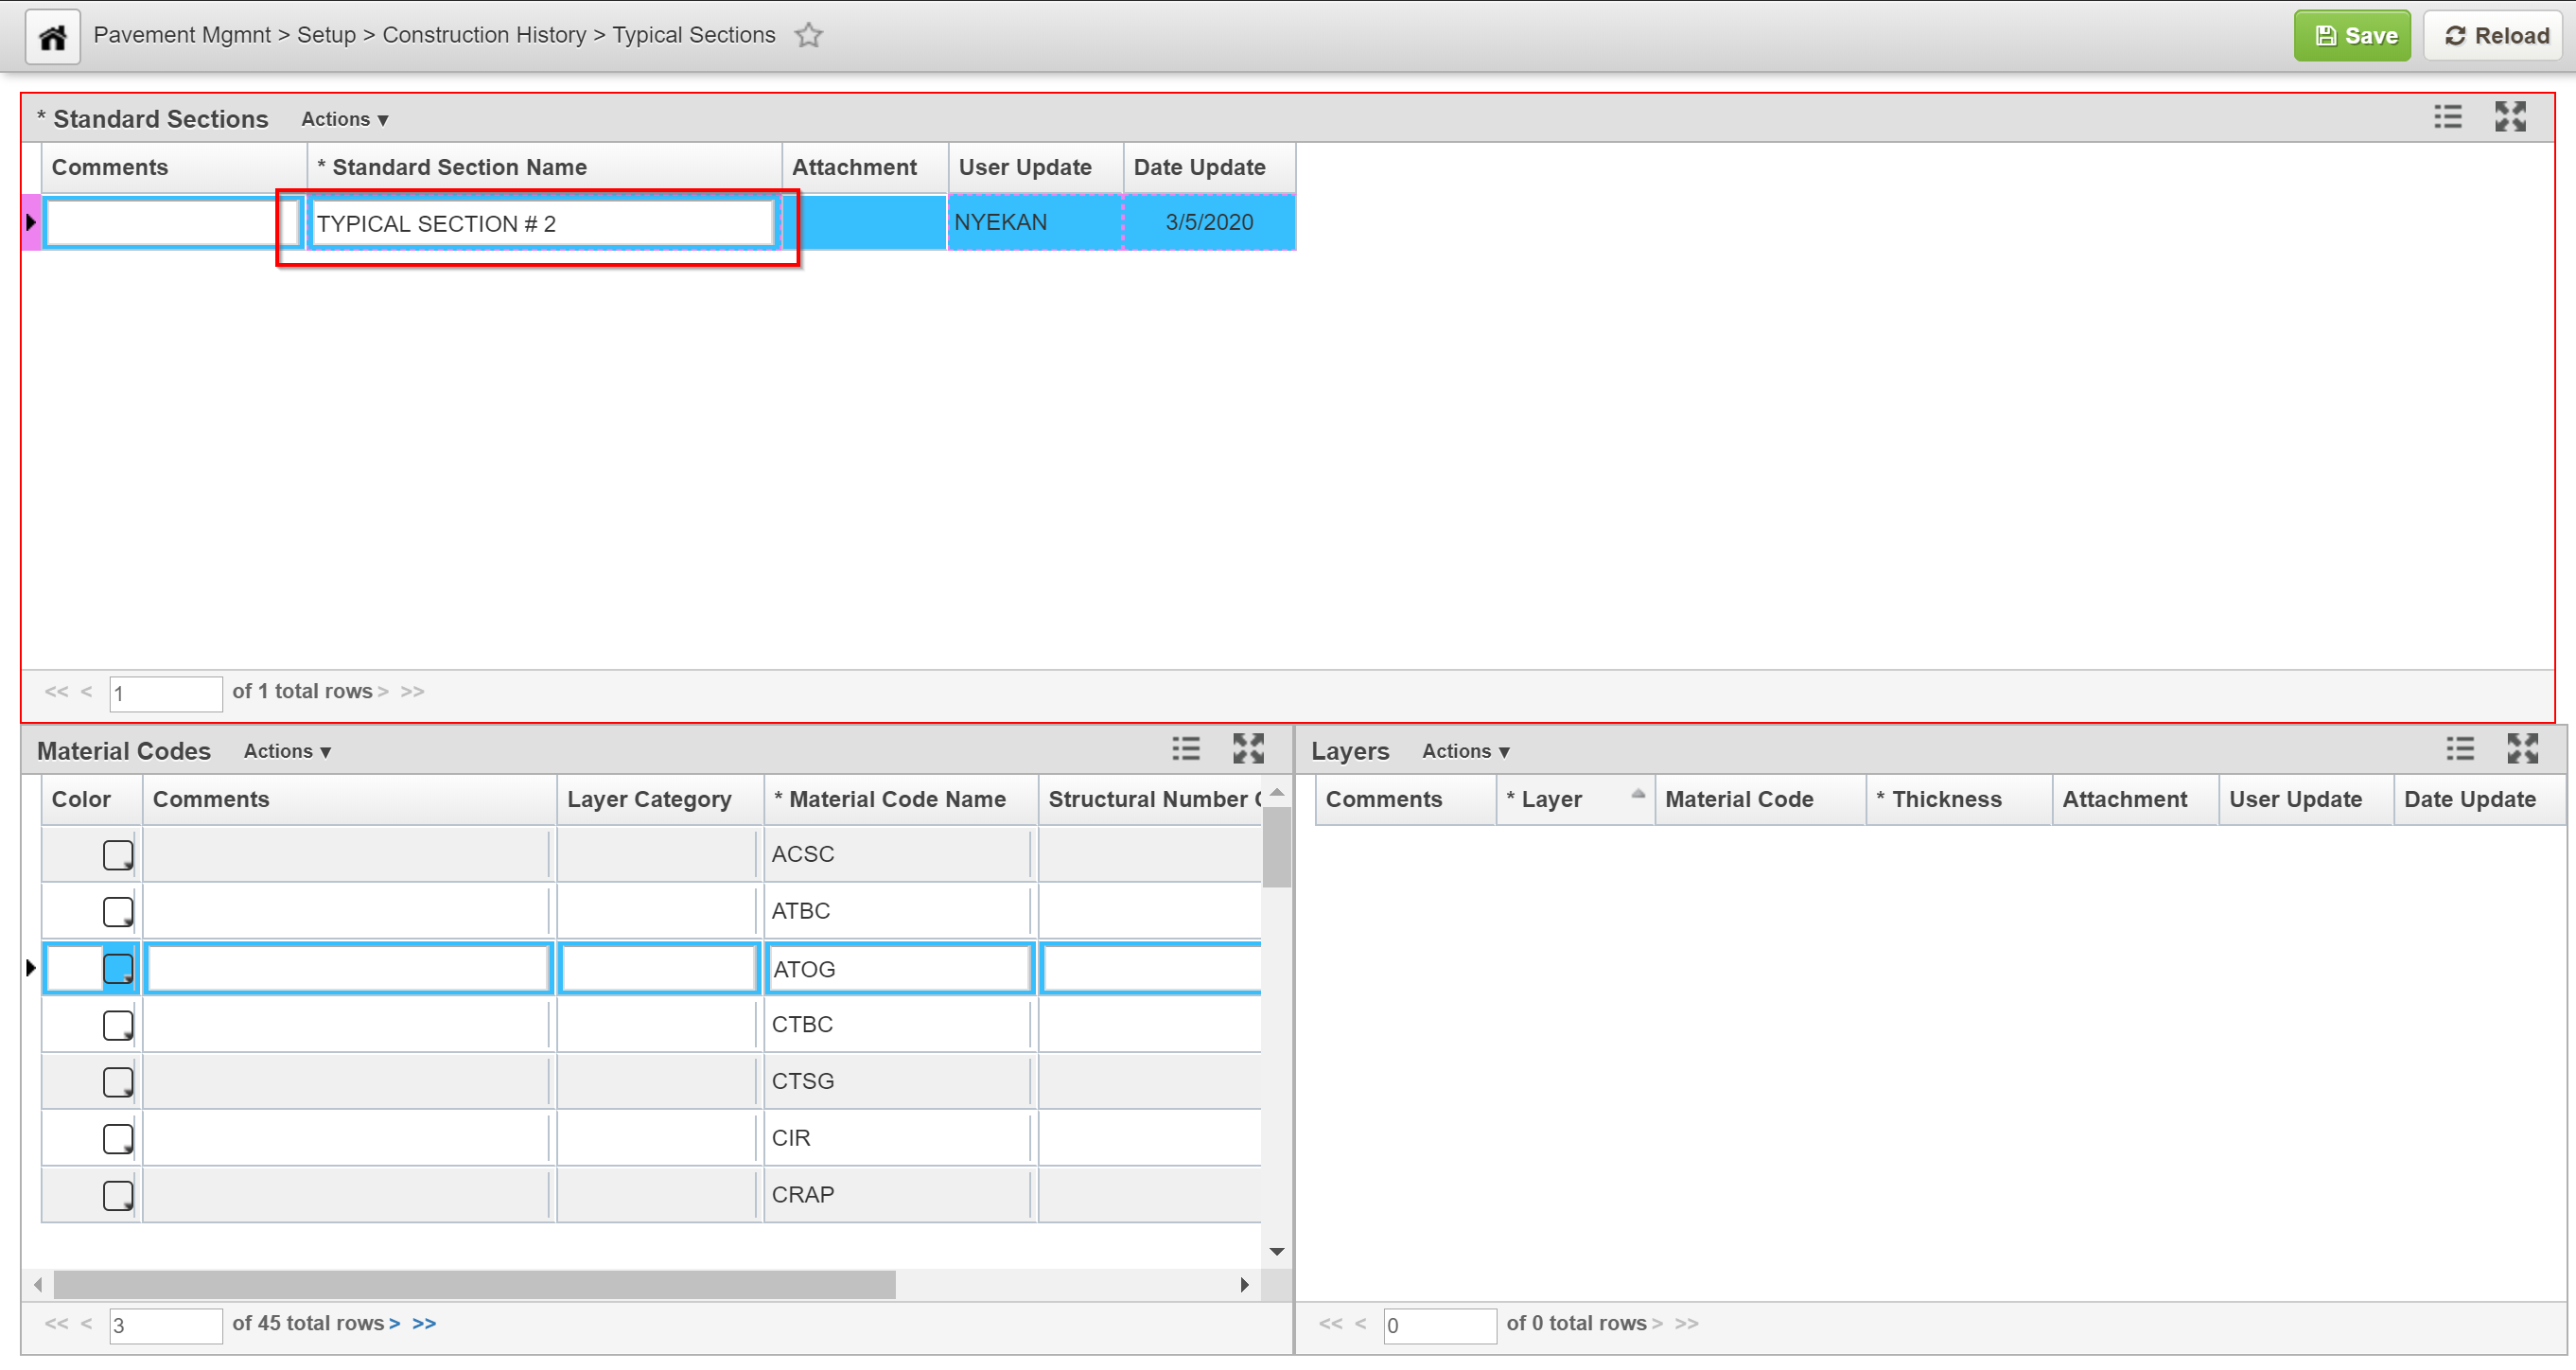
- Click Save to save your changes
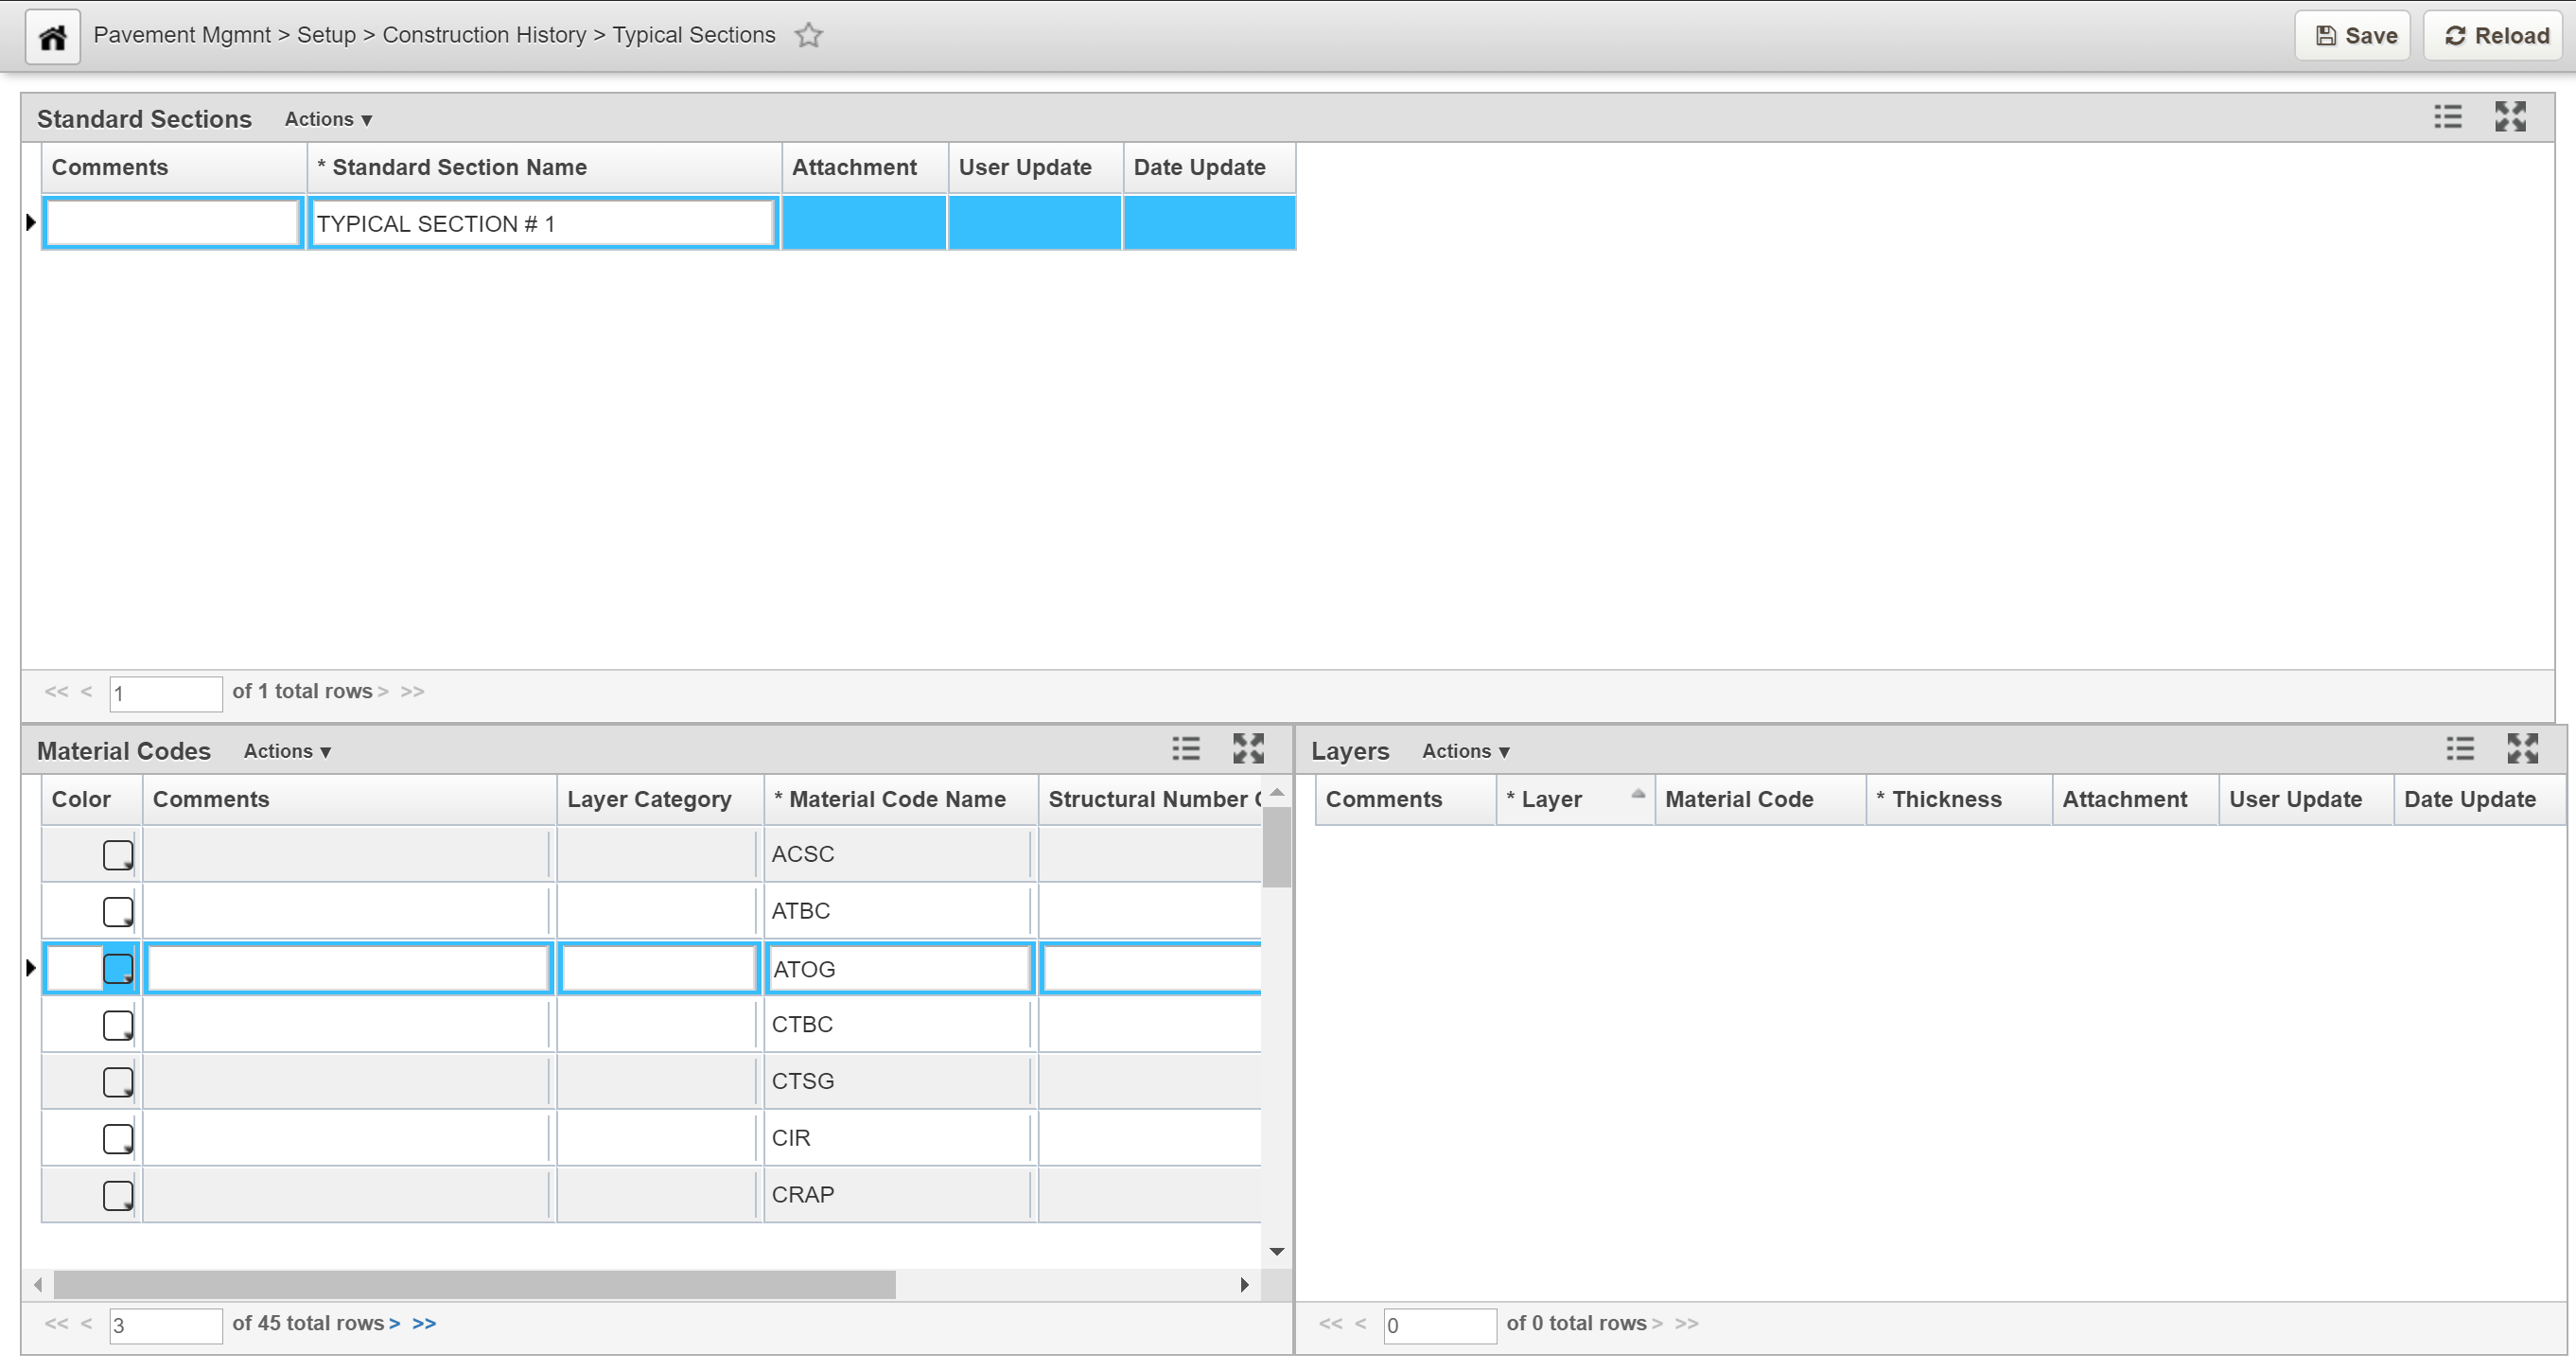
Insert Standard Structure Section
The objective of this lesson is for the participant to understand how to insert a new record in the Standard Structure Sections window. At the end of this lesson, the user should be able to add a record in the window and save the changes. |
|---|
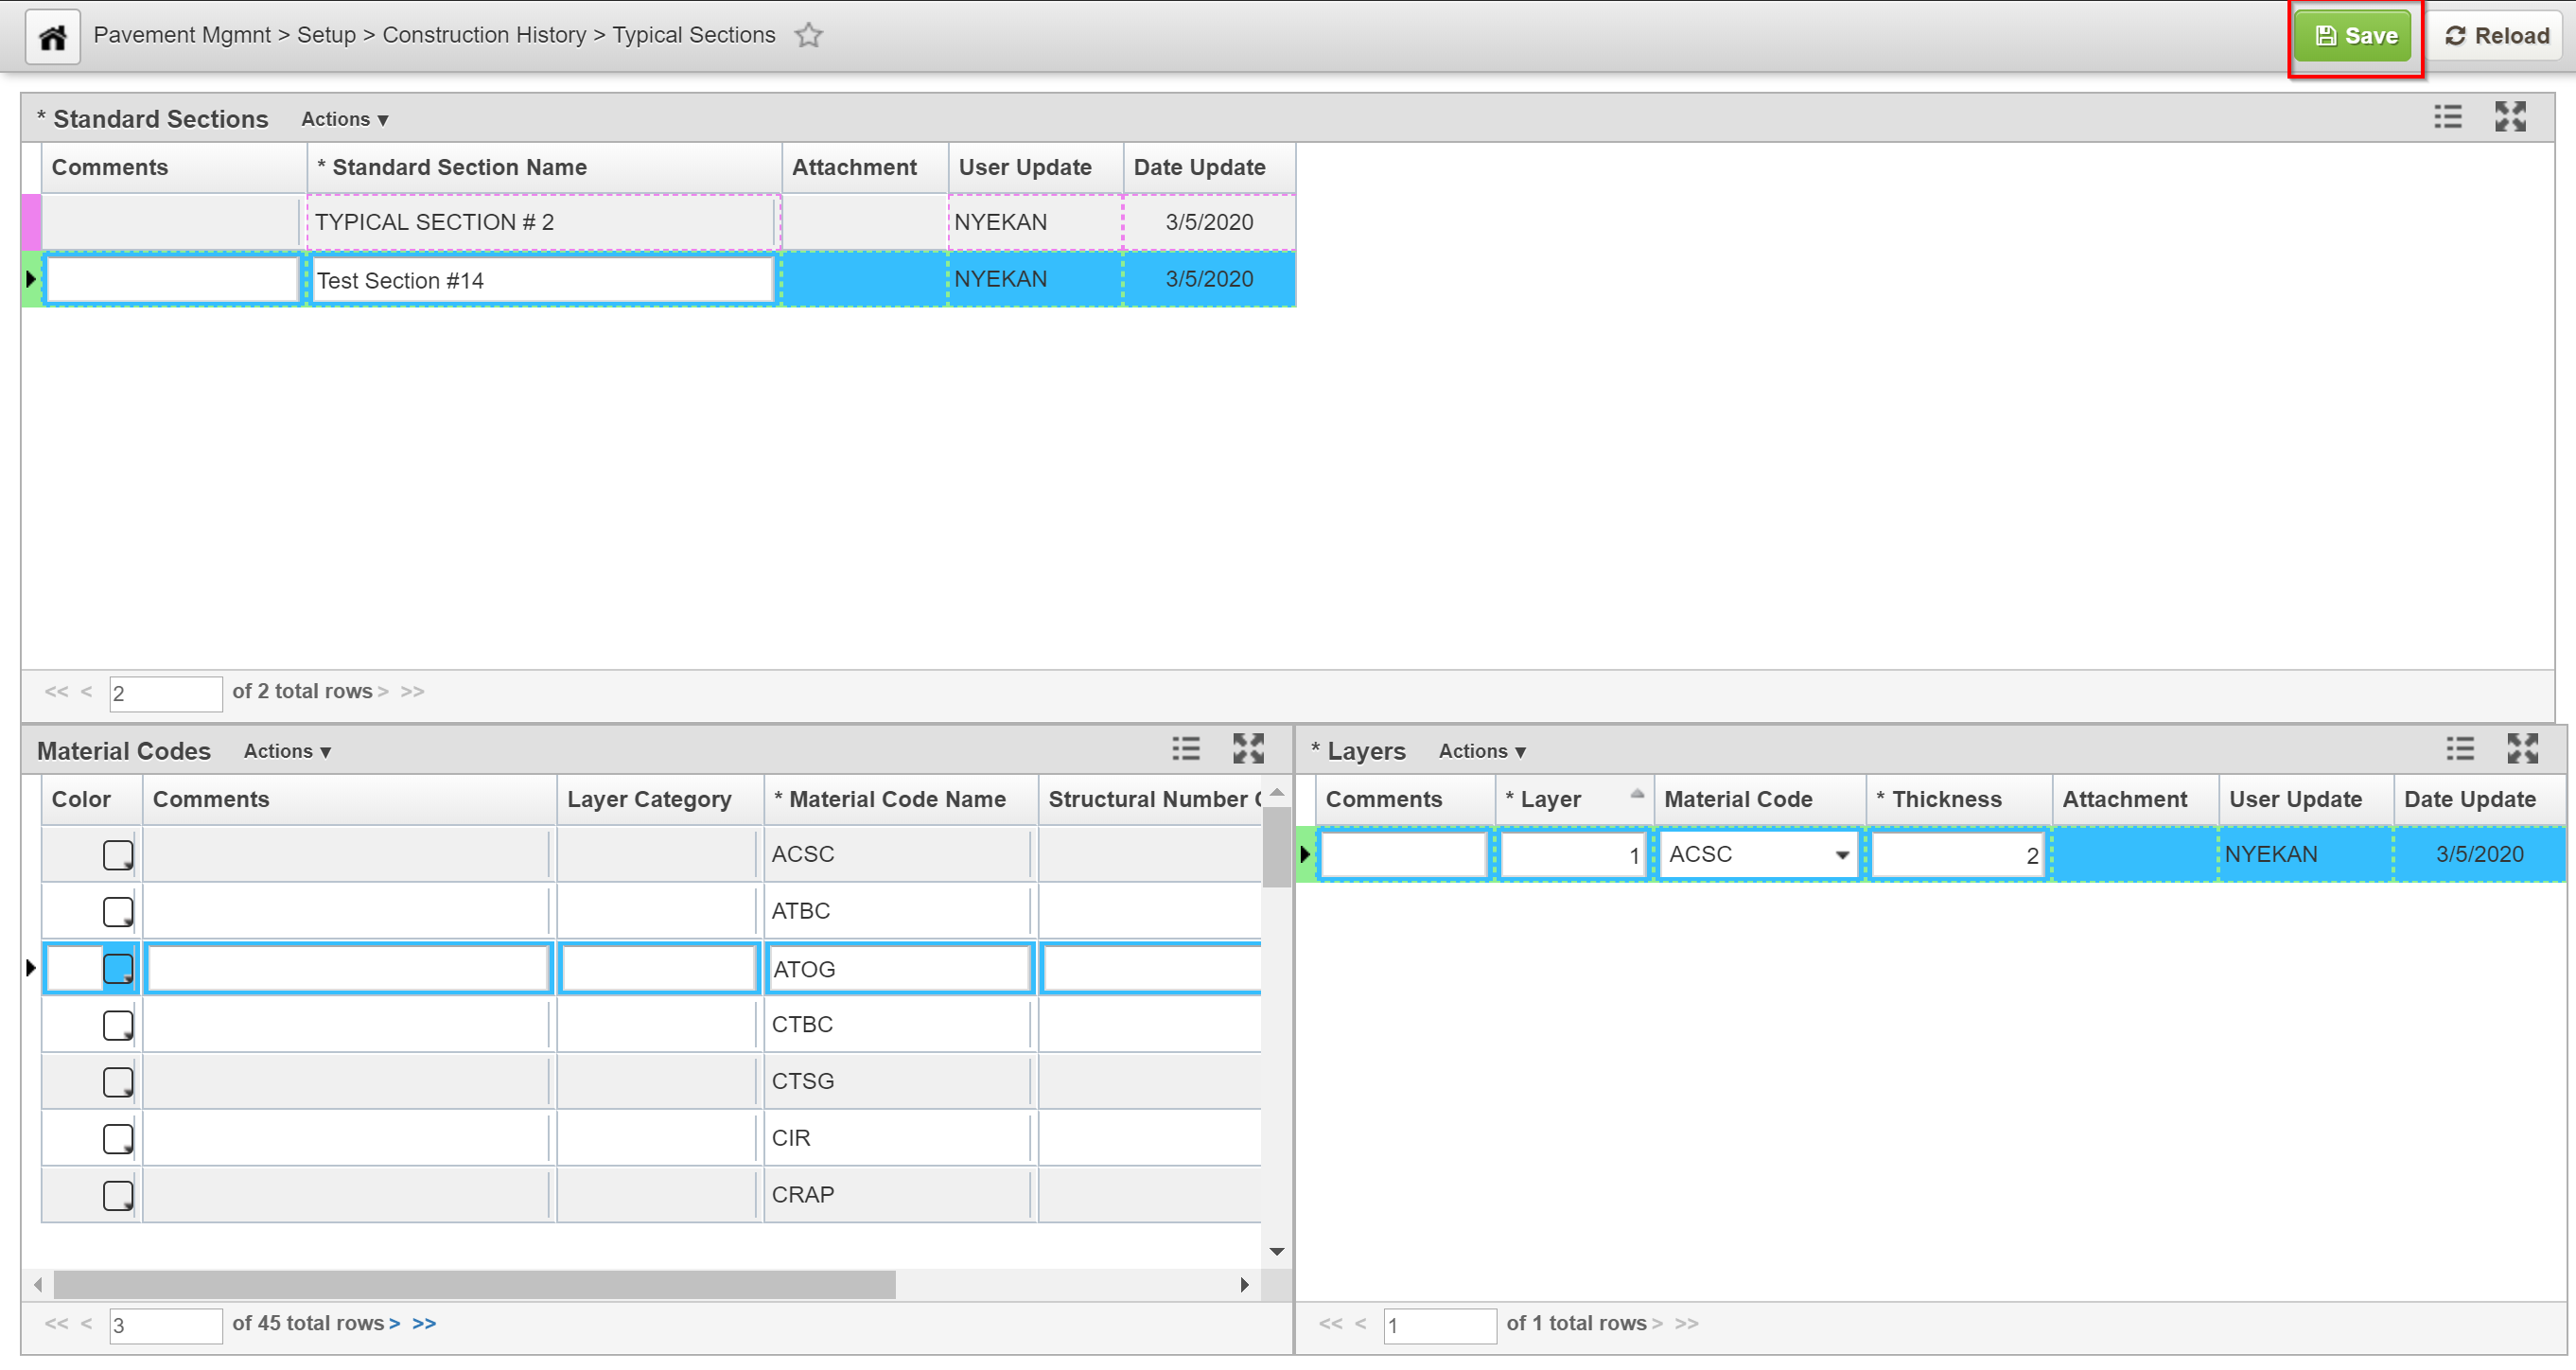
in this example, we add a new Standard Structure Section record by following the steps below:
- Open the Typical Sections window: Pavement Analyst >Setup > Construction History > Typical Sections
- In the Standard Sections pane, right-click and select Insert
A new record is automatically added to the table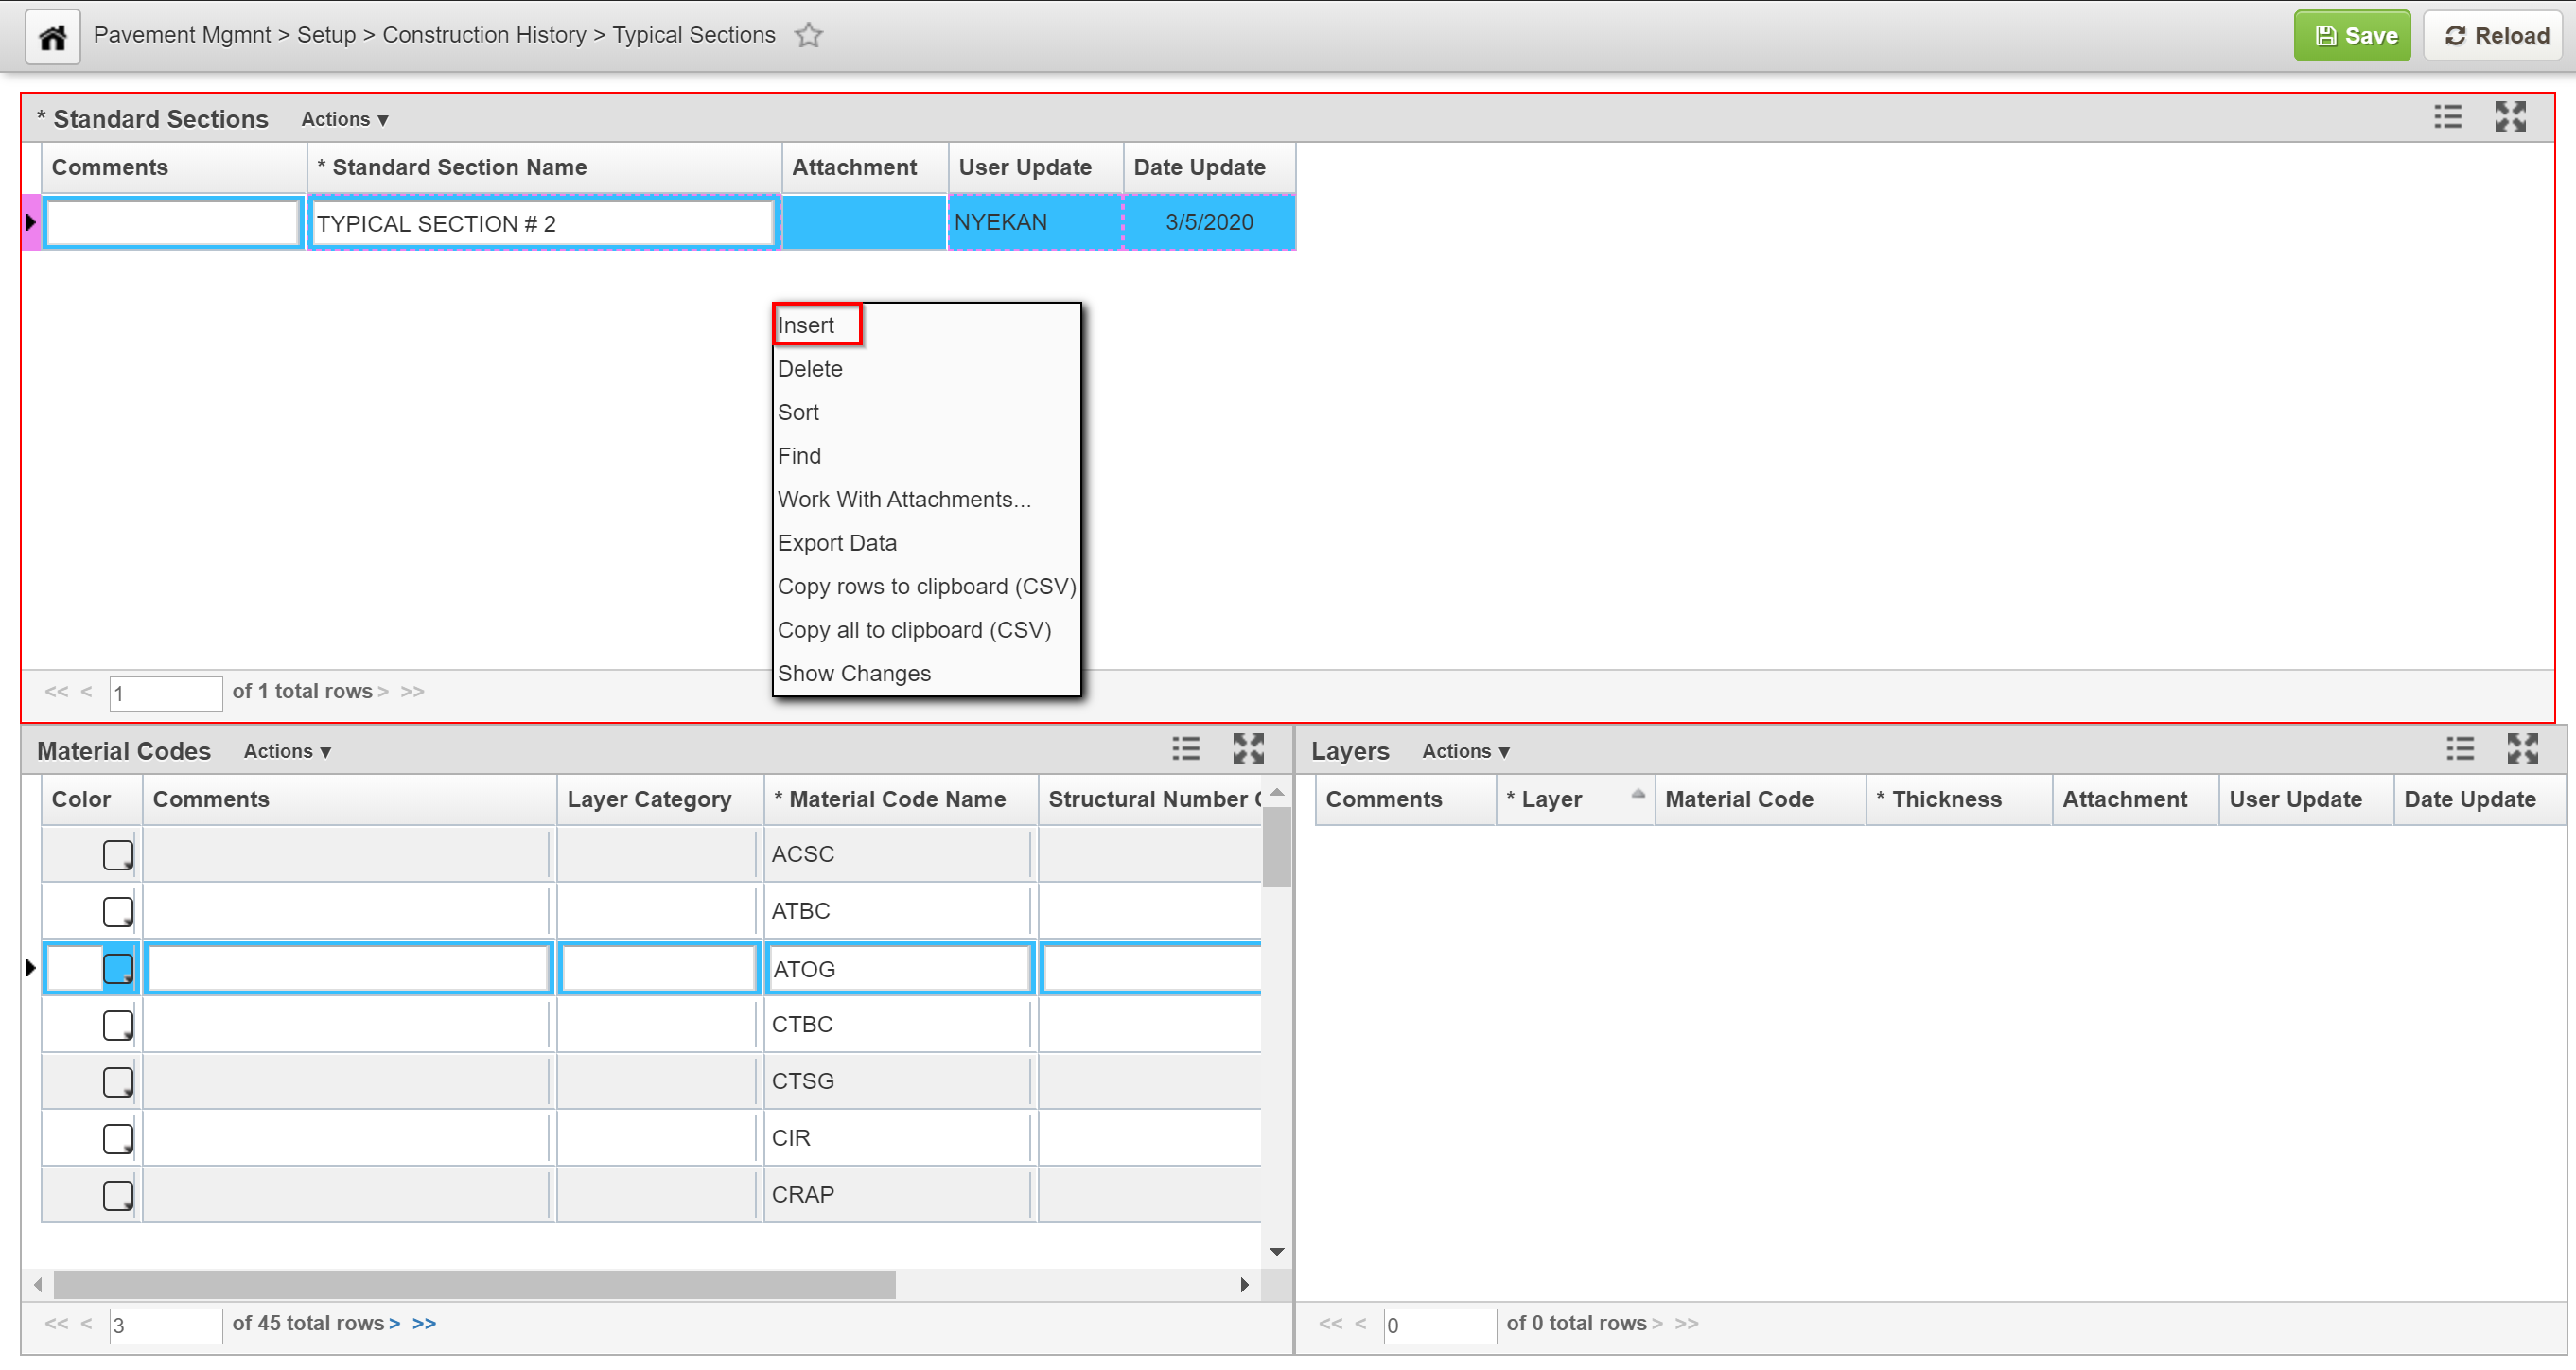
- In the Standard Section Name column, highlight the default name and type the name of the standard section
Since this name is what will appear in other windows when you are selecting standard sections, this name should be specific and informative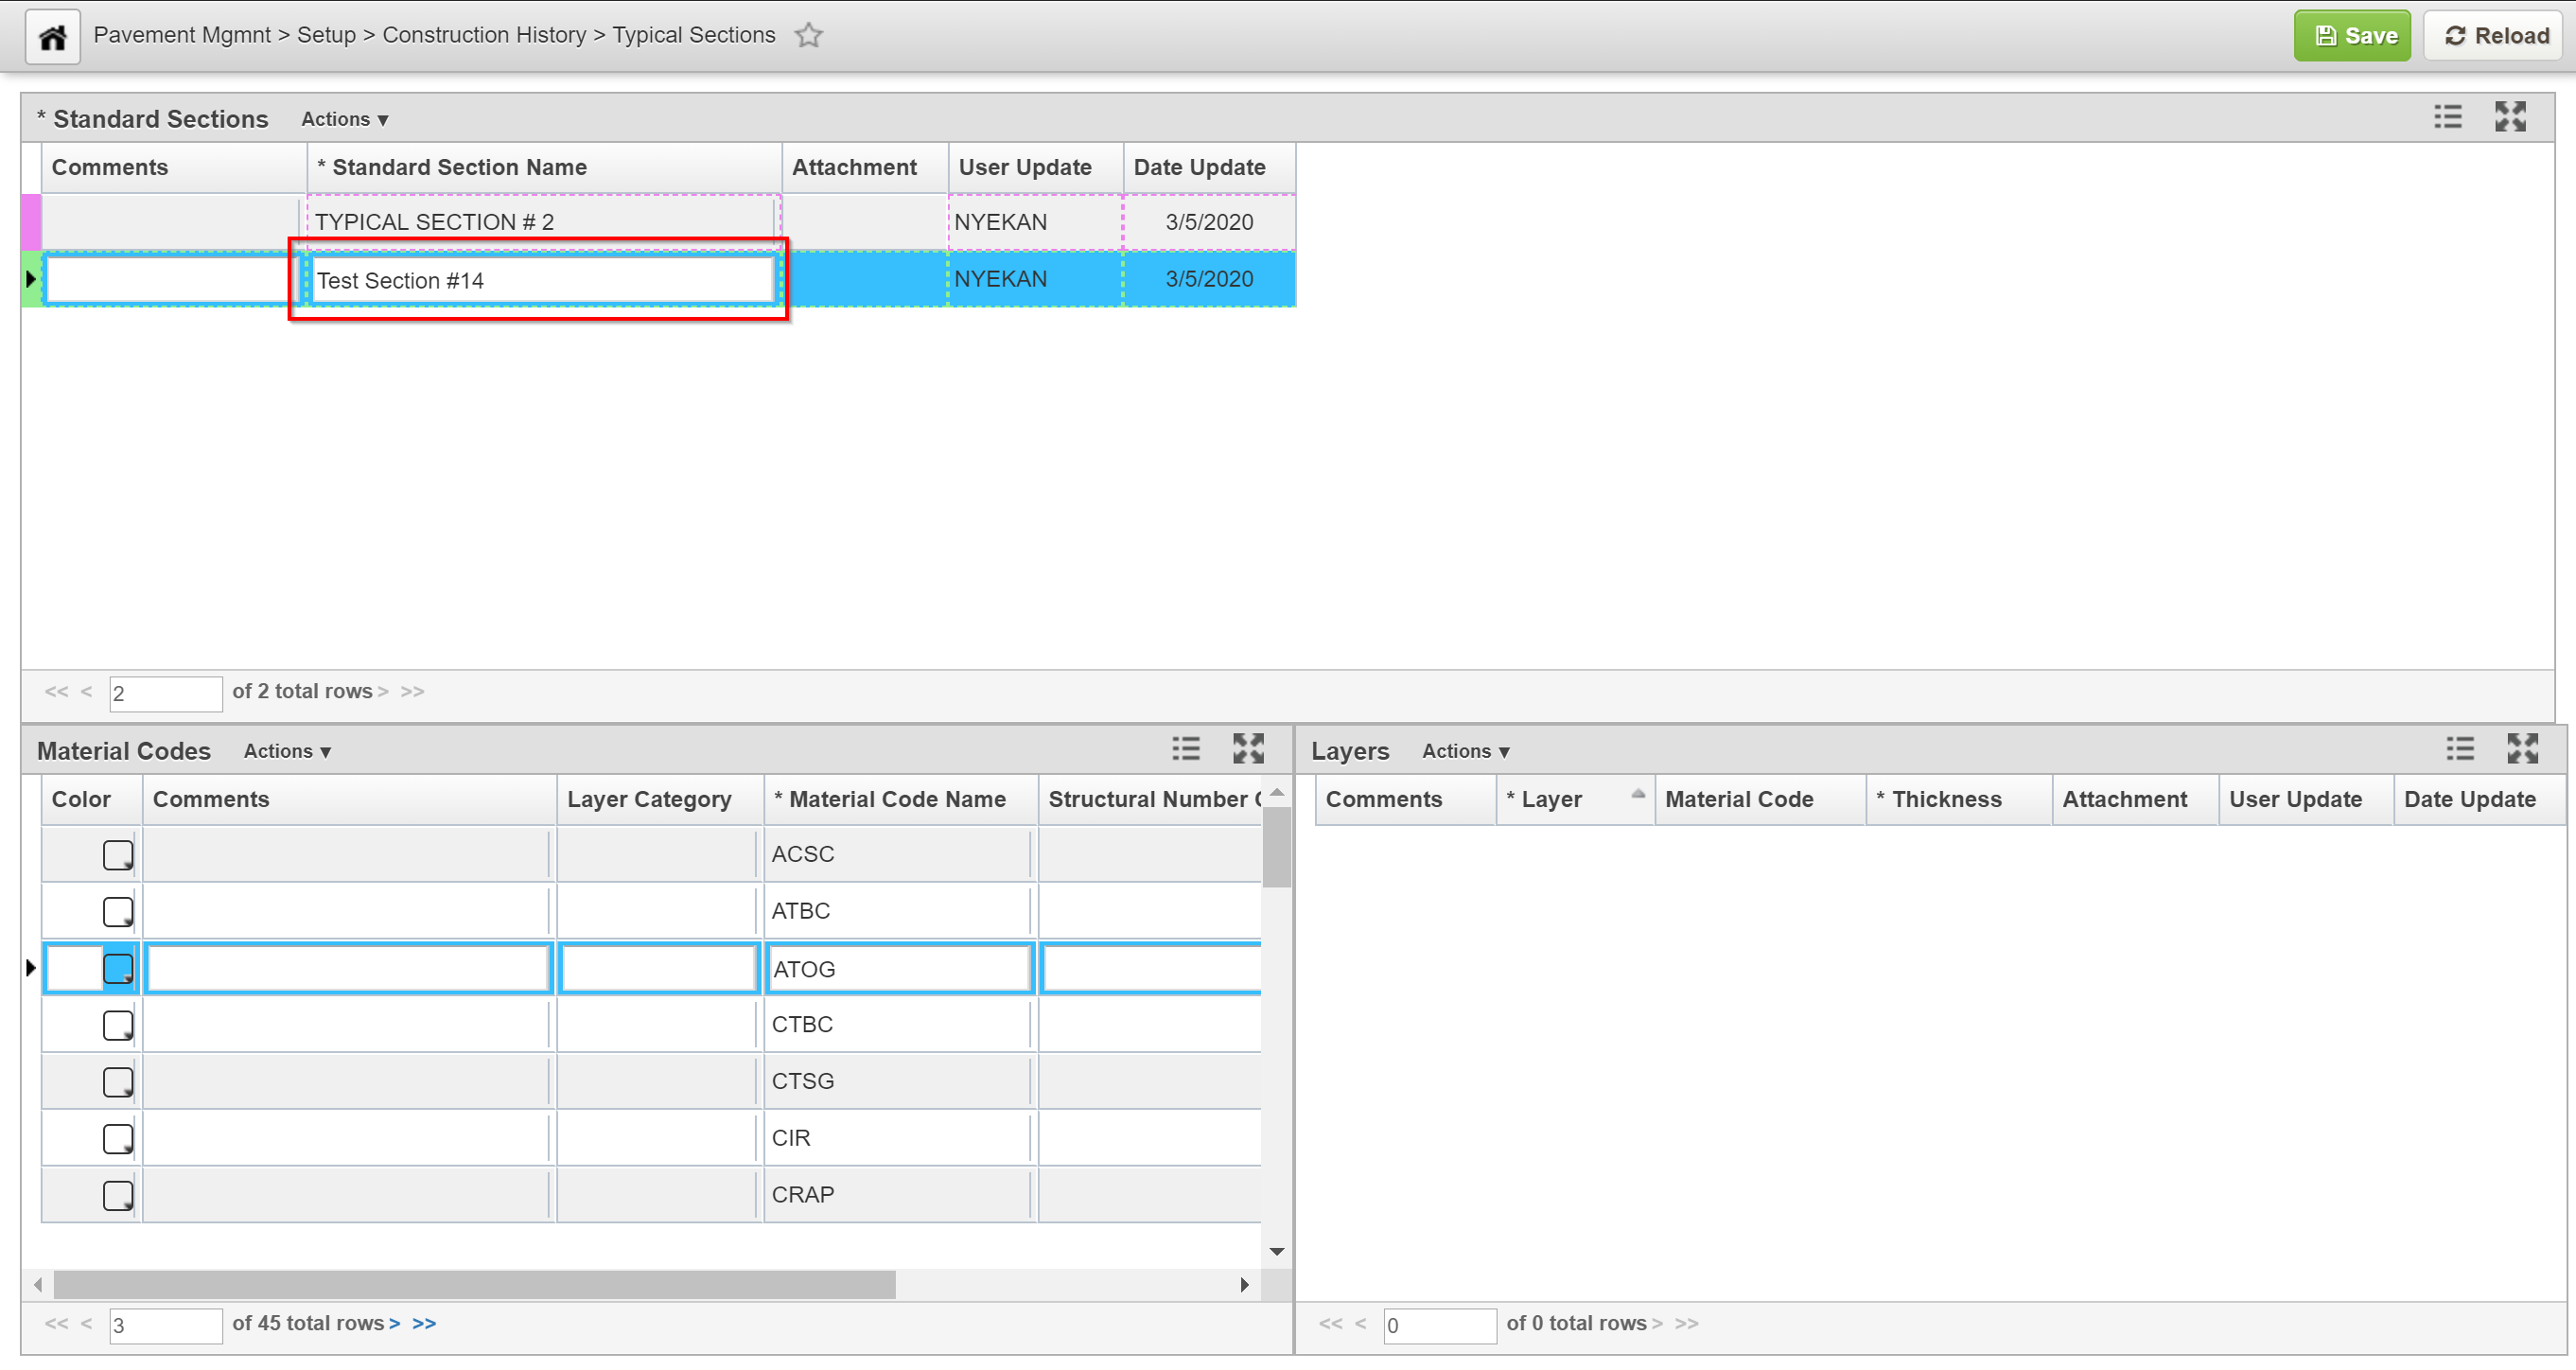
- In the Layers pane, right-click and select Insert
A new record is automatically added to the pane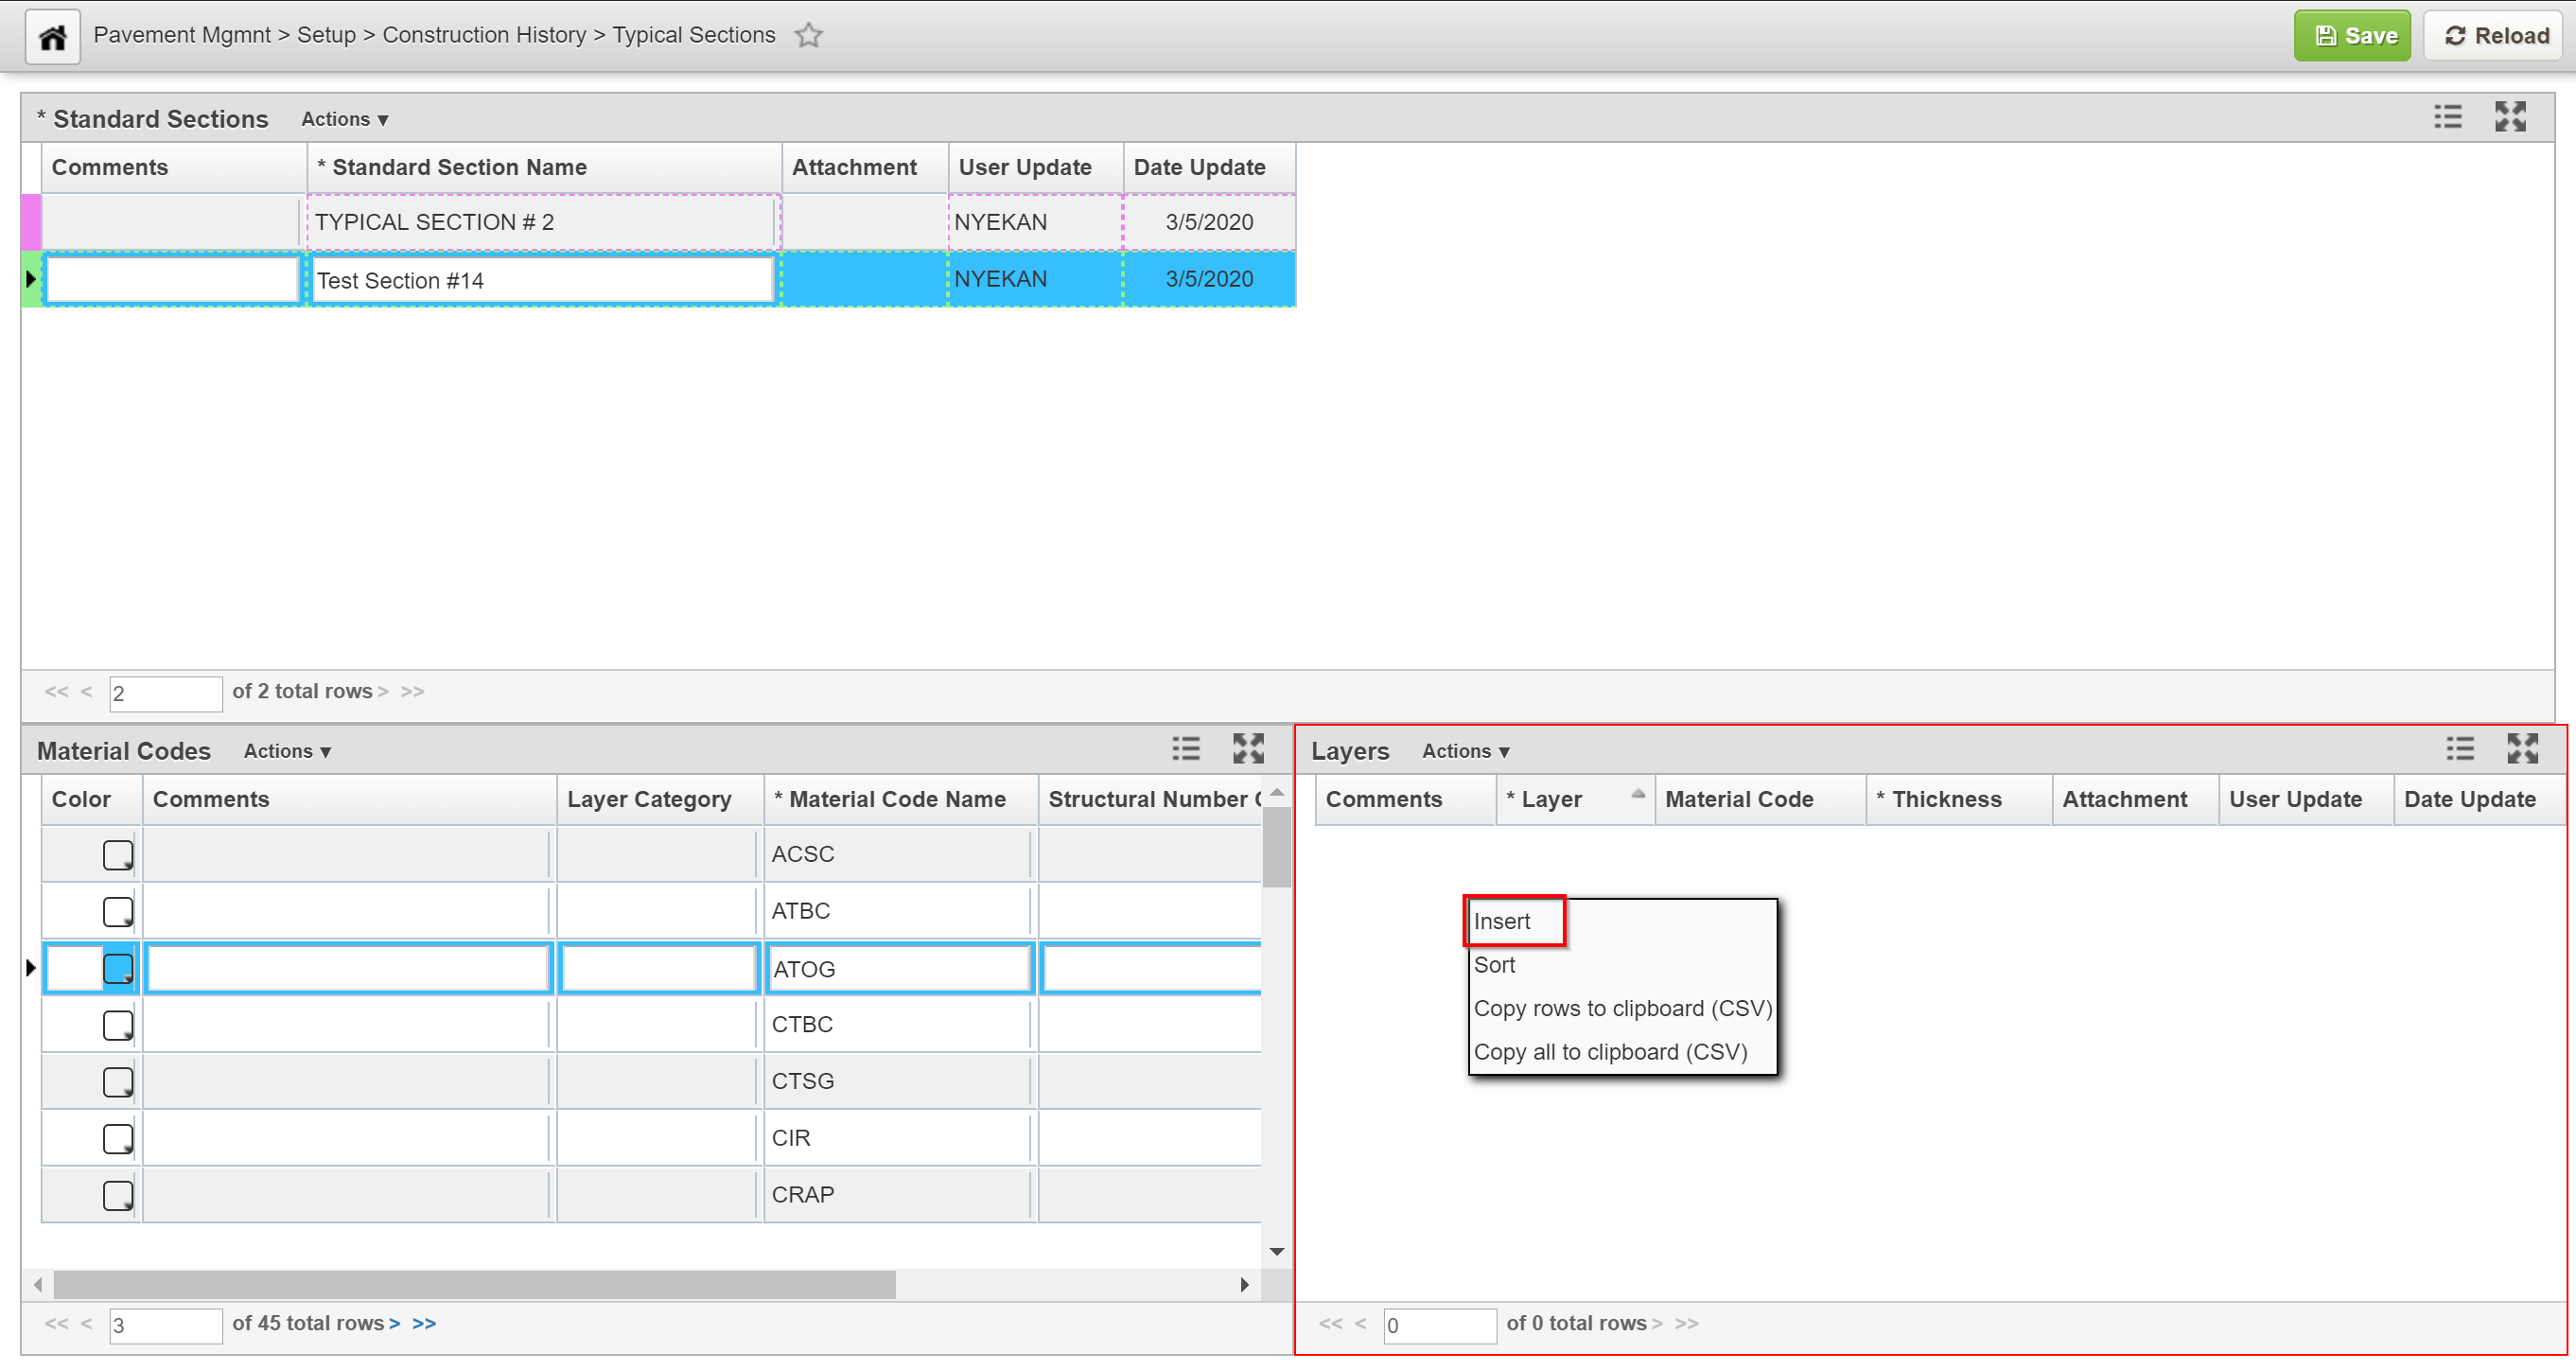
- Click in the Layer column and then type 1 to indicate that this is the first layer of the standard section (The first layer is defined as the topmost layer.)
- Click the down arrow in the Material Code column and select the type of material for this layer in the drop-down list
- Click in the Thickness column and enter the thickness of this layer
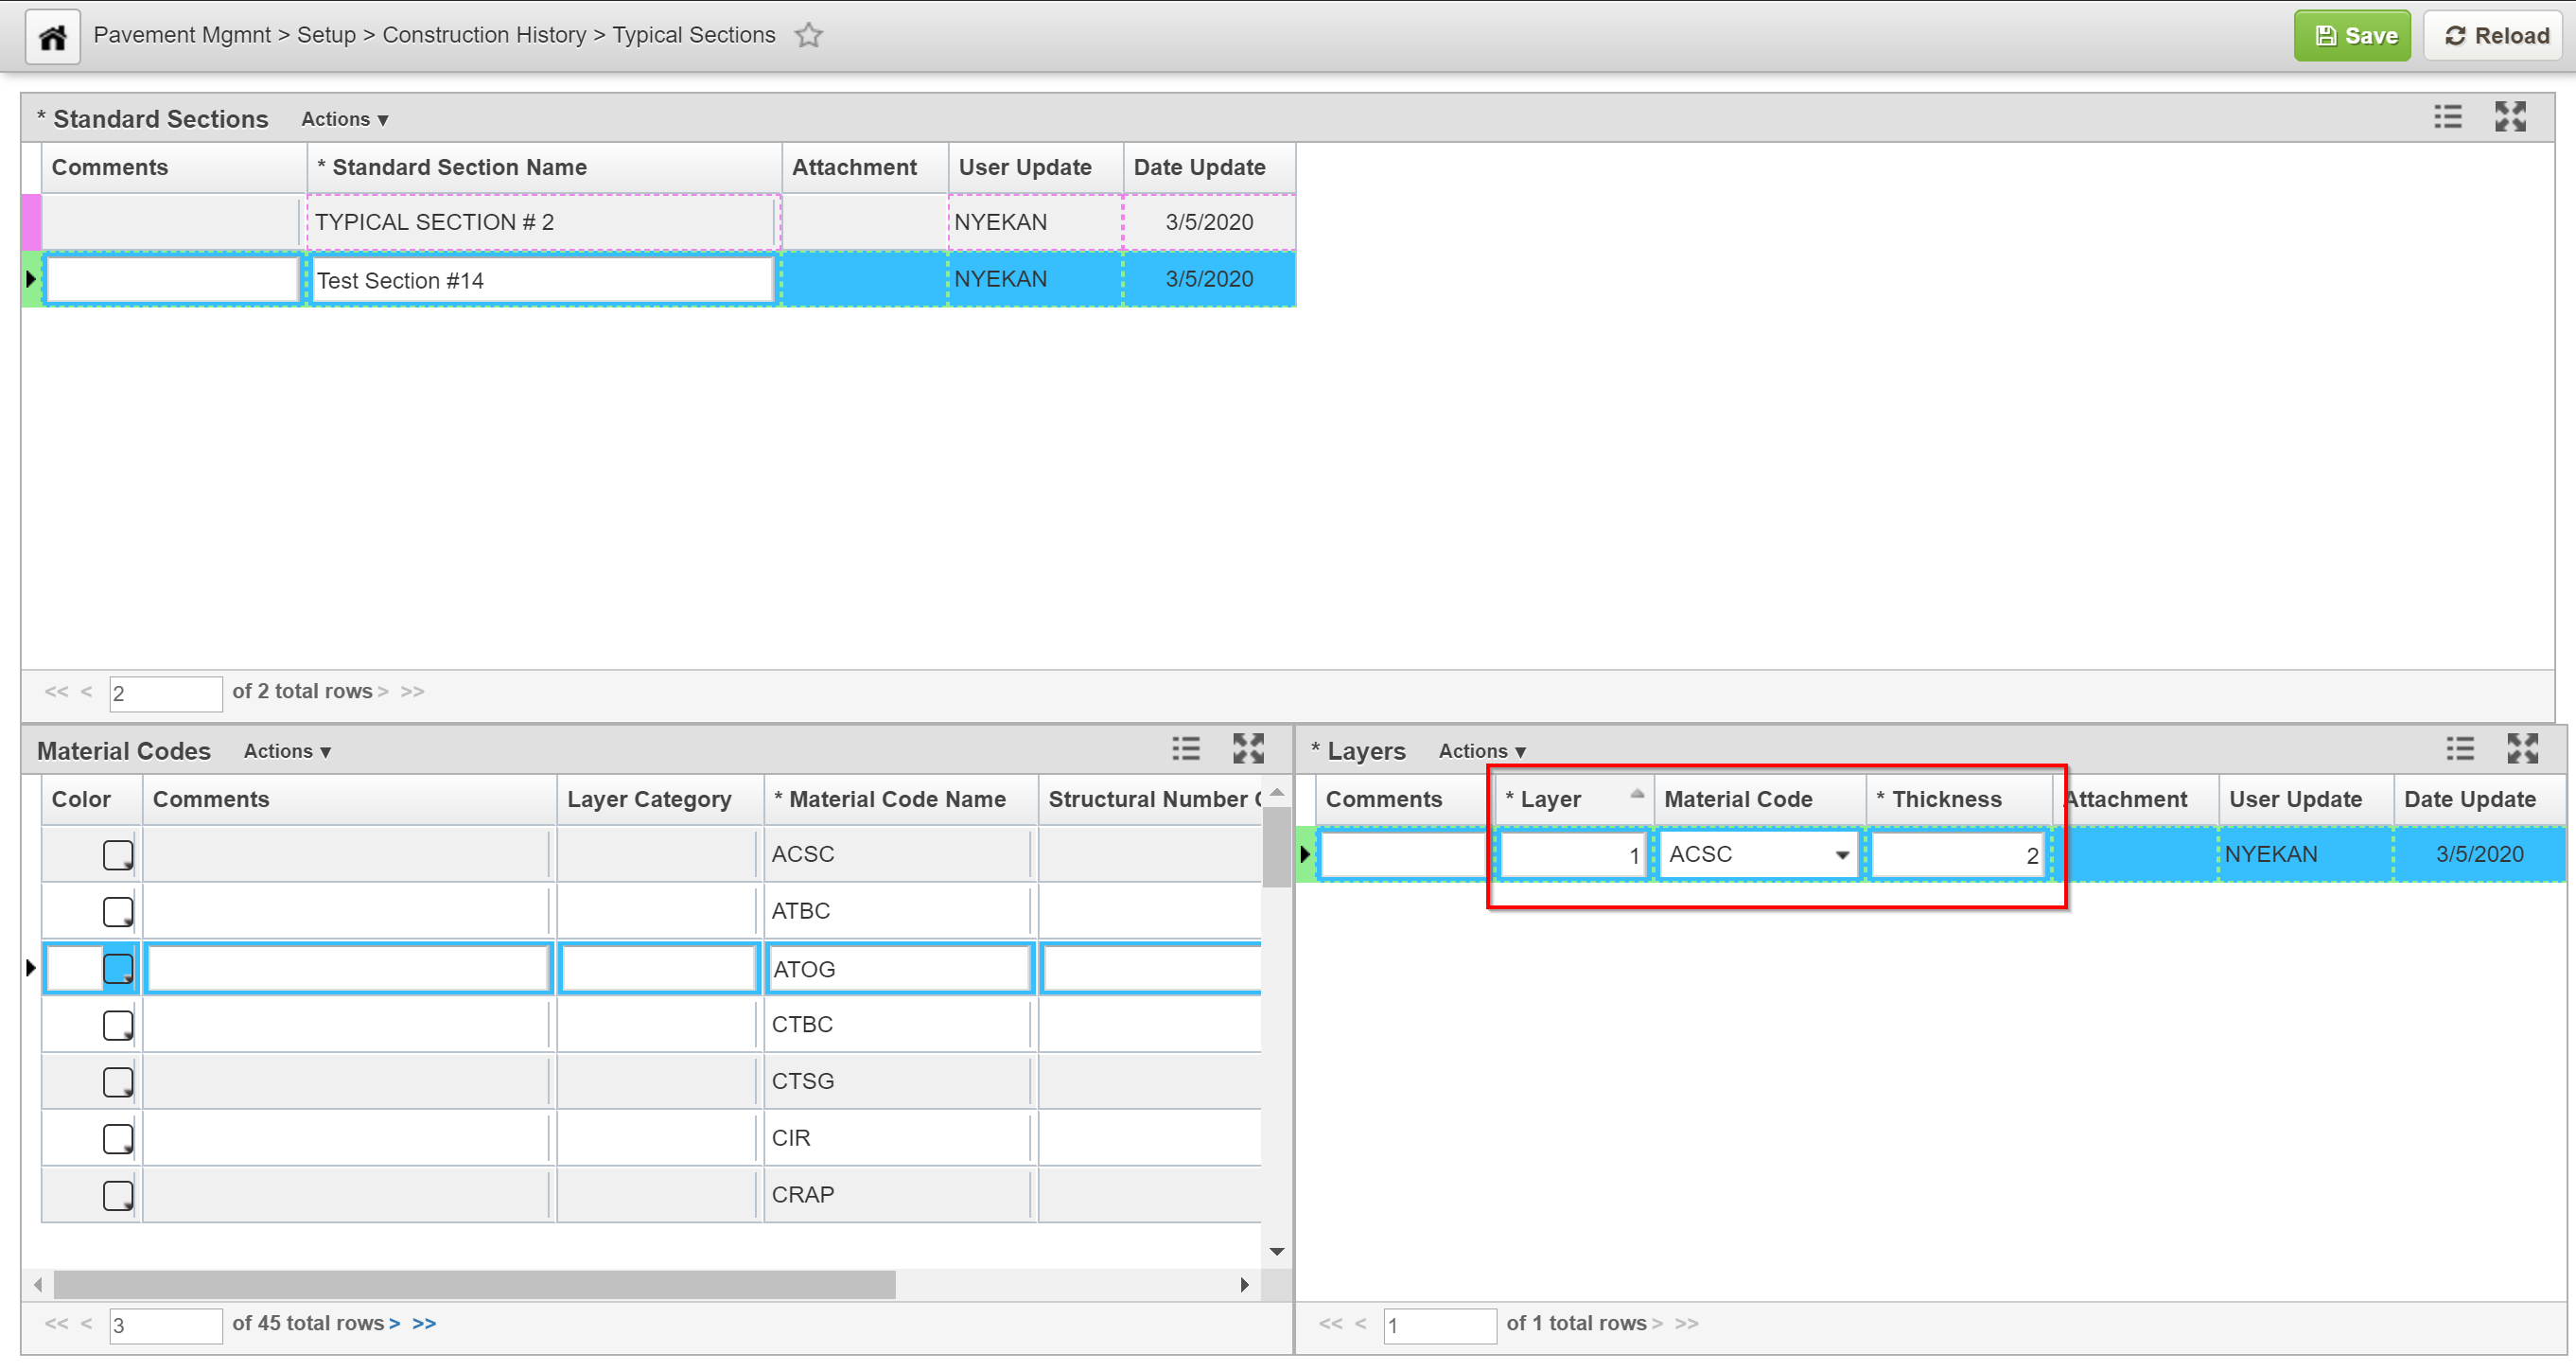
- Repeat steps 4 through 7 for each additional layer in the standard section
- Click Save to save your changes