- Open the asset Inventory/Inspection window.
- Navigate to Inspections tab.
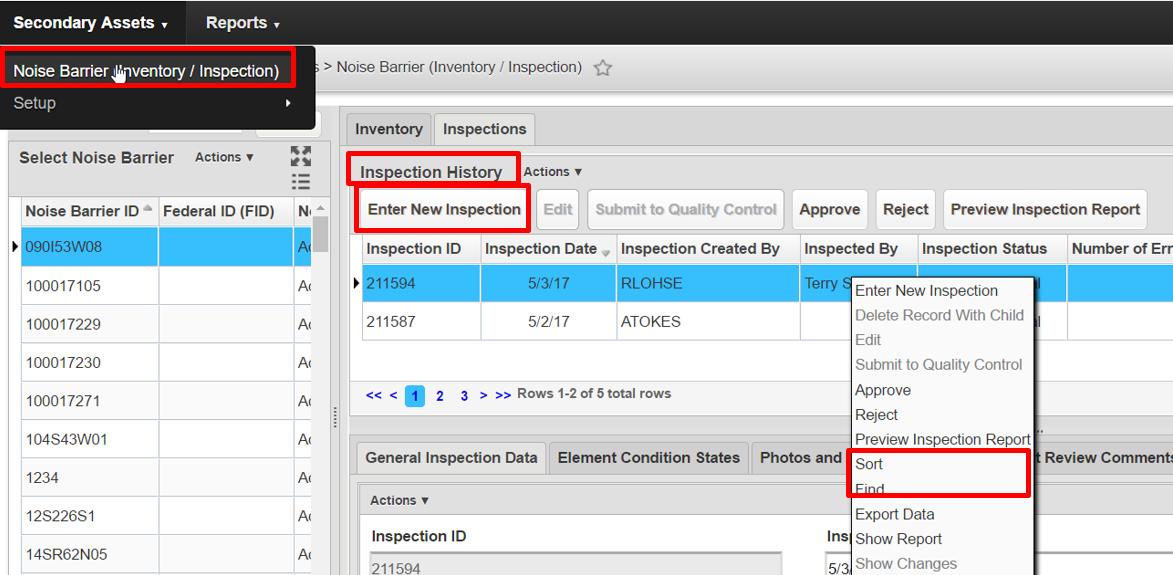
- Select the target asset in the navigation pane. In the example below we are using a Noise Barrier asset.
- In the Inspection History pane, click Enter New Inspection to create new inspection for the selected asset.
This action creates a new inspection record and automatically saves it. - In the same pane, user can use Find and Sort right-click functionalities to locate an inspection record and modify its information in various sub-tabs. Inspection information can be modified if the record is in editable status.
Once a blank inspection record is inserted, it can be edited, error checked, and sent to Quality Control (QC). All system required fields are marked with an * and are pre-prepopulated by the system. Users can adjustment the values of these fields as needed.
Note: Value of Inspection ID is assigned by the system automatically and cannot be modified.
Overview
Content Tools