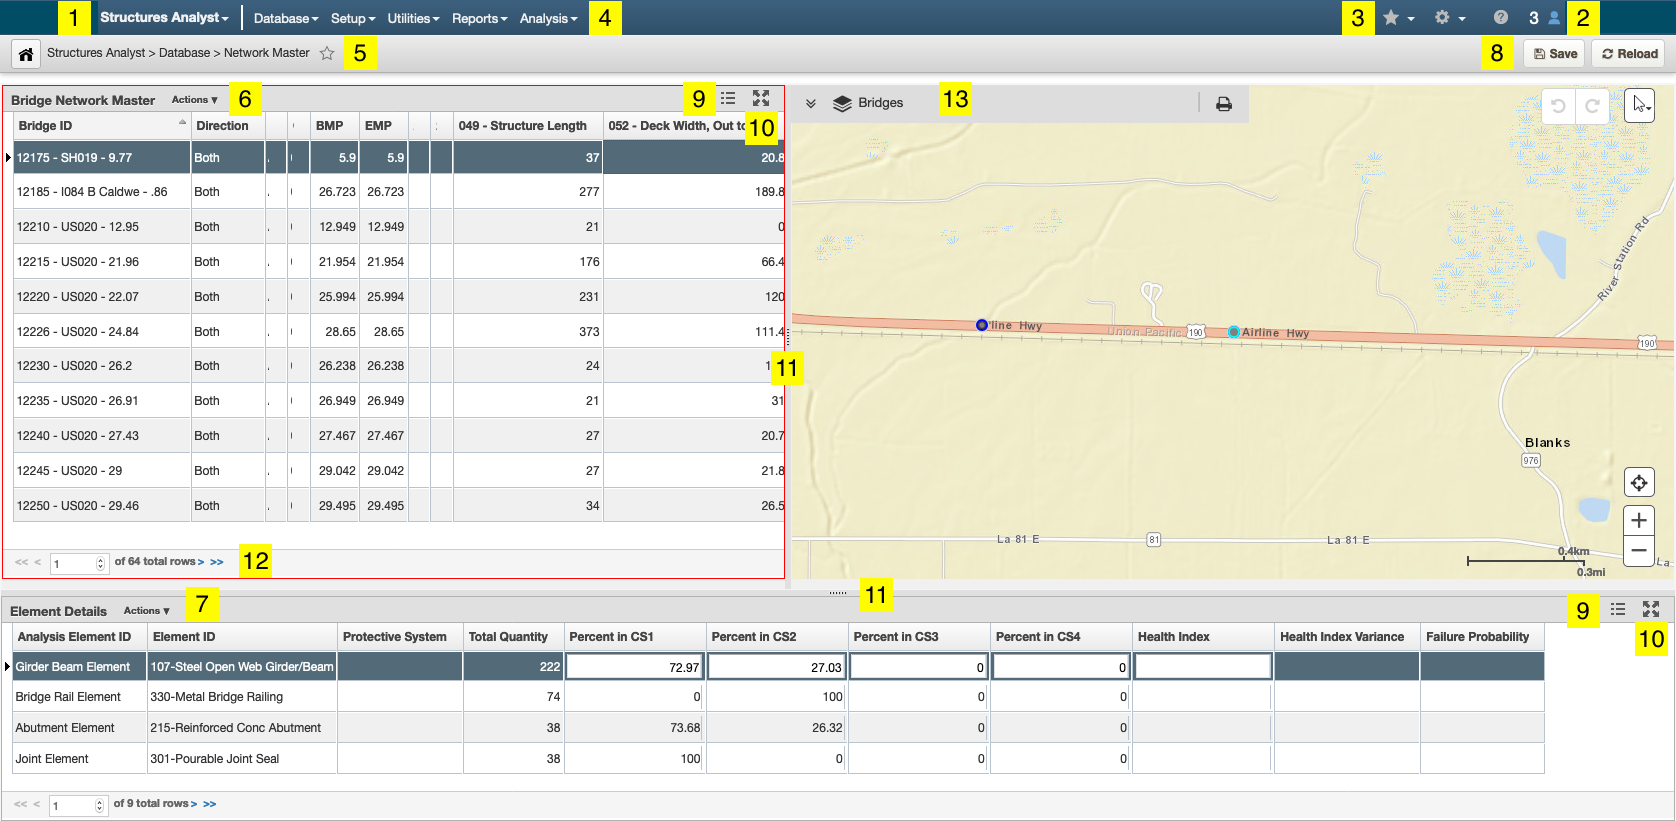
The screenshot above is a typical Network Master window. Your configuration may vary depending on your permissions. The numbered components are the following:
- Module selection: you can use this drop-down menu to navigate to Bride Inspector from another module or away from it when your tasks are completed.
- Application bar: displays your User ID, the department and region you are logged into, and your current security profile. Click on this bar to display a Session pop-up that allows you to create a new session, switch users, change password, or logout.
- Quick Links, Settings, and Help: you can add Quick Links
- Menu bar: displays categories of available actions
- Page navigation path: shows the pages that you navigated through to get to your current page
- Bridge Network Master Pane: lists all bridges to which you have view access
- Element Details Pane: shows specific information about the element you selected from the Bridge Network Master pane
- Save and Reload Data buttons: allows you to save any changes you've made or reload the page for updated information
- Grid or Free Form toggle switch: allows you to reorganize how the panes are displayed
- Maximize or Minimize toggle switch: allows you to make either pane take up the entire window and then return it to normal size
- Resizing Line: allows you to drag and change the size of the panes
- Page numbers and navigation arrows: displays total number of results in the table and which result you have selected
- Map: automatically zooms in to display you the asset you have selected int he Bridge Network Master Pane
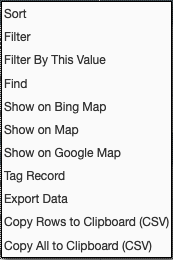
Additionally, you can right click in the Bridge Network Master pane for a pop-up menu of actions: