All transportation agencies keep a list of planned projects which is updated regularly and records when the project will be performed, where it will be performed, the intended treatment, and estimated project cost.
This list is termed a work plan, and it constitutes the final list of sections proposed for treatment based upon network analysis results and, as necessary, user intervention. The system allows you to develop multiple work plans, with the different work plans being defined in the Work Plan Type window. Then select a plan from the drop-down list in the Select WP Type field at the top of this window and enter the data for the work plan. The data is then used in optimization analysis and reports.
Work Plan Type
Click Here for Training Exercise
The system allows you to develop multiple work plans. (A work plan is a essentially a list of planned projects.) The different work plans are created in this window, while the data for each work plan is entered in the Work Plan Data window. The work plans listed in this window appear in the drop-down lists in the Work Plan Data and Optimization Analysis windows.
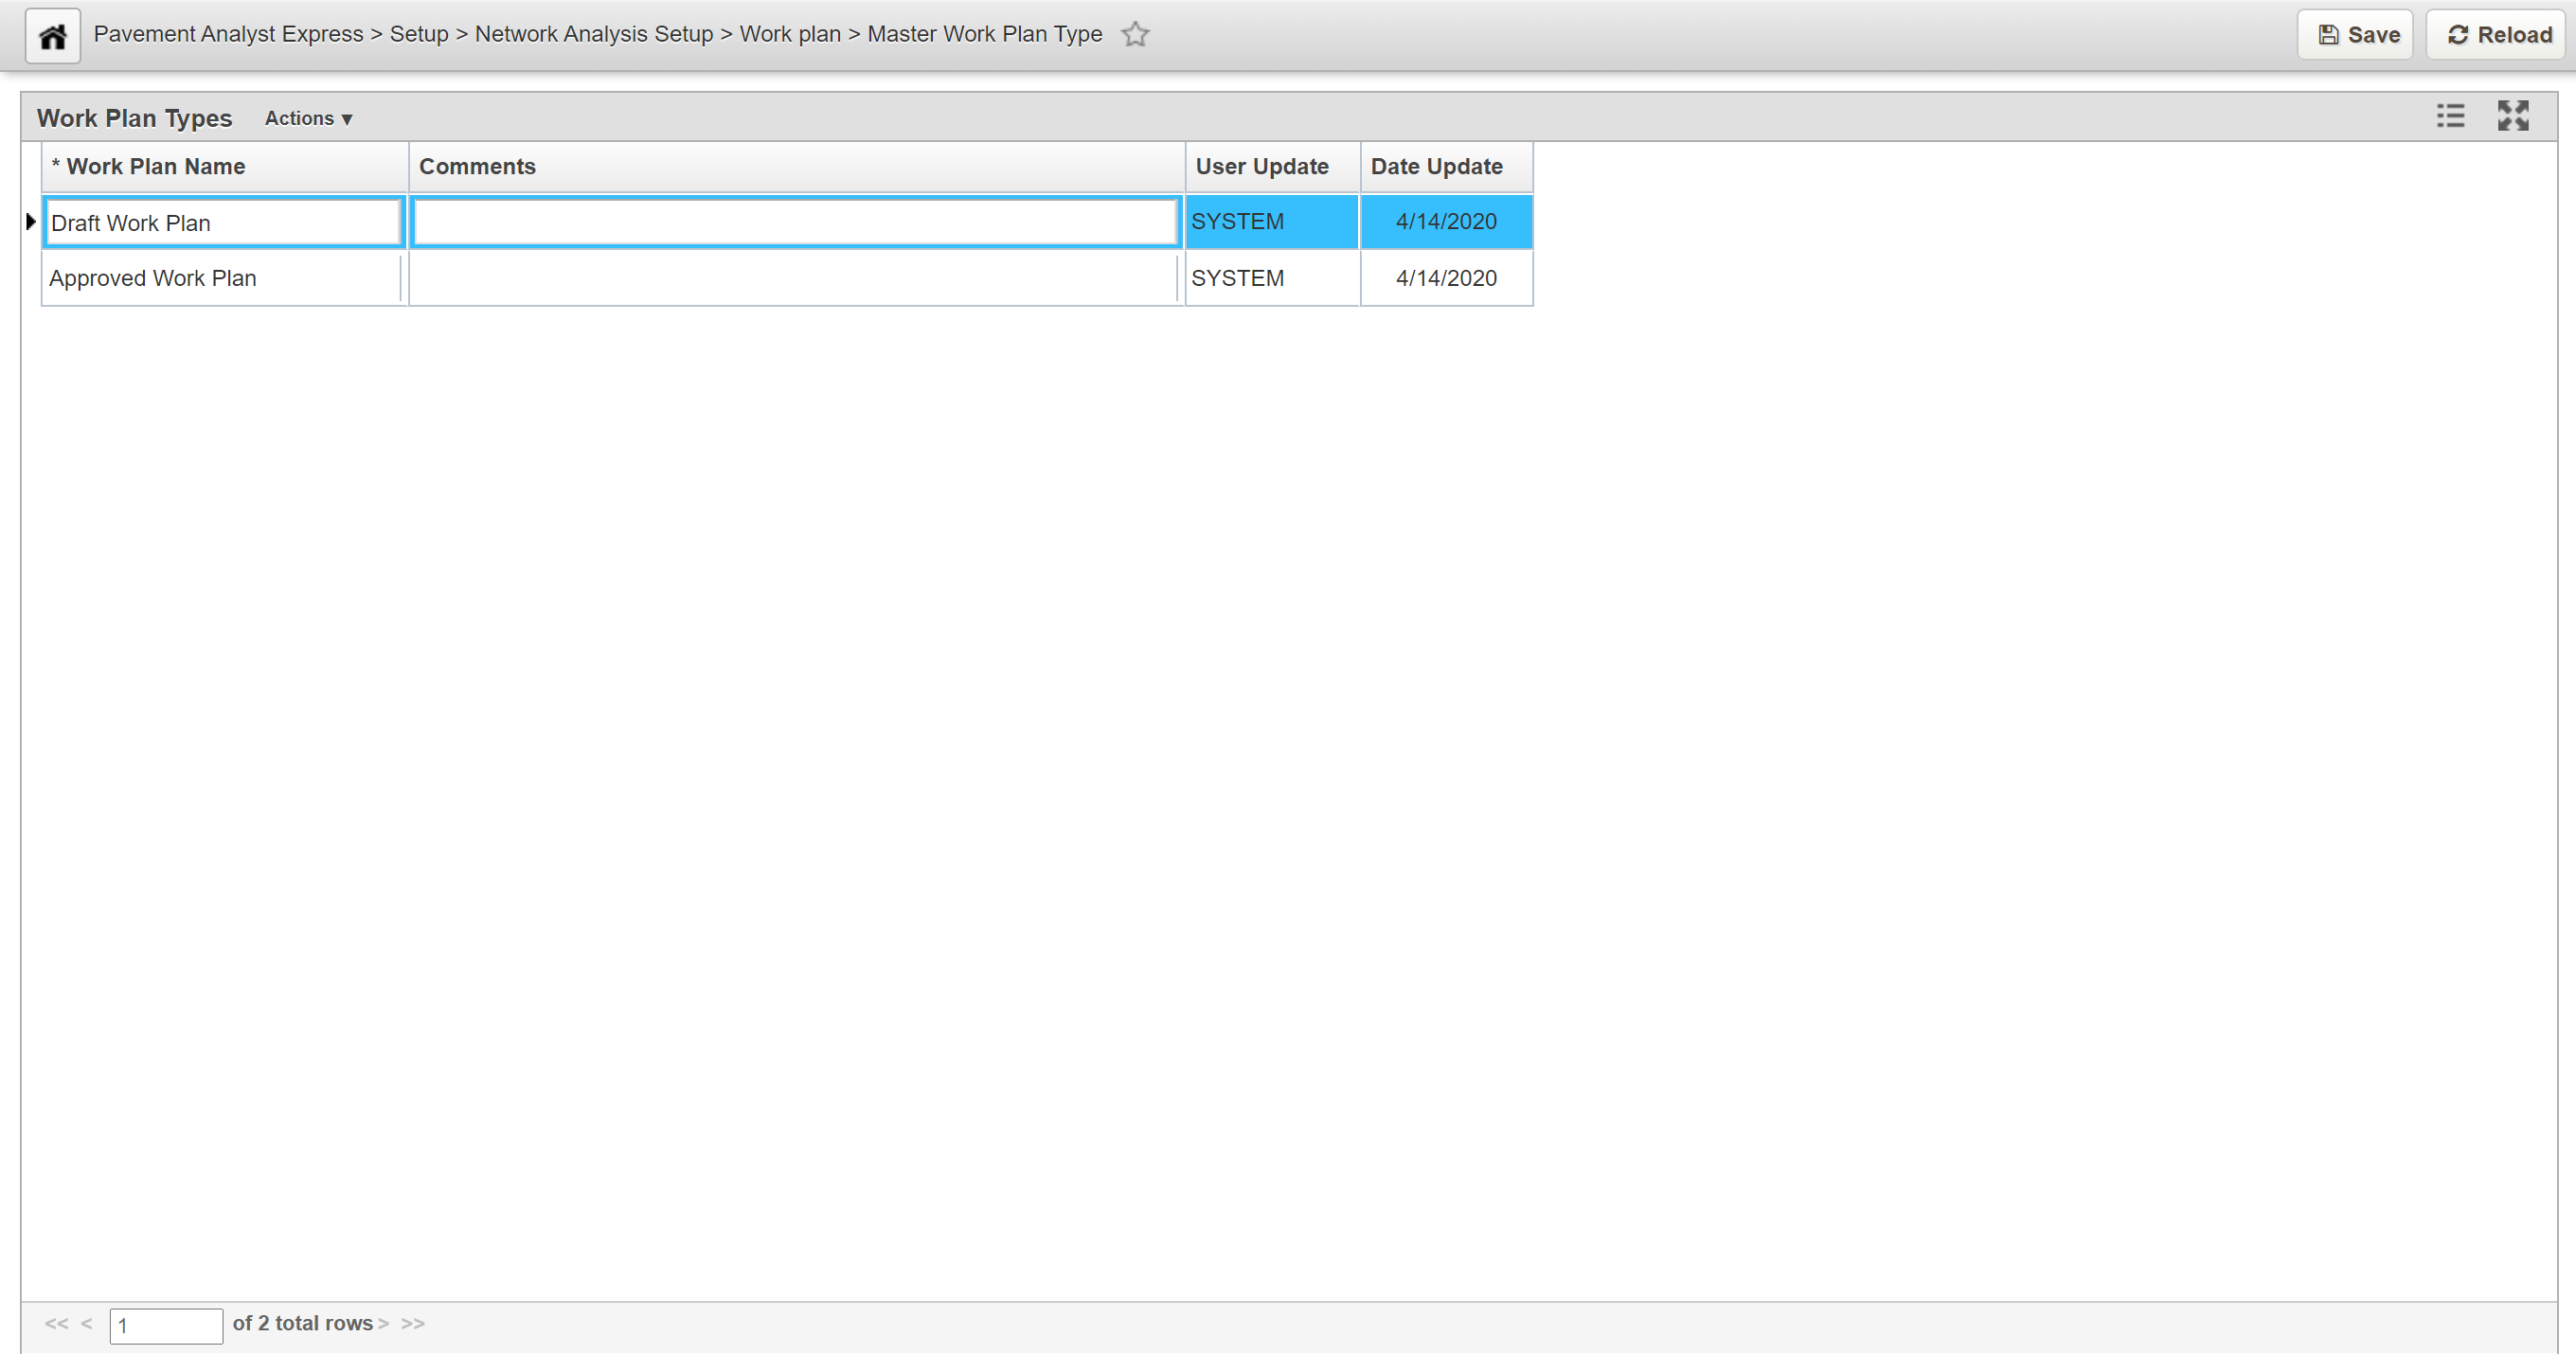
The Work Plan Type window shows a simple table with each type a record in the table. The Work Plan Type column shows the name of the work plan type, which is what will appear in the drop-down lists found in the Work Plan Data, Maintenance Analysis, and Optimization Analysis windows.
Create a Work Plan Type
The objective of this lesson is for the participant to understand how to create a new Work Plan. At the end of this lesson, the user should be able to add a new Work Plan in the Work Plan Type window |
|---|
In this example, we create a new Work Plan by performing the following steps:
1. Open the Work Plan Type window: Pavement Analyst Express > Setup > Network Analysis Setup > Work Plan > Master Plan Type
2. Right-click in the window and select Insert. A new row is added to the table.
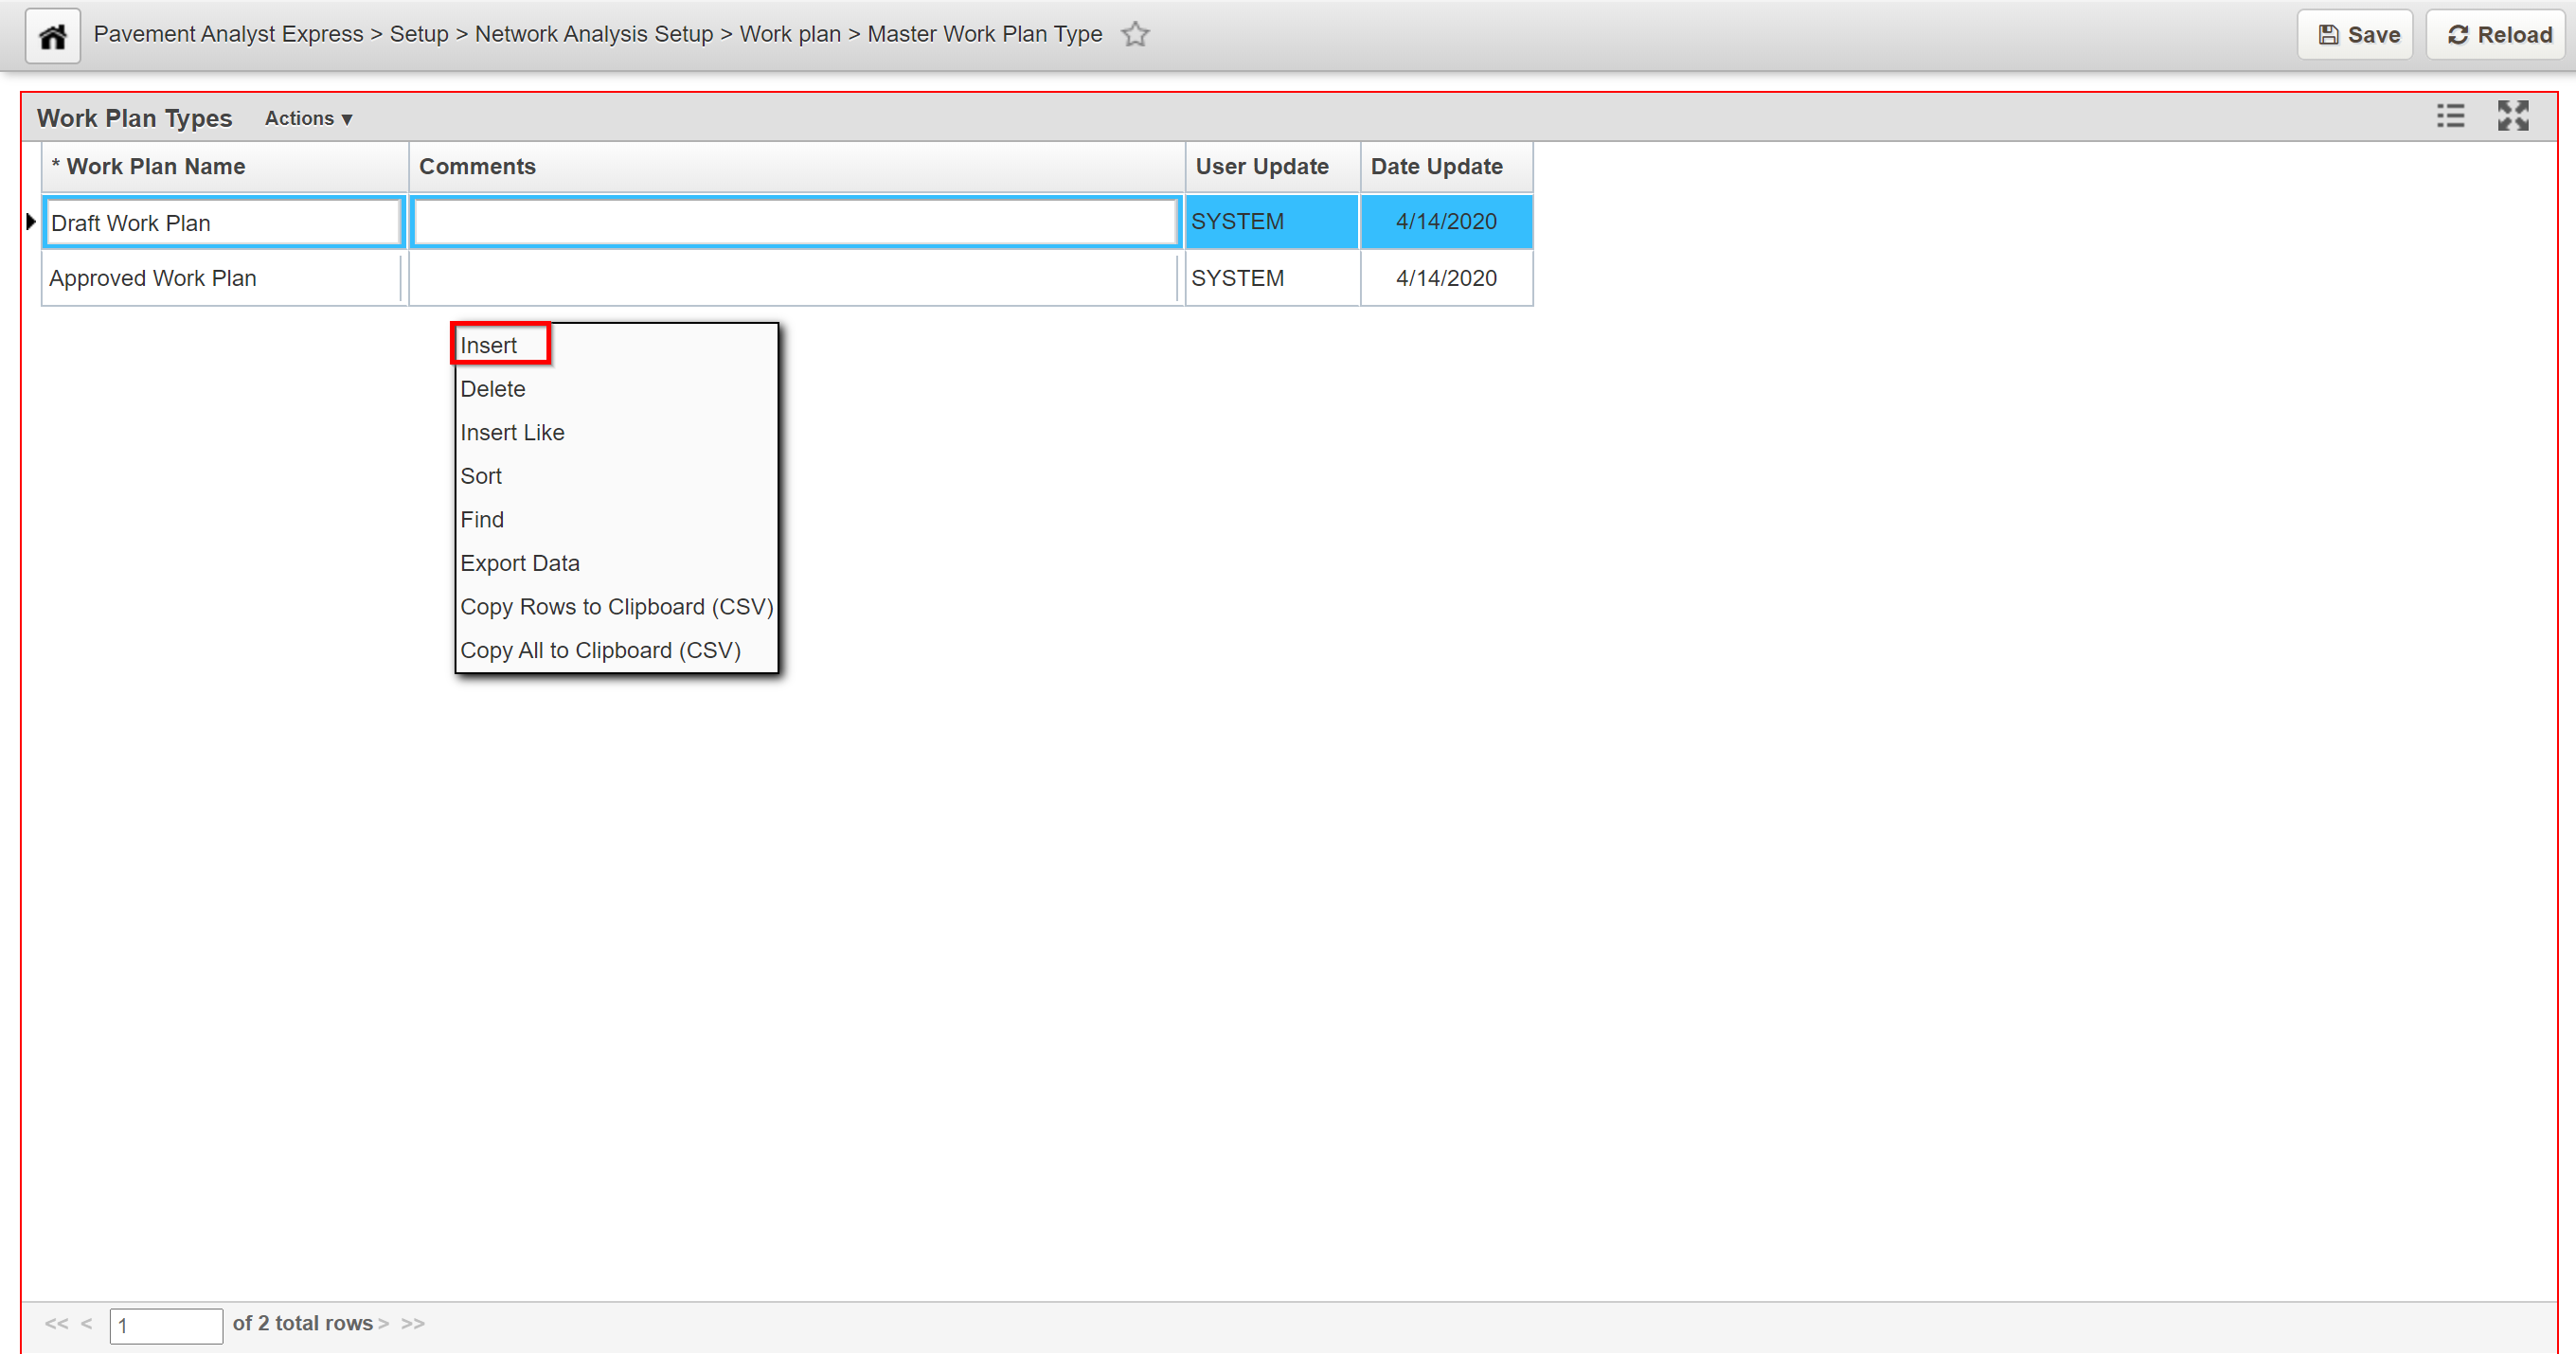
3. Highlight the default name and then type the name of the new work plan type. Since this name will appear in drop-down lists, make it as specific and informative as possible.
4. Populate all other fields that are applicable.
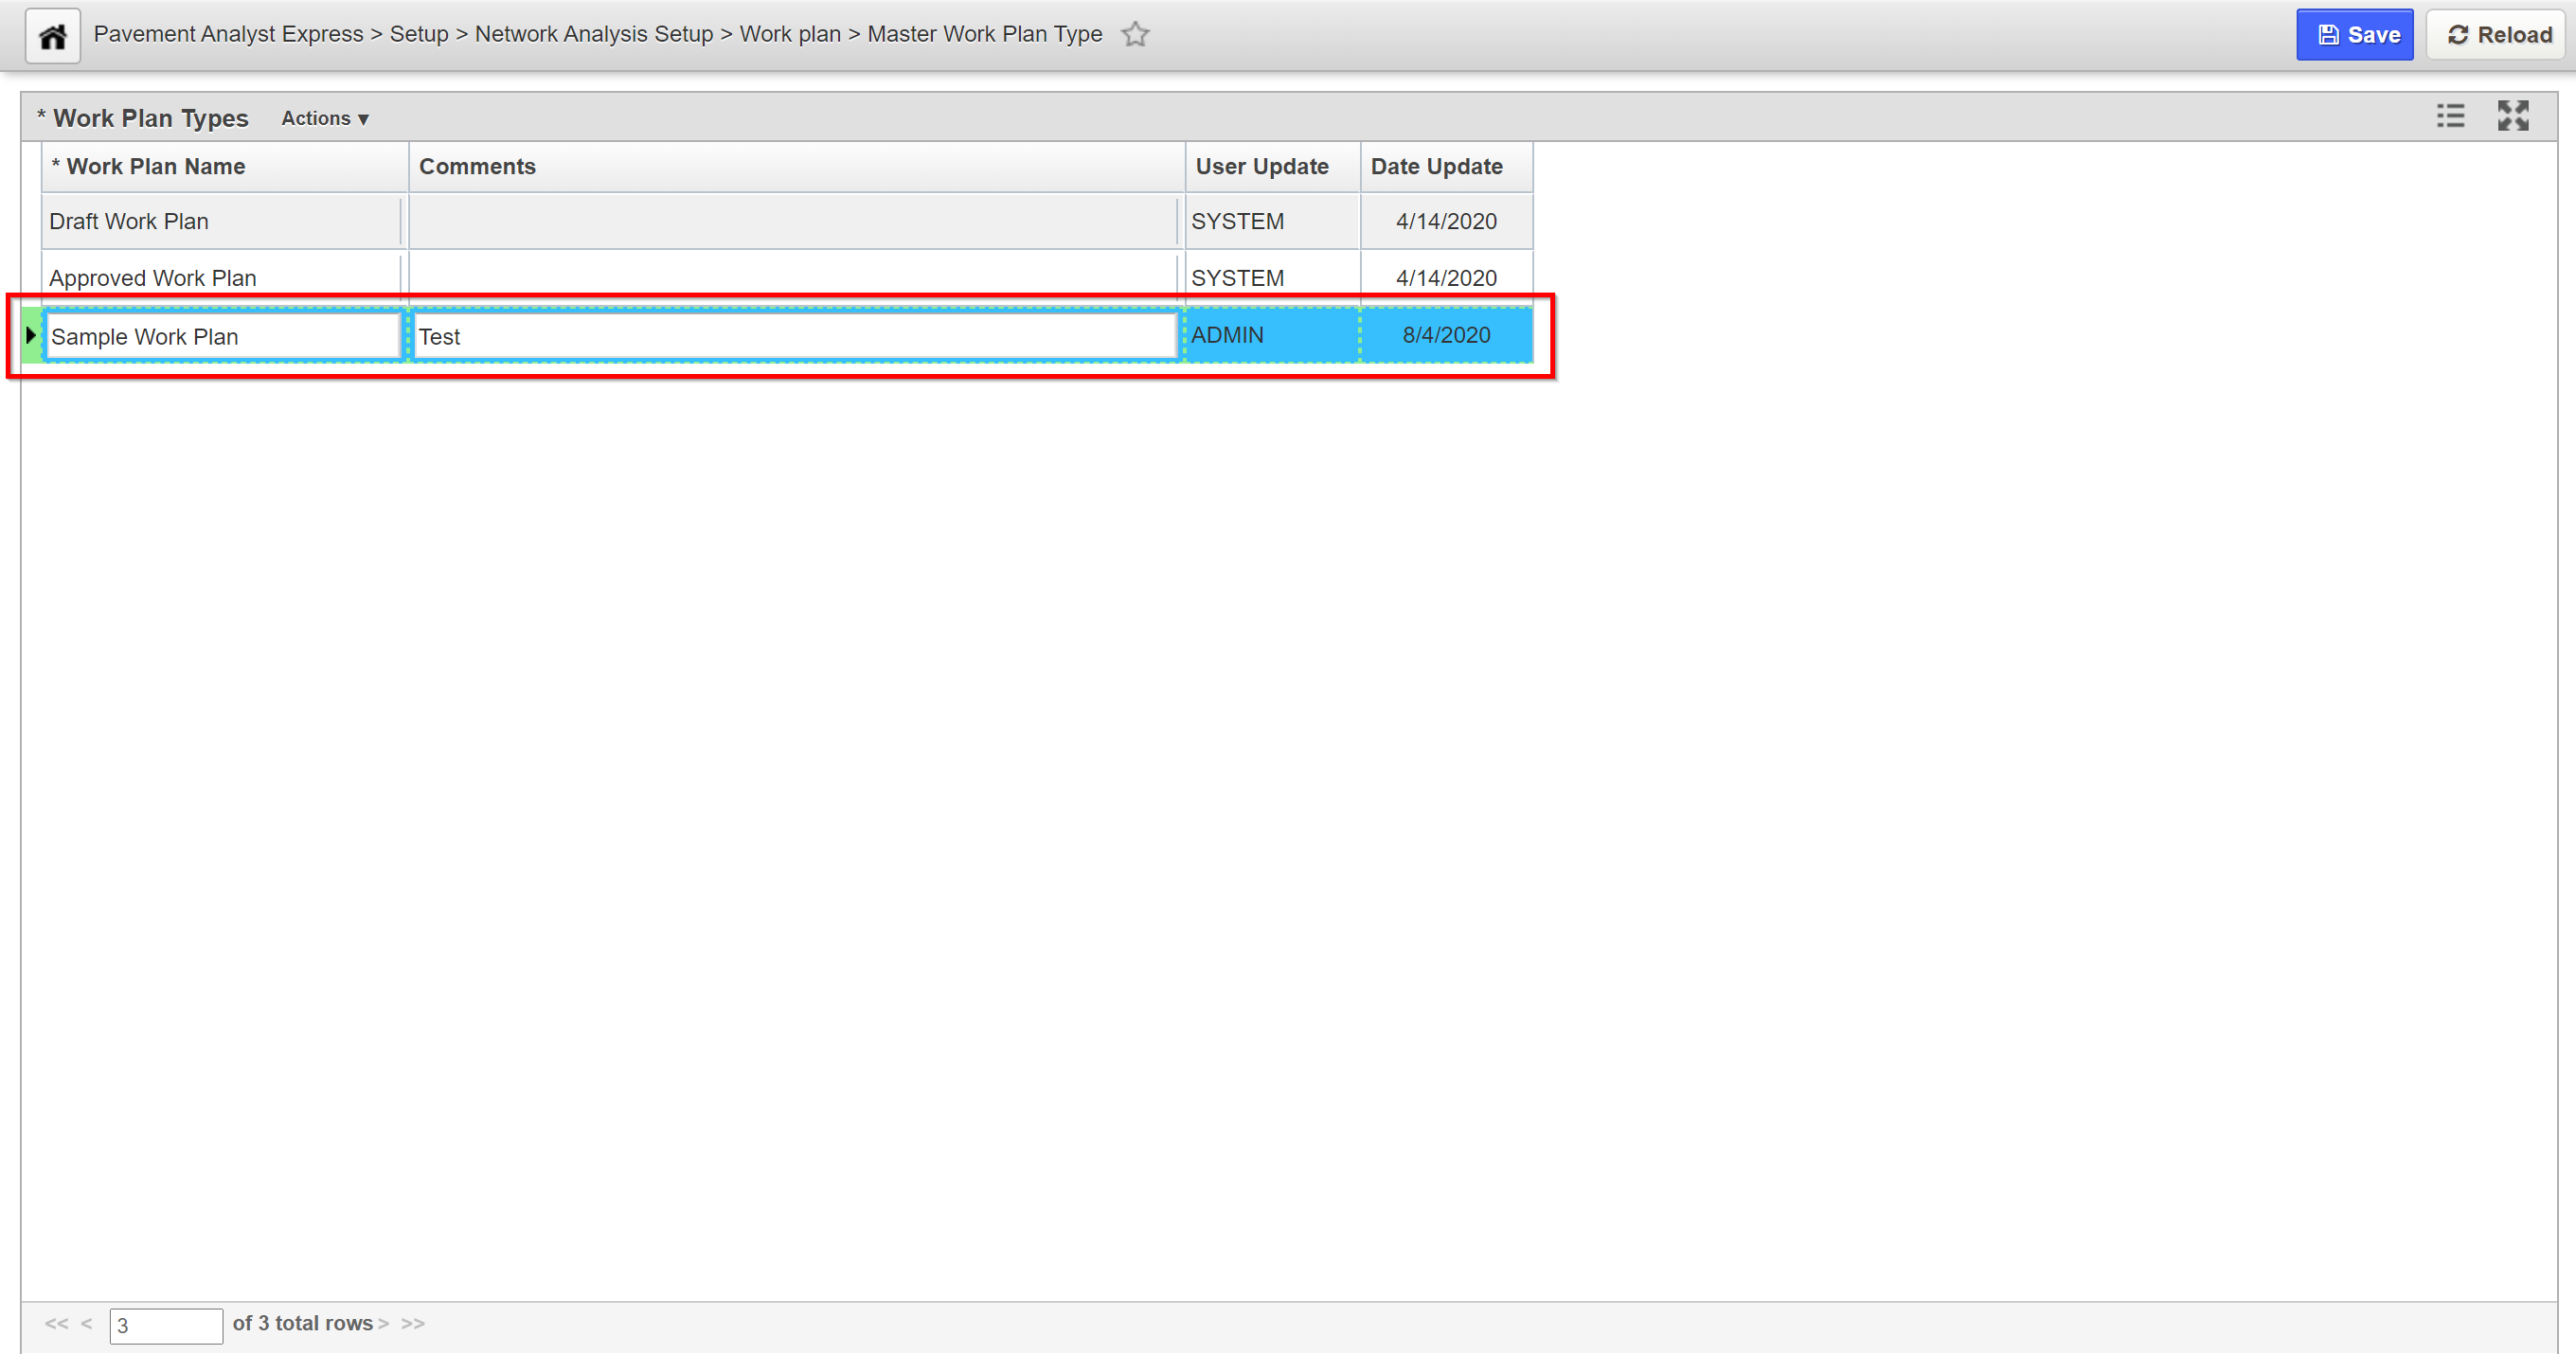
5. Click the Save button to save the record.
Create a MWP Project Status
The objective of this lesson is for the participant to understand how to create a new Project Status. At the end of this lesson, the user should be able to add a new Project Status in the MWP Project Status window. |
|---|
In this example, we create a new Project Status by performing the following steps:
1. Open the MWP Project Status window: Pavement Analyst Express > Setup > Network Analysis Setup > Work Plan > MWP Project Status
2. Right-click in the window and select Insert. A new row is added to the table.
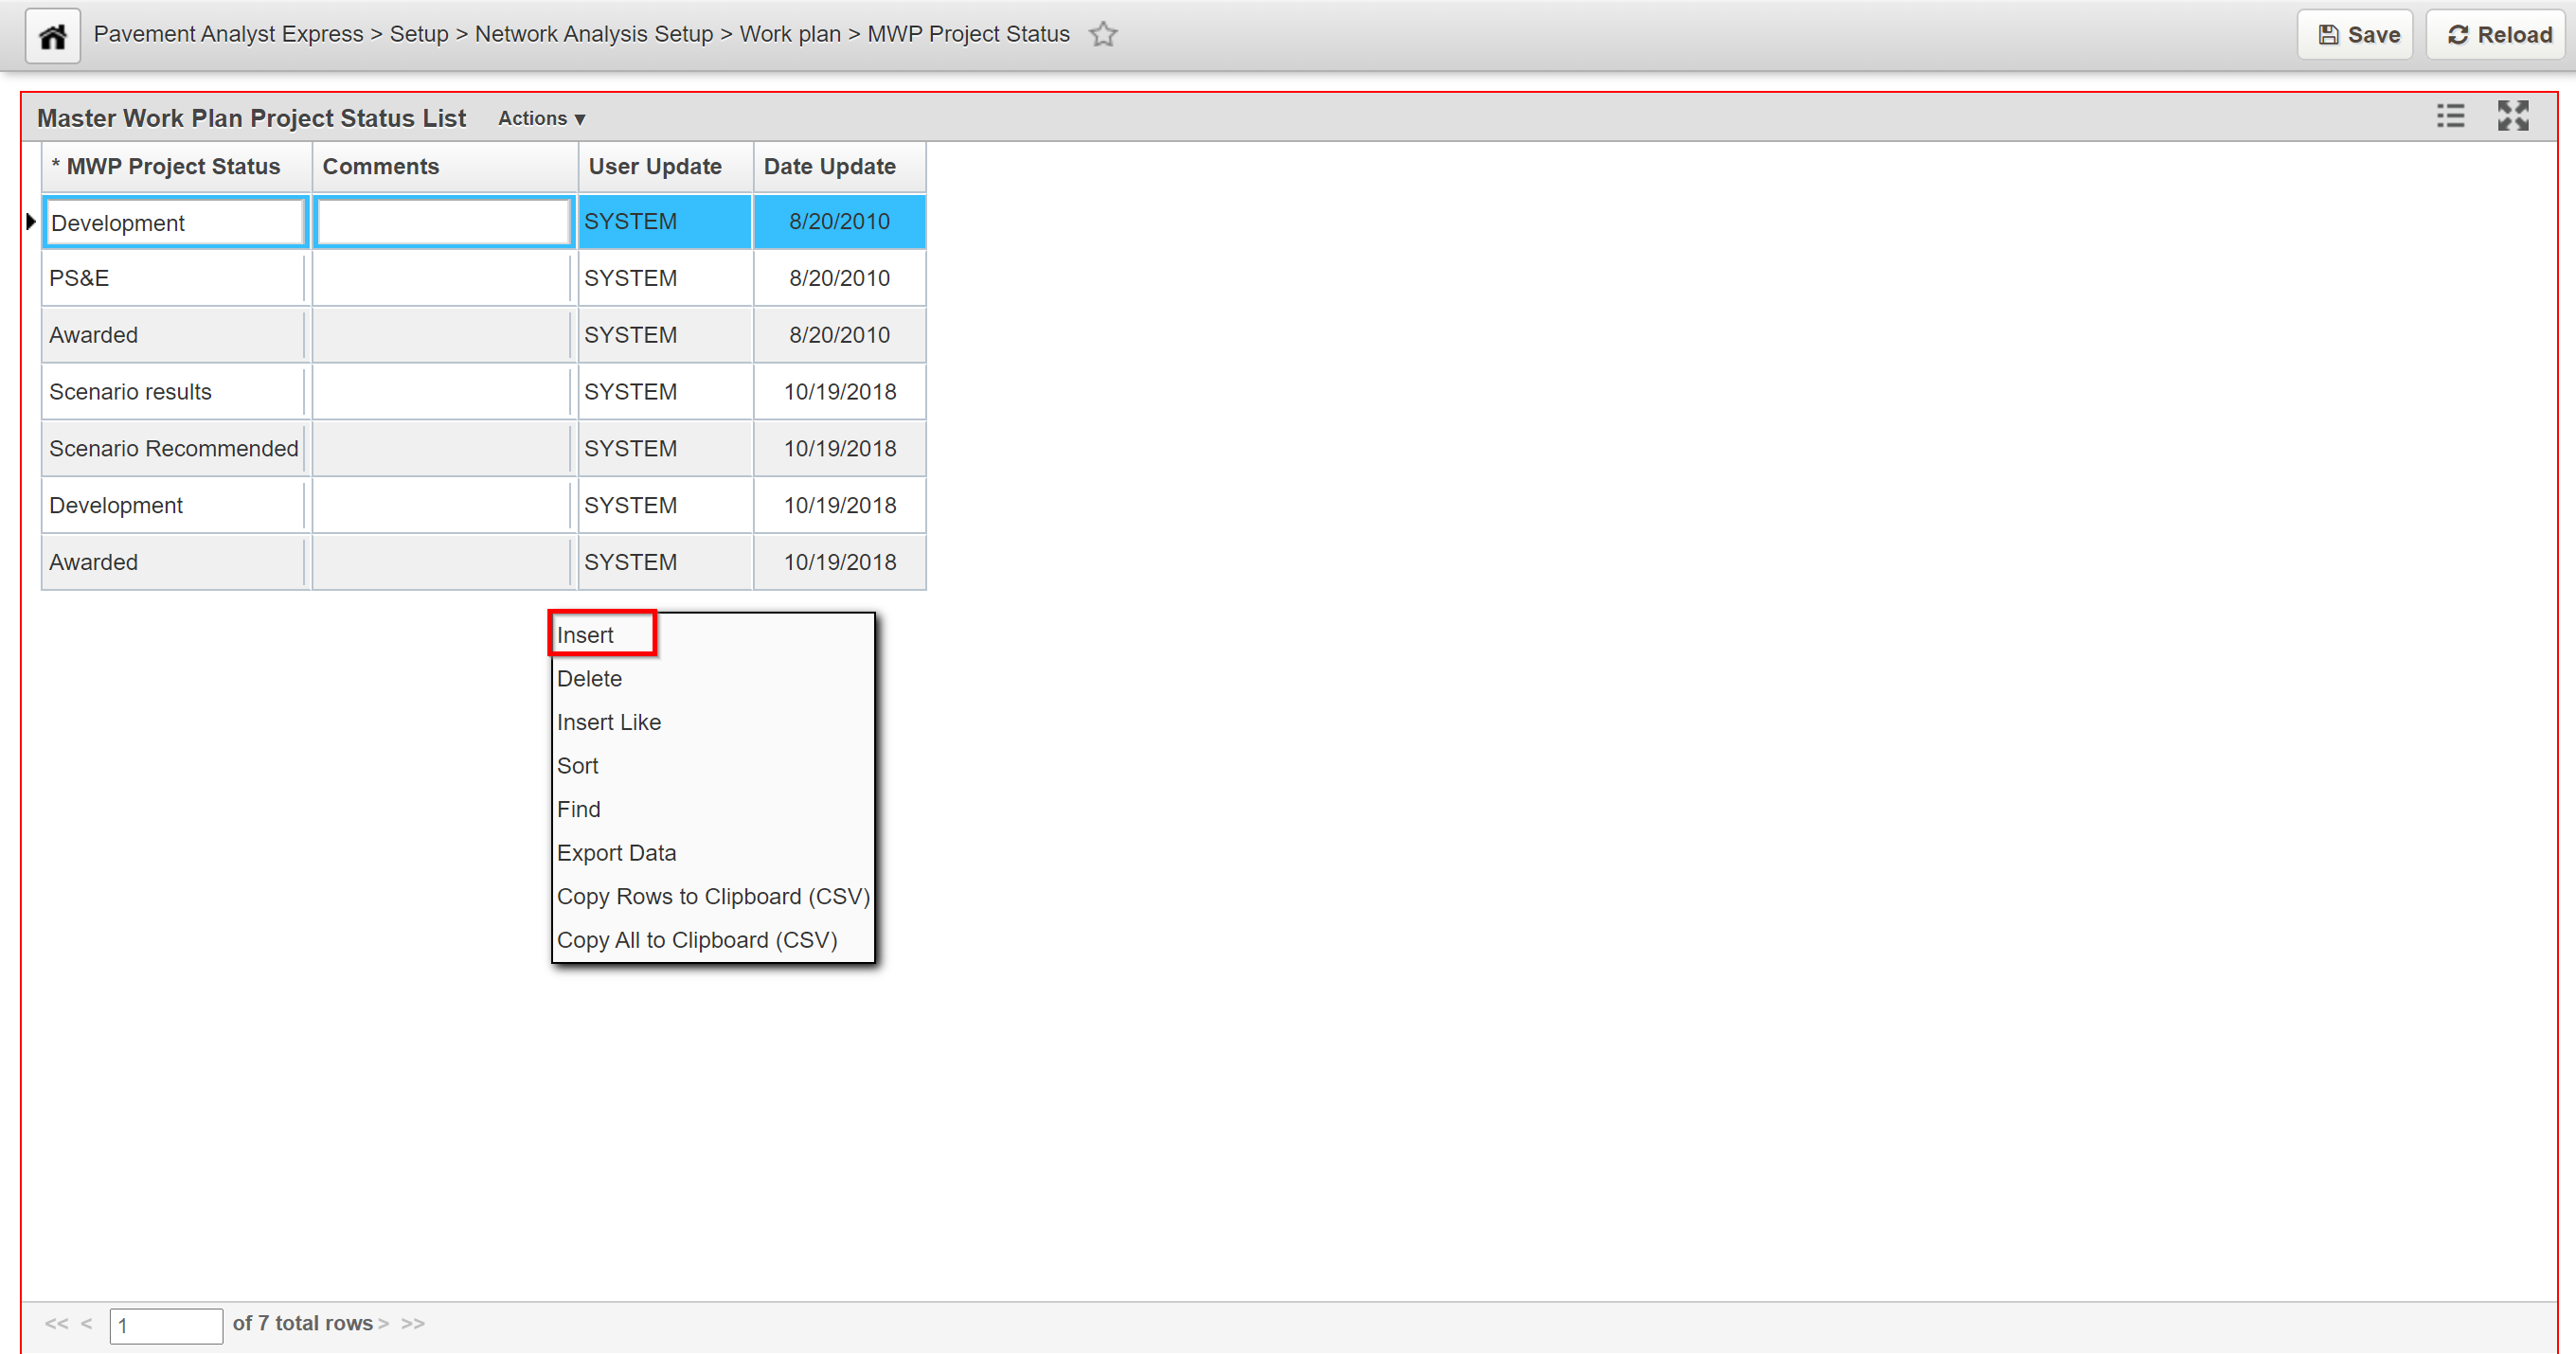
3. Highlight the default status name and then type the name of the new project status.
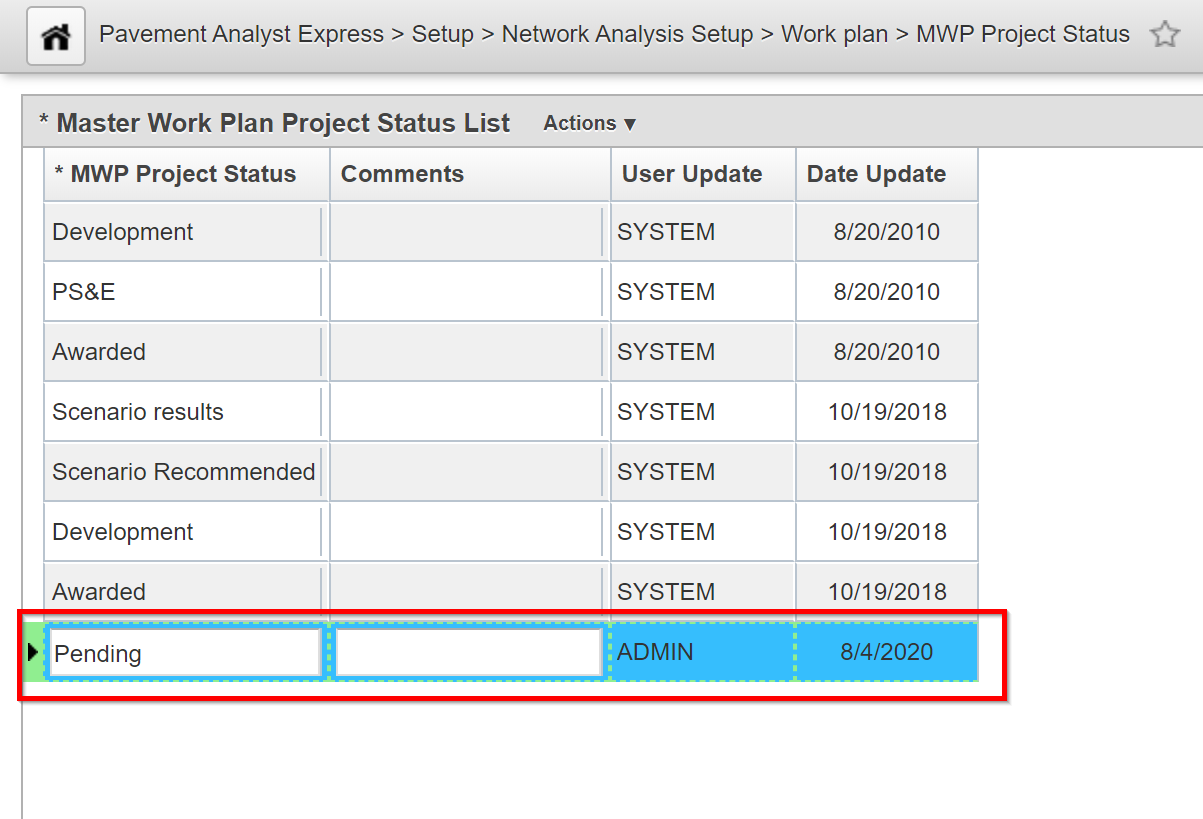
4. Click the Save button to save the record.
Edit/Modify a Work Plan
The objective of this lesson is for the participant to understand how to make updates to a work plan. At the end of this lesson, the user should be able to edit/modify a work plan. |
|---|
In the Master Work Plan window, a user can select a Master Work Plan Type from the drop-down list in the “Select WP Type” field at the top of this window, and review/enter the data for the work plan. The data is then used in optimization analysis and reports. When you right-click the table, a shortcut menu is displayed. This menu contains the common commands along with the following special commands:
- Recalculate Cost: This command utilizes the treatment cost formula configured in the Calculated Expressions window. This formula uses the input parameters for treatment costs found in the Master Work Plan window. The result of this formula is then displayed in the Project Cost column.
- Copy Analysis Results: This command displays a dialog box from which you select the scenario analysis and then the line items you want to copy to the Work Plan Data window. Click here for more information on using this command.
- Copy from Master WP: This command displays a dialog box from which you select another work plan and then the line items you want to copy to the Work Plan Data window.
- Copy from Network Master: This command displays a dialog box from which you select the records you want to copy to the Work Plan Data window.
- Create Pavement Construction Record: This command creates a construction history section record from the currently selected master plan record provided a work code is designated for the treatment assigned to the master plan record. The construction history section record is then available for edit and review in the Construction History window.
In this example, we show how a work plan can be Create, Edited, or Deleted by performing the following steps:
1. Open the Master Work Plan window: Pavement Analyst Express > Analysis > Network Analysis > Master Work Plan

2. Click the arrow in the Select WP Type field above the table and select the desired work plan from the displayed list.

- To add a record to the plan, right-click in the Master Work Plan window and select Insert. The application adds a new record to the table, and you can enter the necessary information in each columns.
- To modify information in a record, highlight the existing information and then type the new information.
- To remove a record from the plan, right-click on the record to be deleted and select Delete.
3. Click the Save button to save the record.