The Objective of this lesson is for participants to understand how a Screening scenario process is setup and then run. At the end of this lesson, the user should be able to setup a (screening) Scenario, Run the Scenario, and Review the Results of the scenario. |
|---|
1. How to Setup a Screening - Click Here for Screening Exercises
For this example, we Setup, Run, and Review the Results of a new (screening) scenario by performing the following steps:
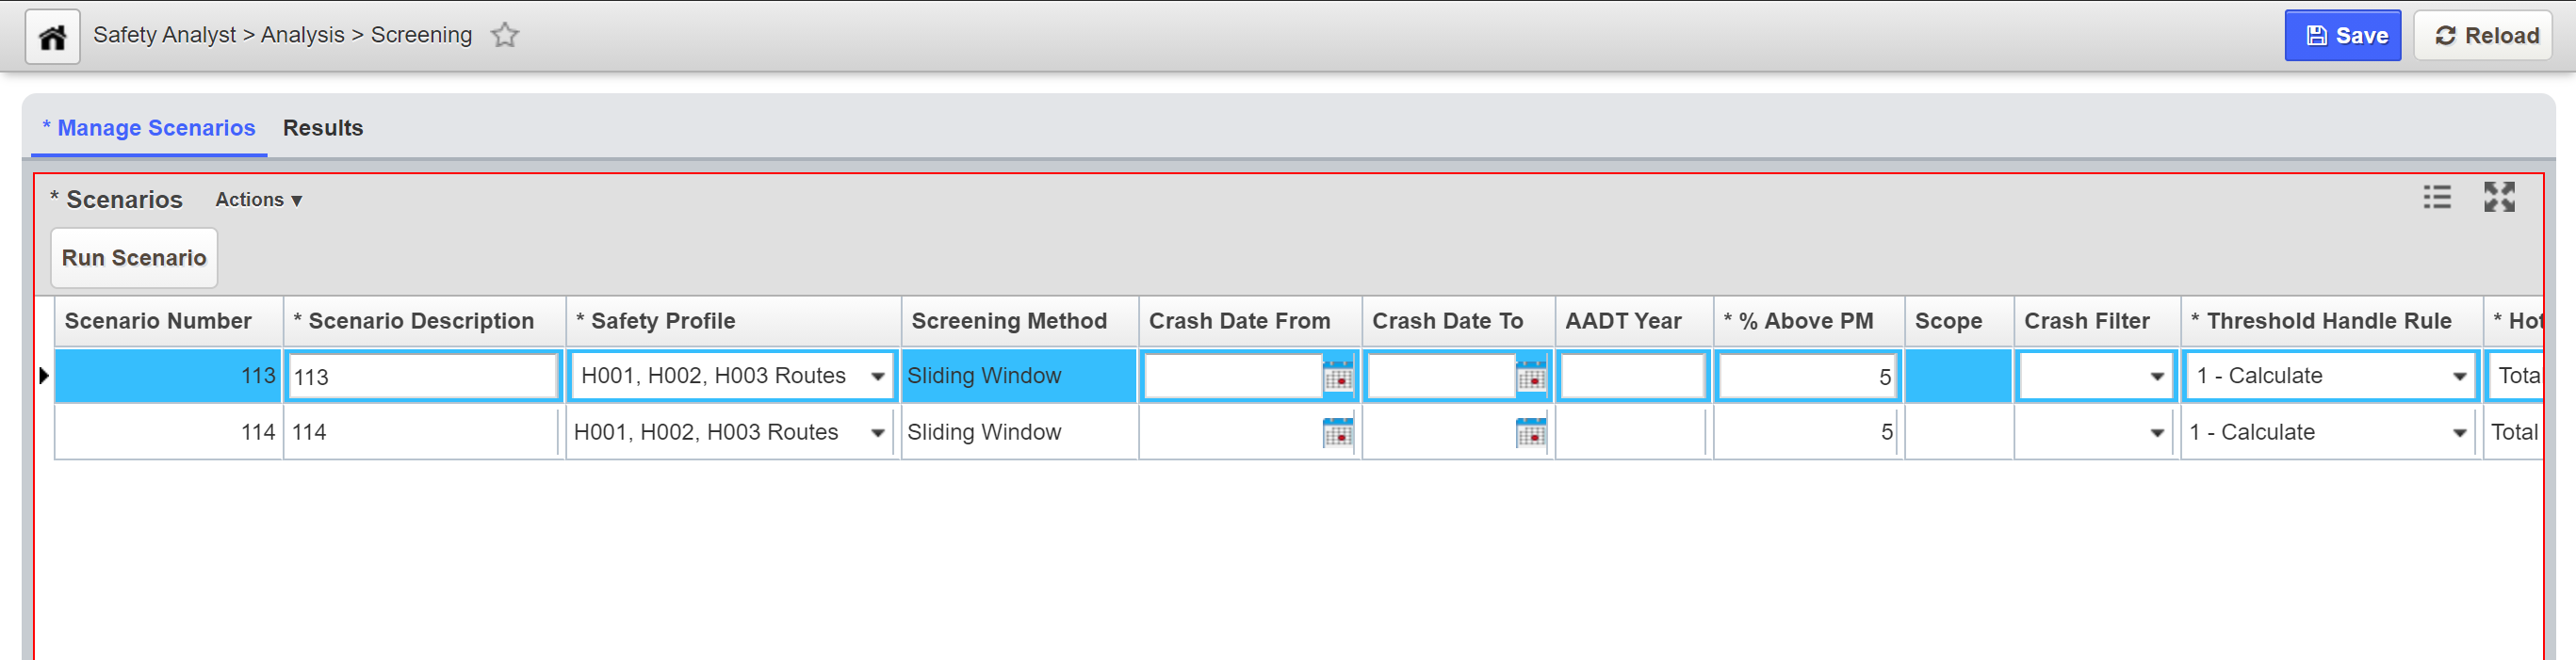
1.Open the Screening window: Safety Analyst > Analysis > Screening.
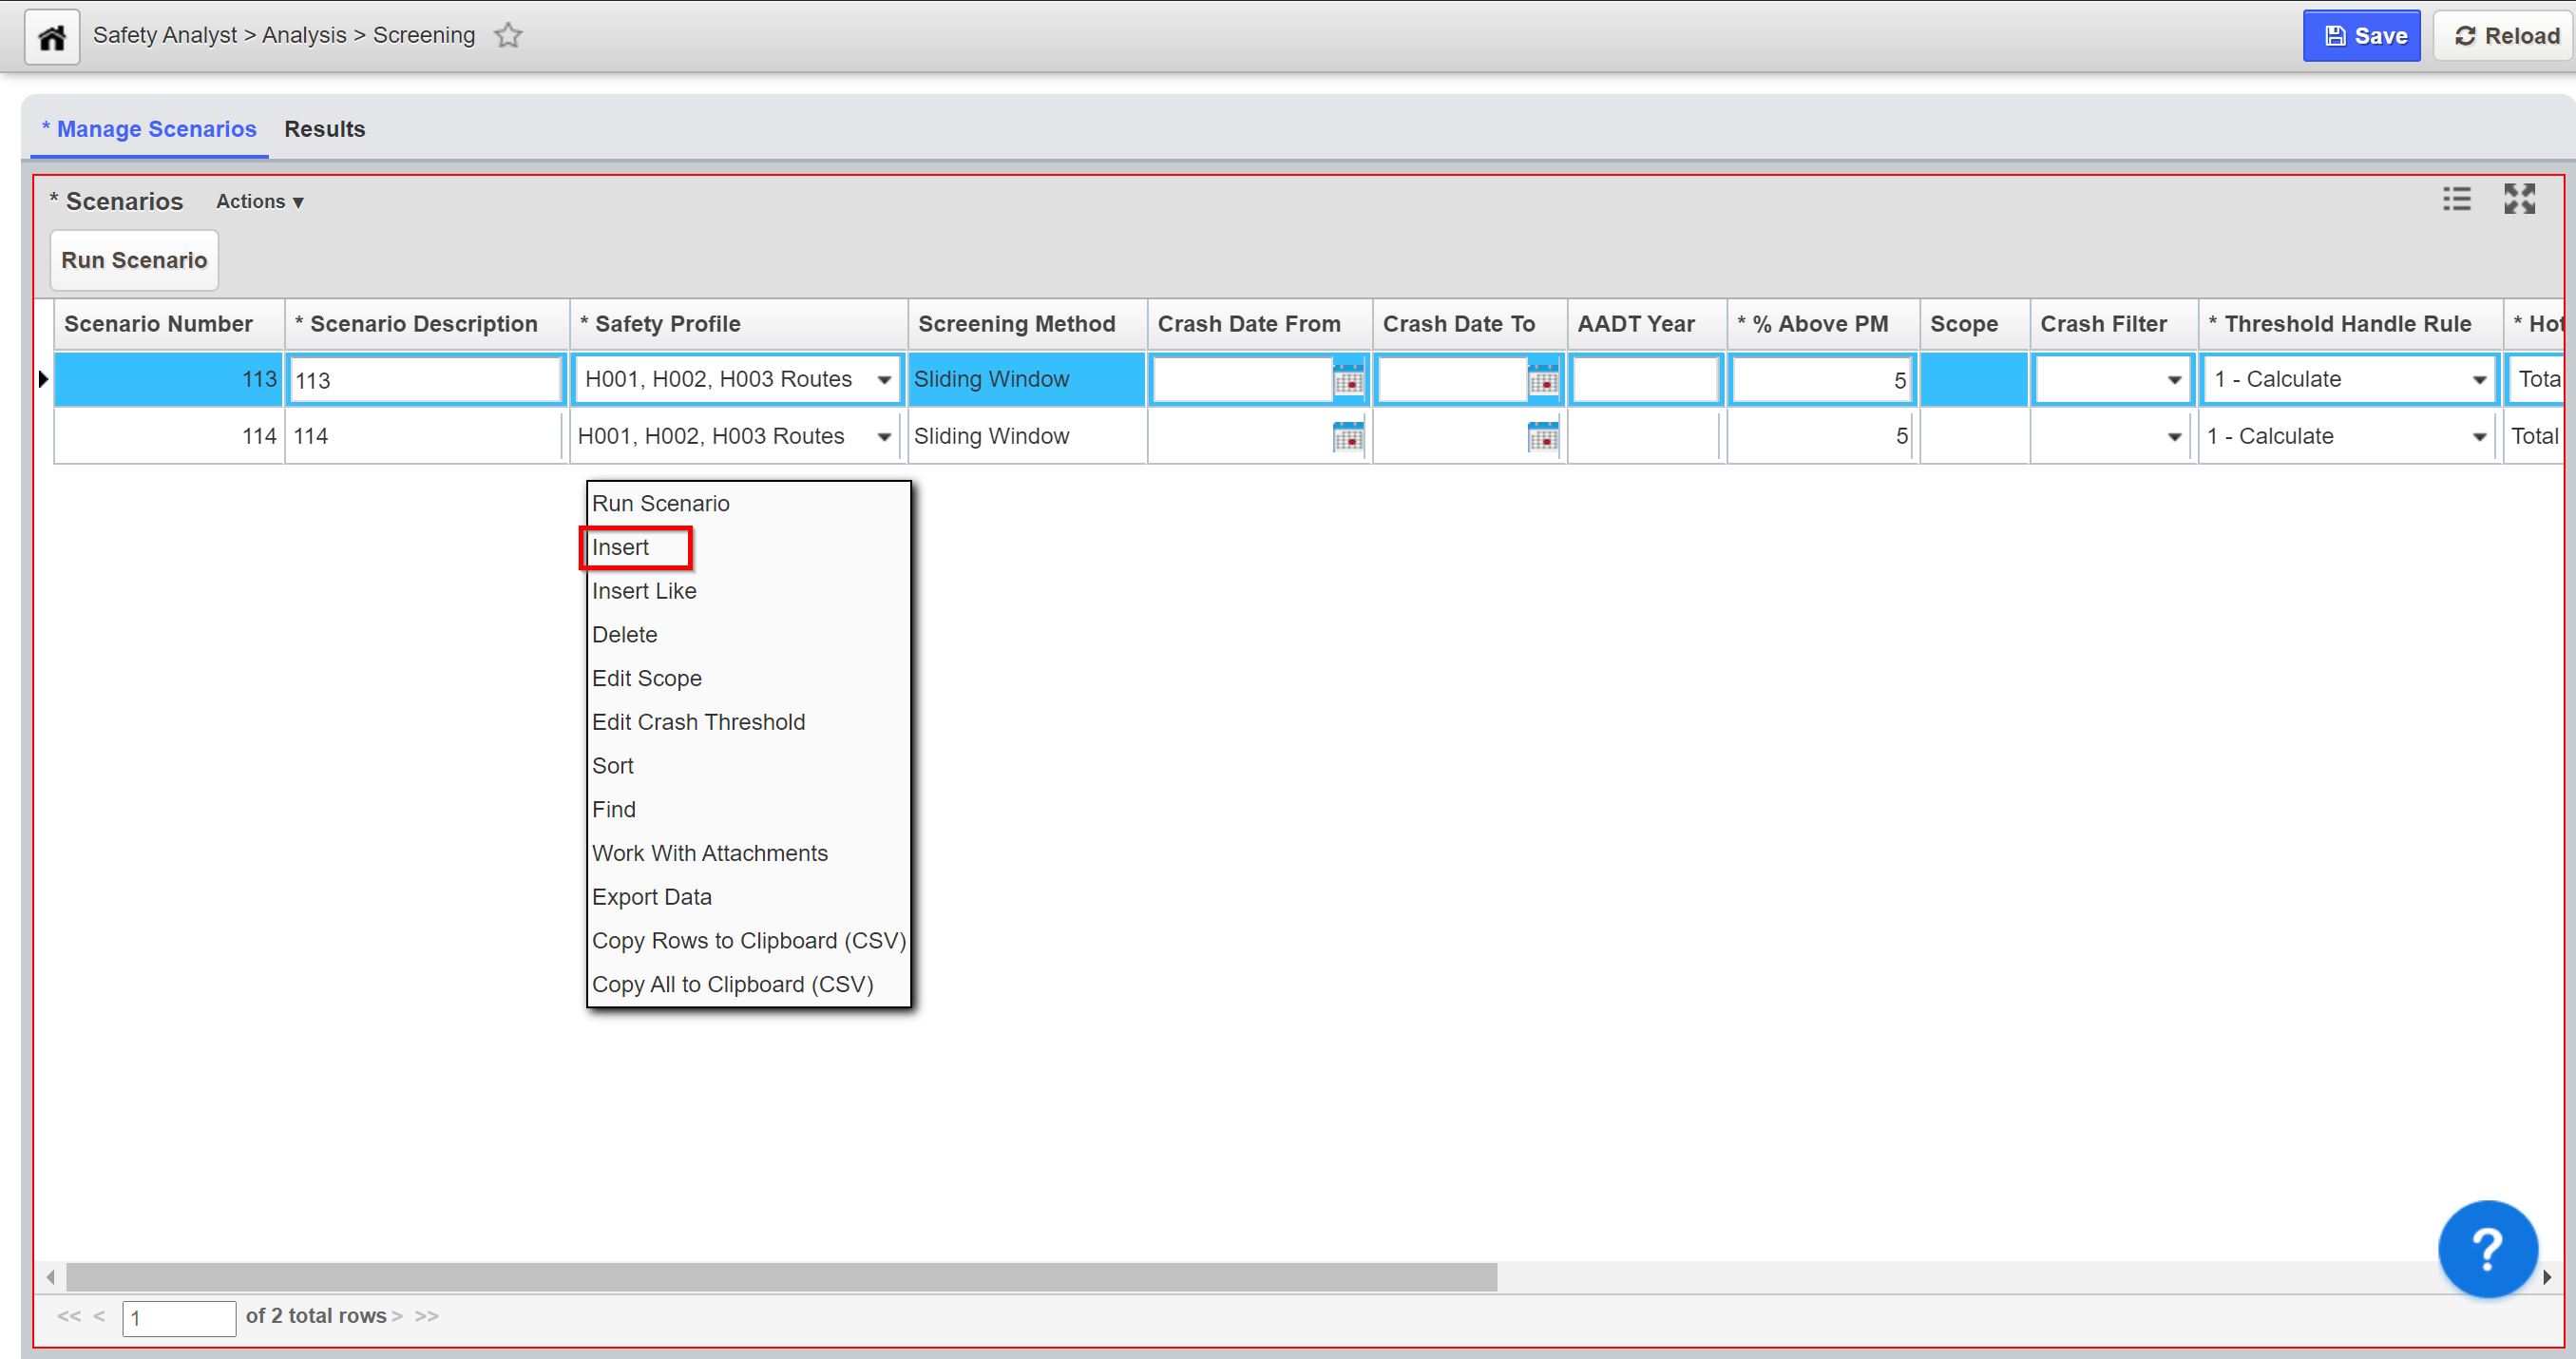
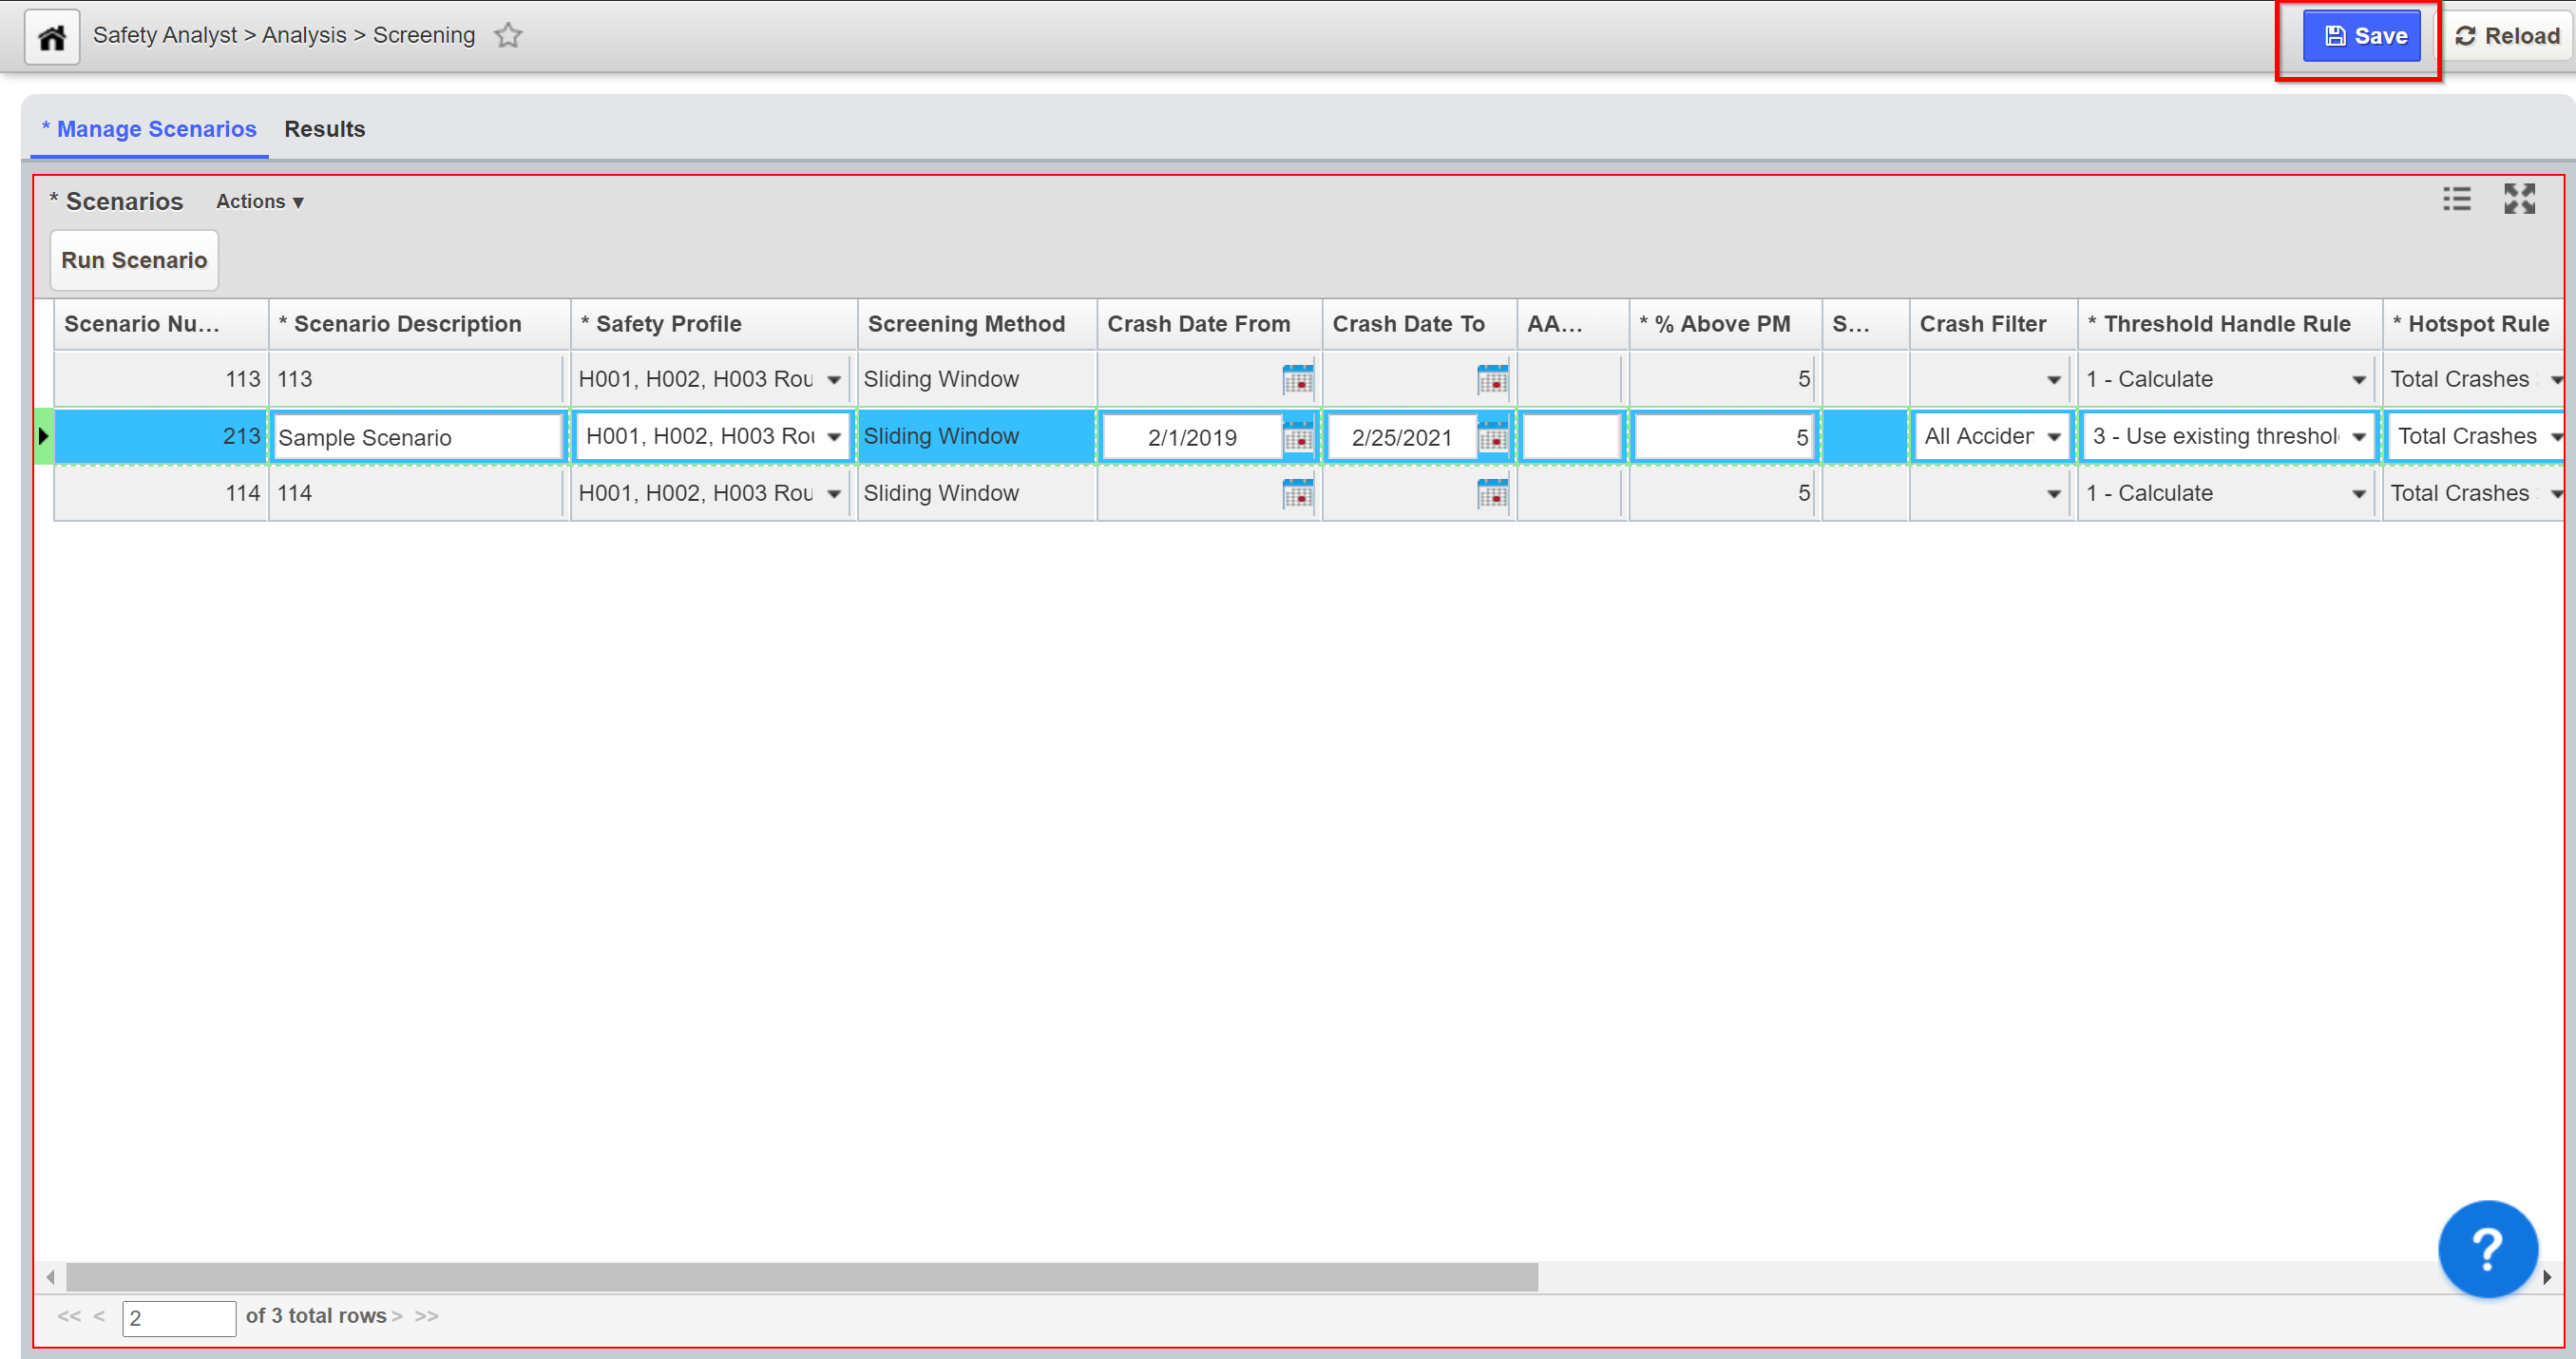
2. Right-click in the window and choose Insert.
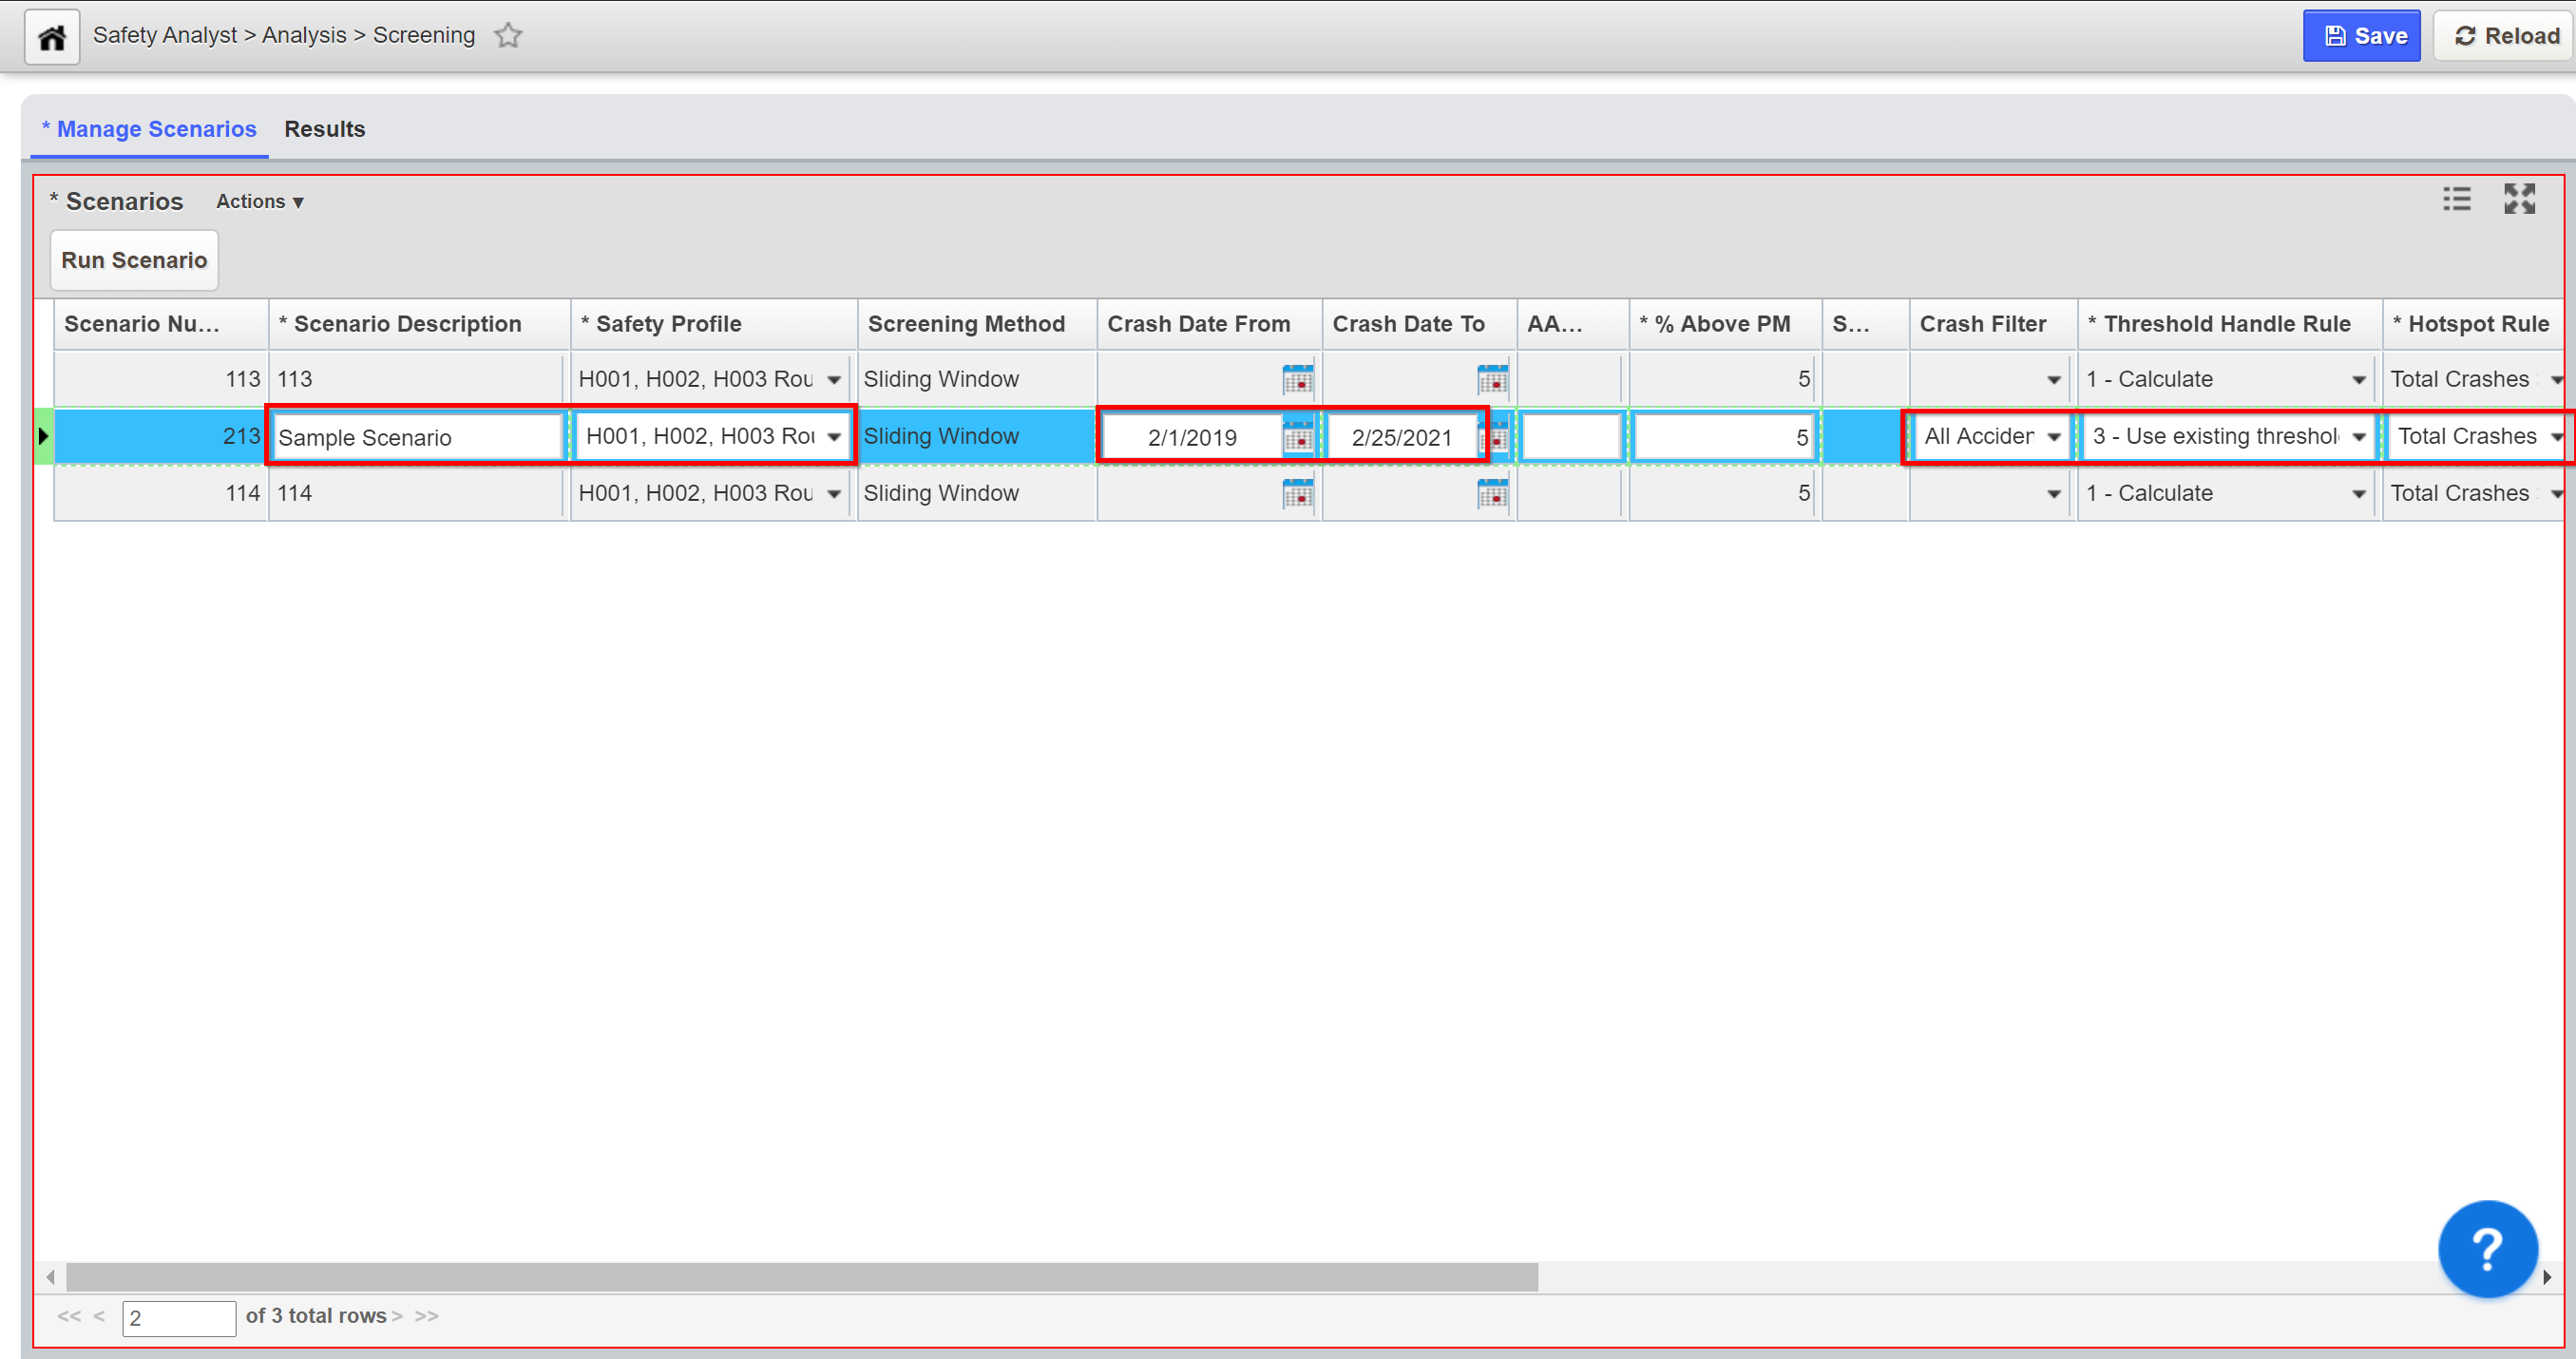
3. In the Scenario Description field, overwrite the system generated number with description of interest.
4. Click the Safety Profile dropdown and choose the appropriate value.
5. Click the Crash Date From Calendar icon and choose a date.
6. Click the Crash Date To Calendar Icon and choose a date.
7. Input a numeric value in the % Above PM field.
Note:
For example - If the user enters 5 in the '% Above PM' field, the top 5% hotspots will be identified based on defined Performance Measure (PM)
8. Click the Crash Filter drop-down and select an option (if applicable).
9. Click the Threshold Handle Rule drop-down and select an option.
10. Click the Hotspot Rule drop-down and select.
11. Populate all other fields that are applicable.
12. Click the Save button to save the record. The record is saved successfully.
Note:
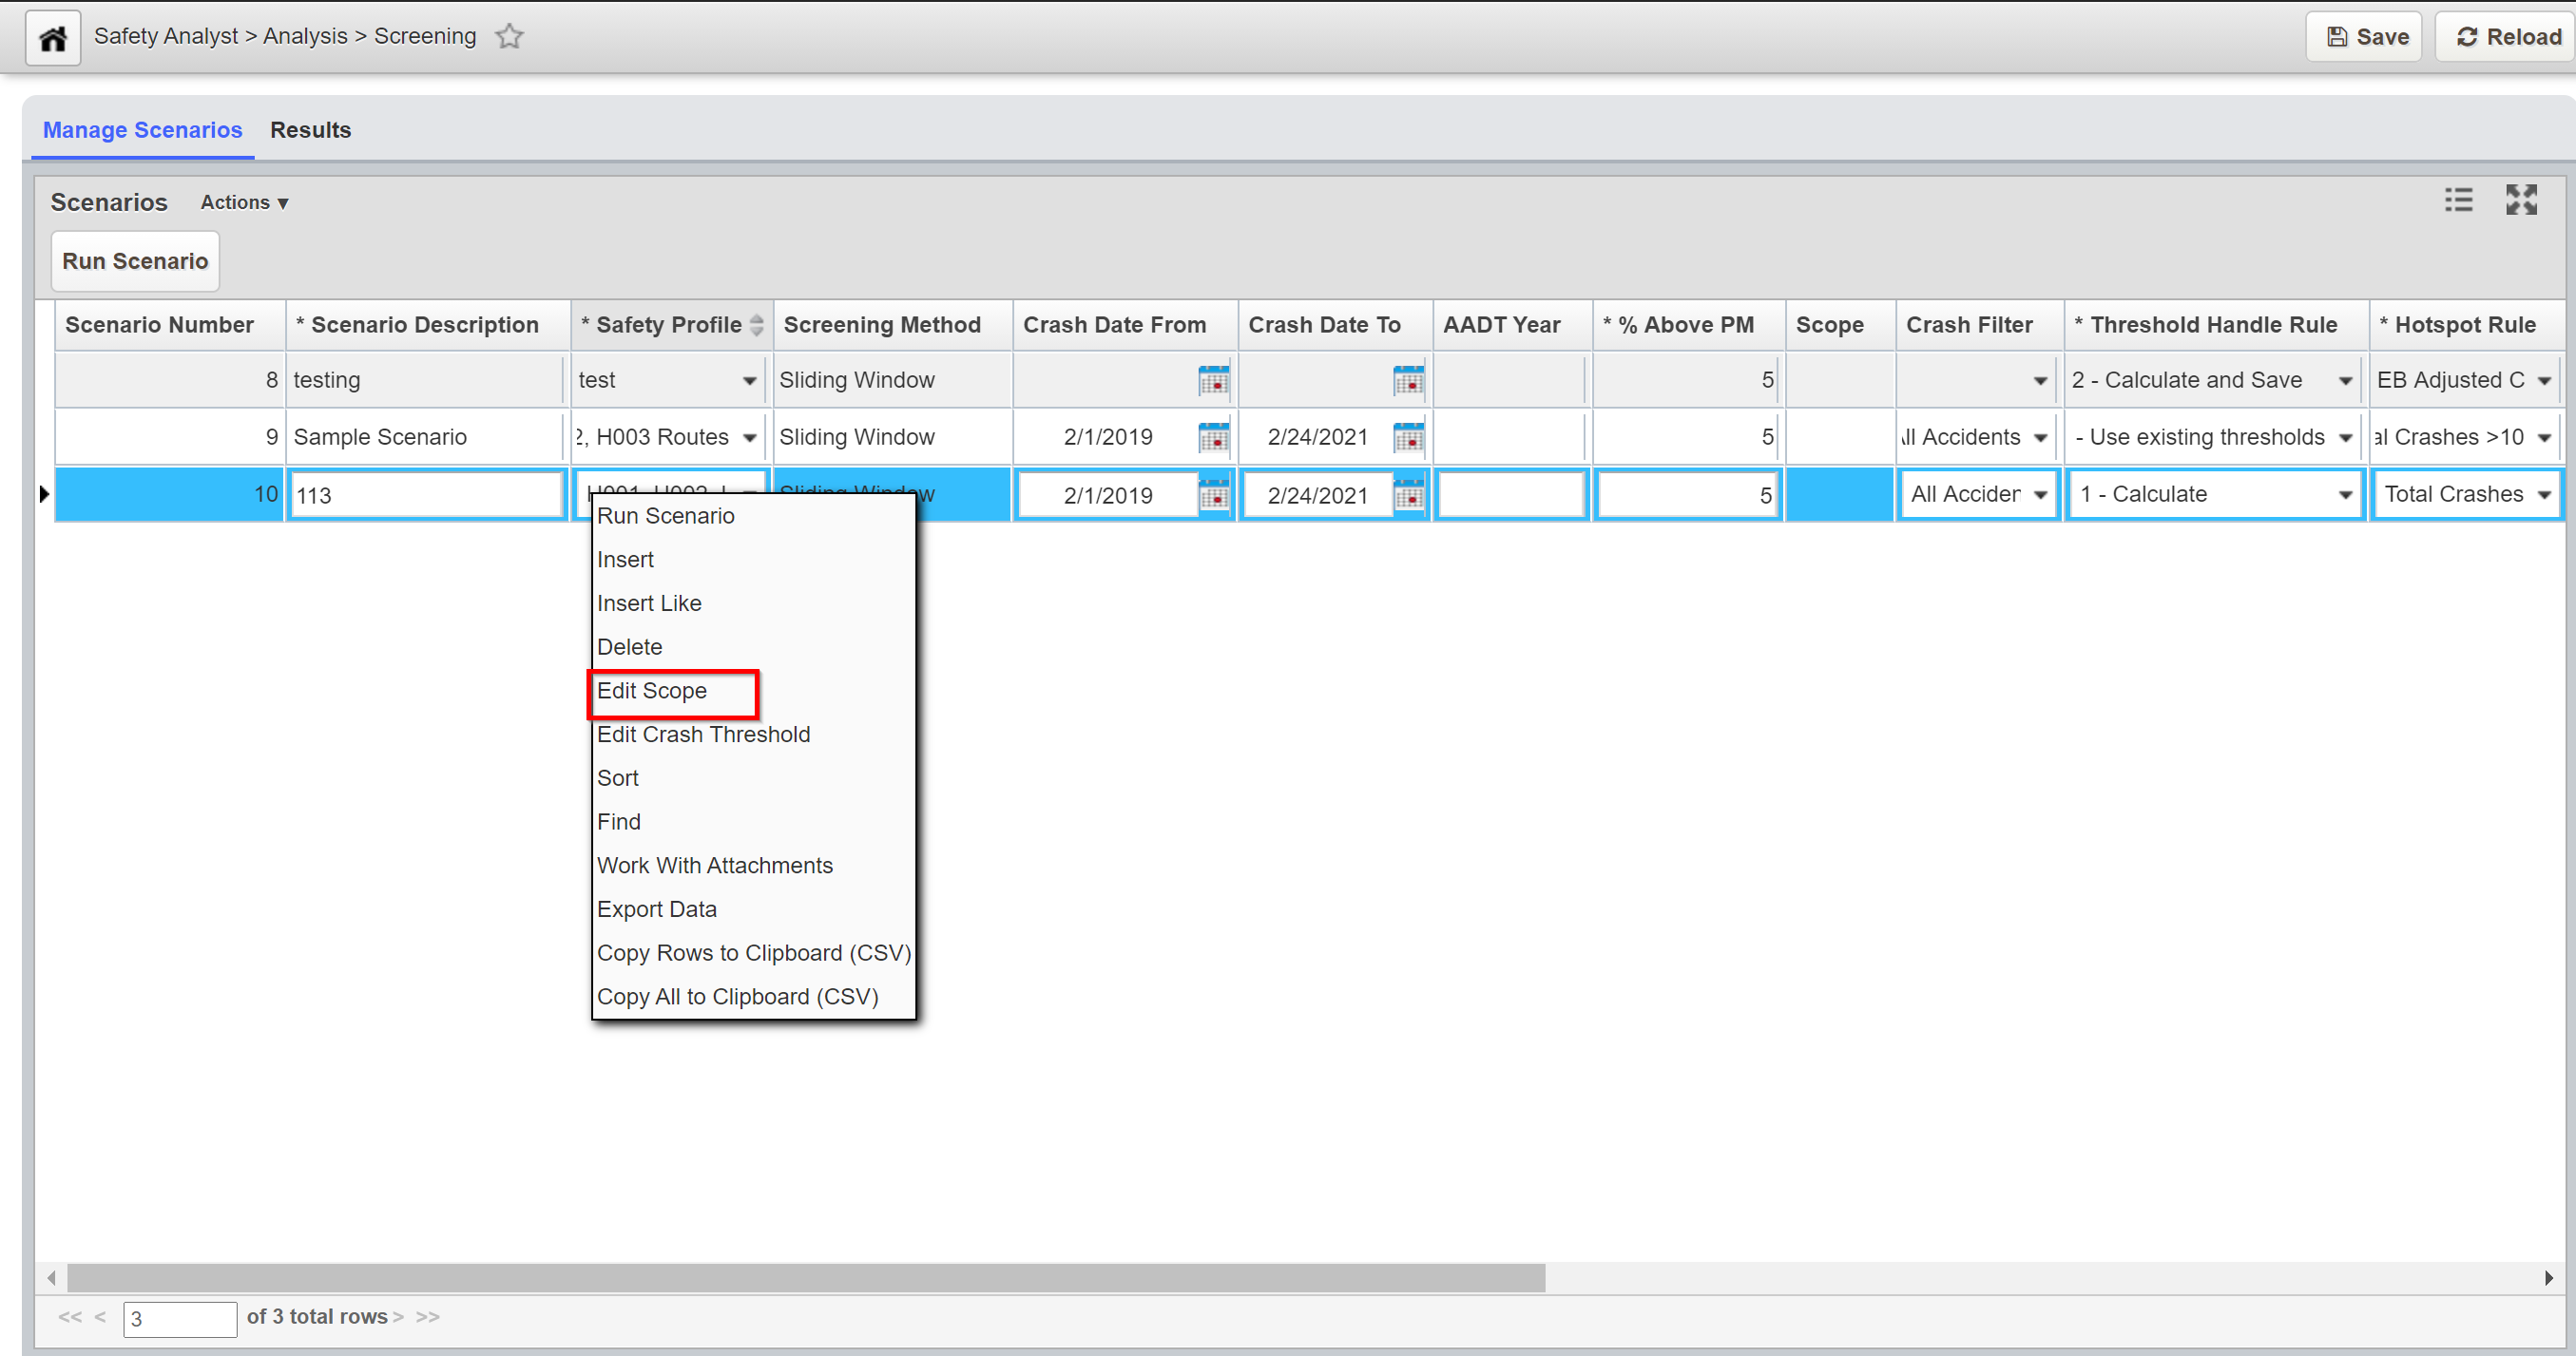
Steps 13 thru 16 are optional and should be use if there is a need to filter the output results to only see specific records.
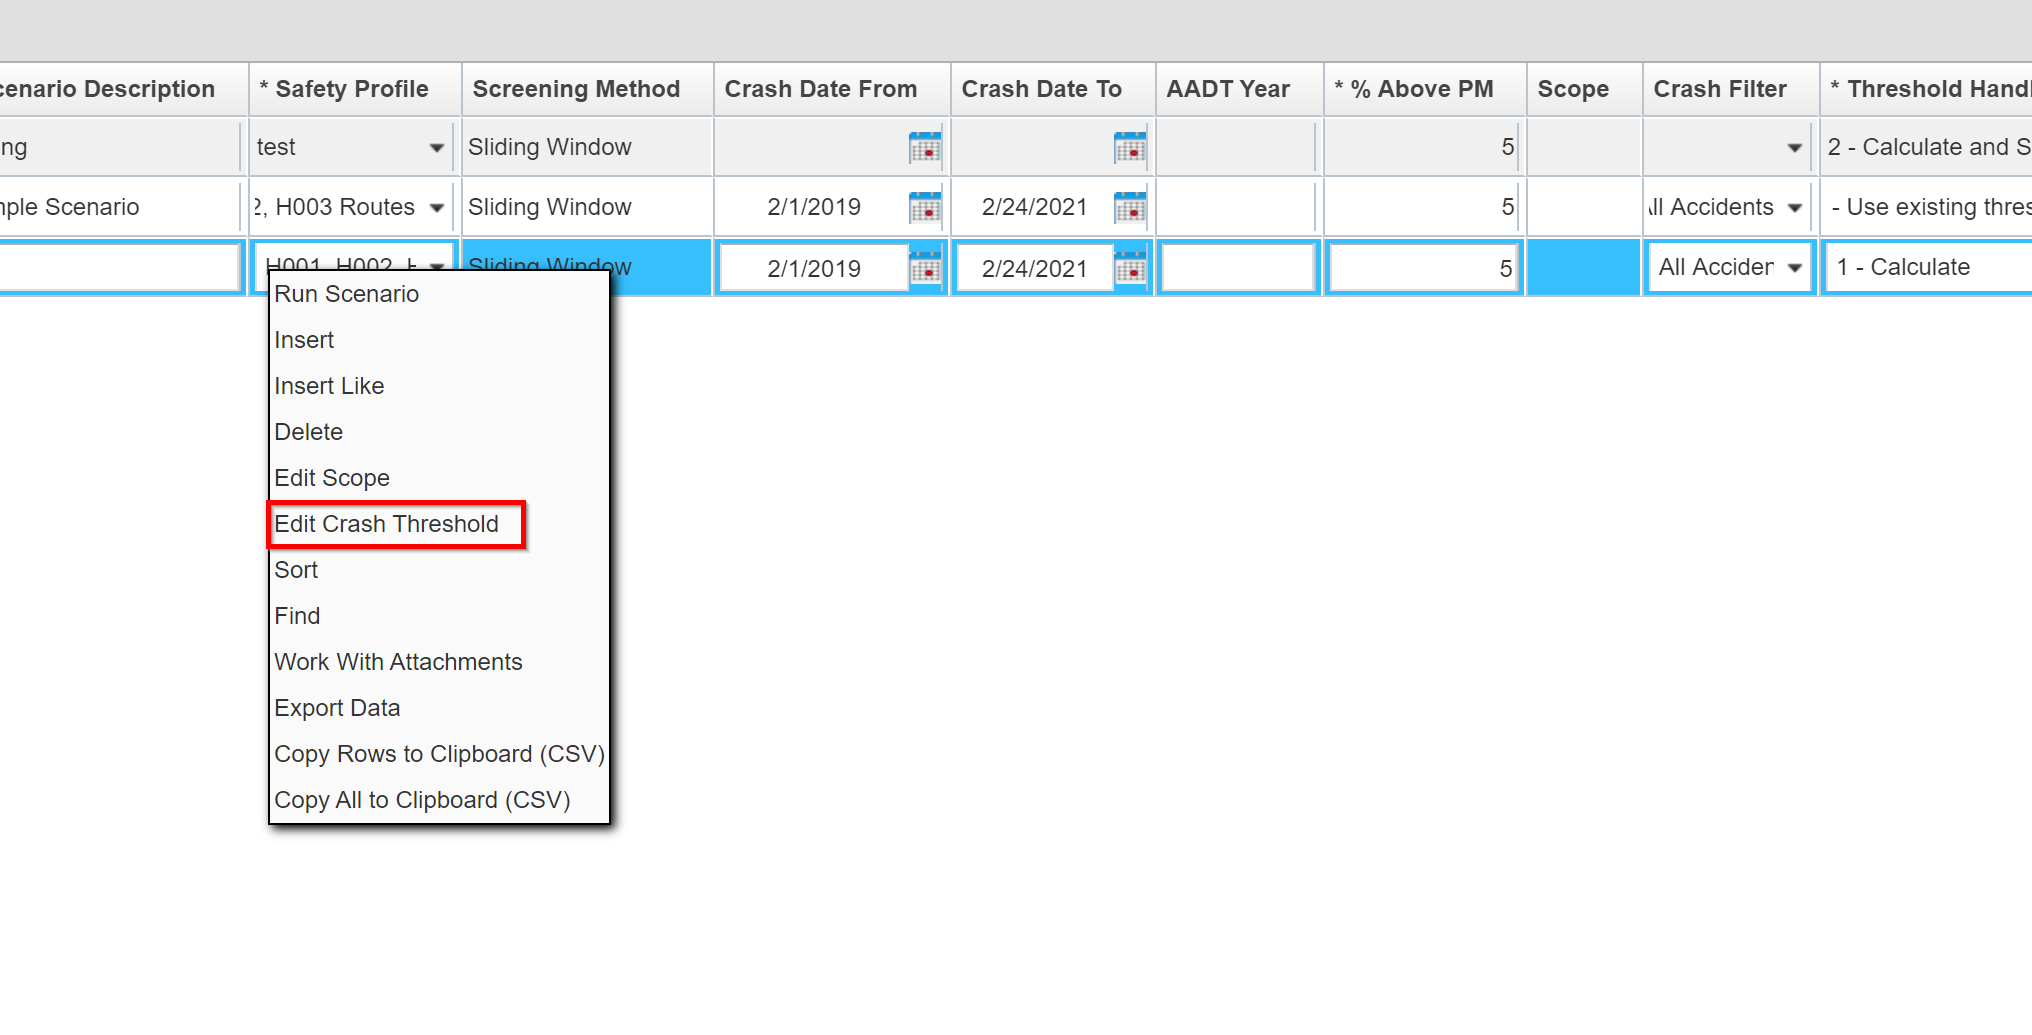
13. Right click on the record of interest to filter and then select Edit Scope. A Scope Select pop-up window appears.
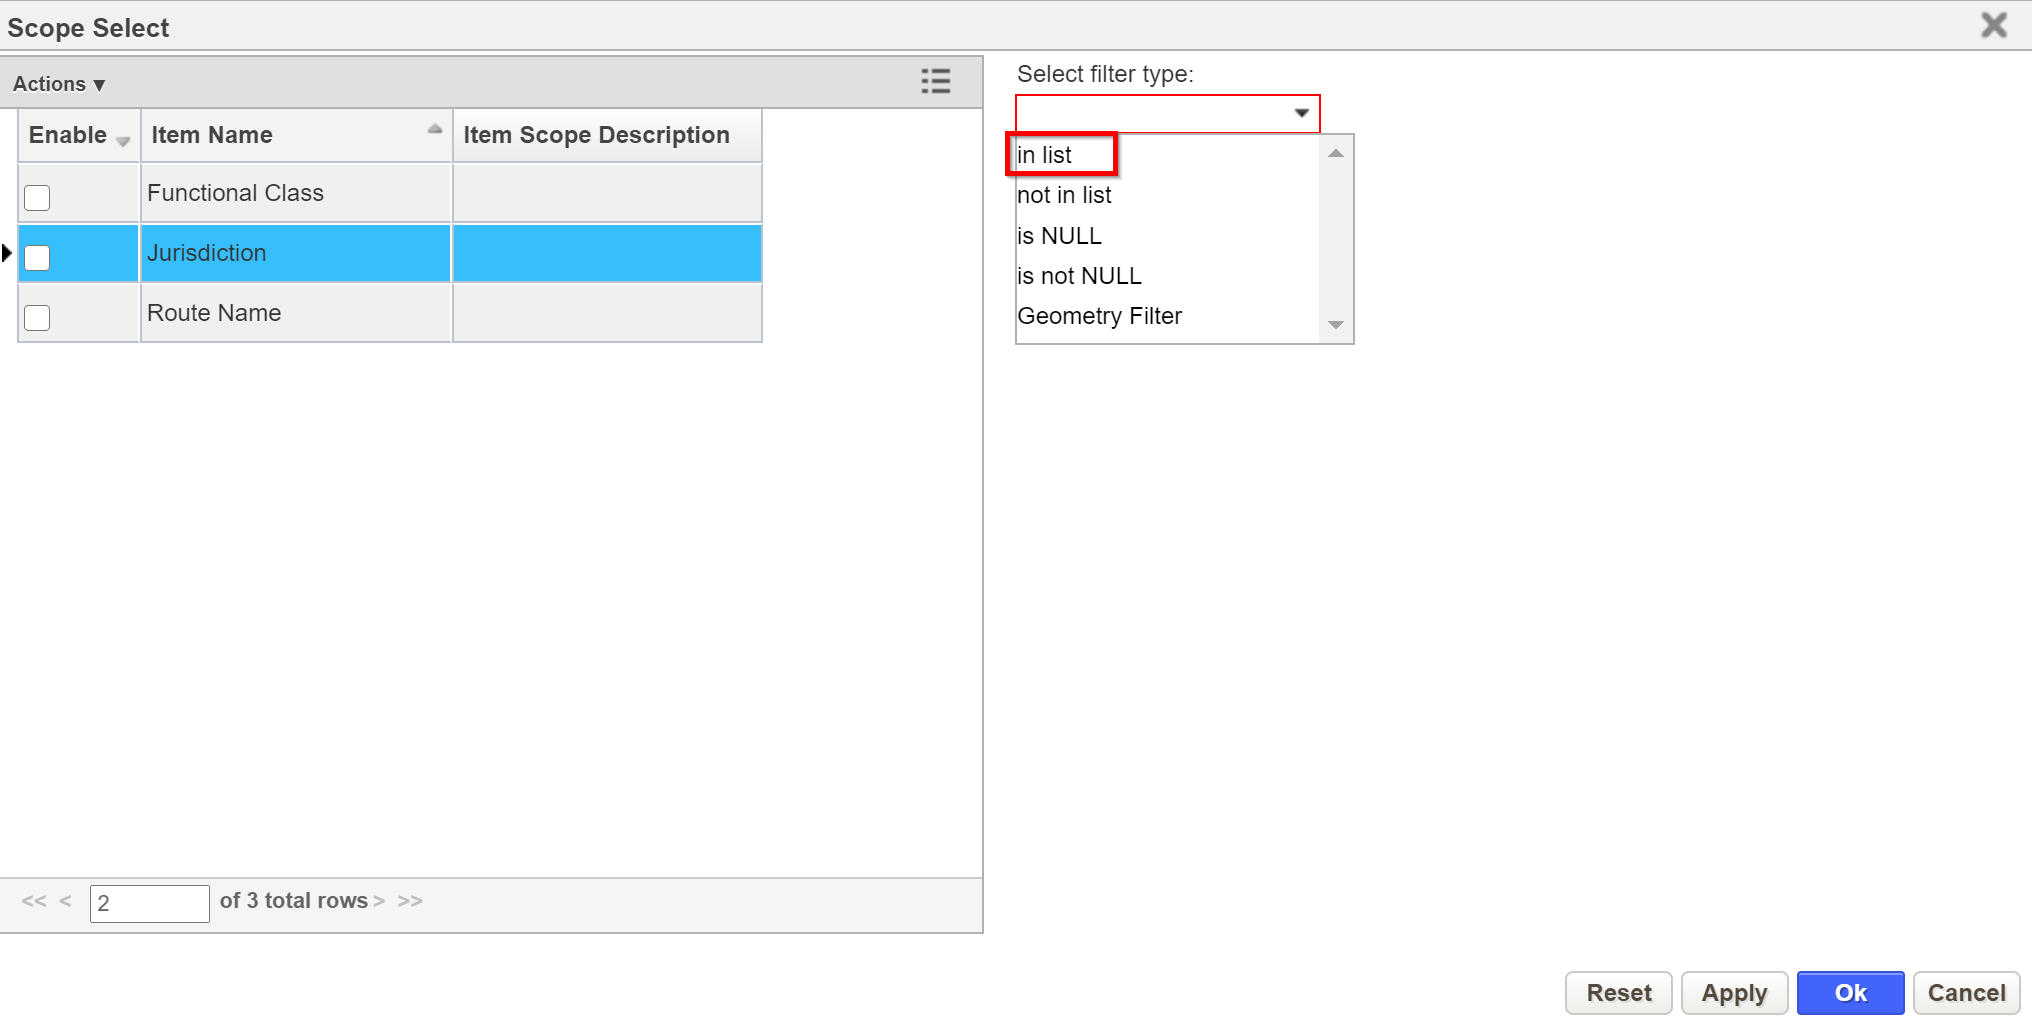
14. (We will choose "Jurisdiction" for this example). Click on Jurisdiction - the row gets highlighted.

15. Next click the Select filter type drop-down and click on the appropriate value (we will use "In List")
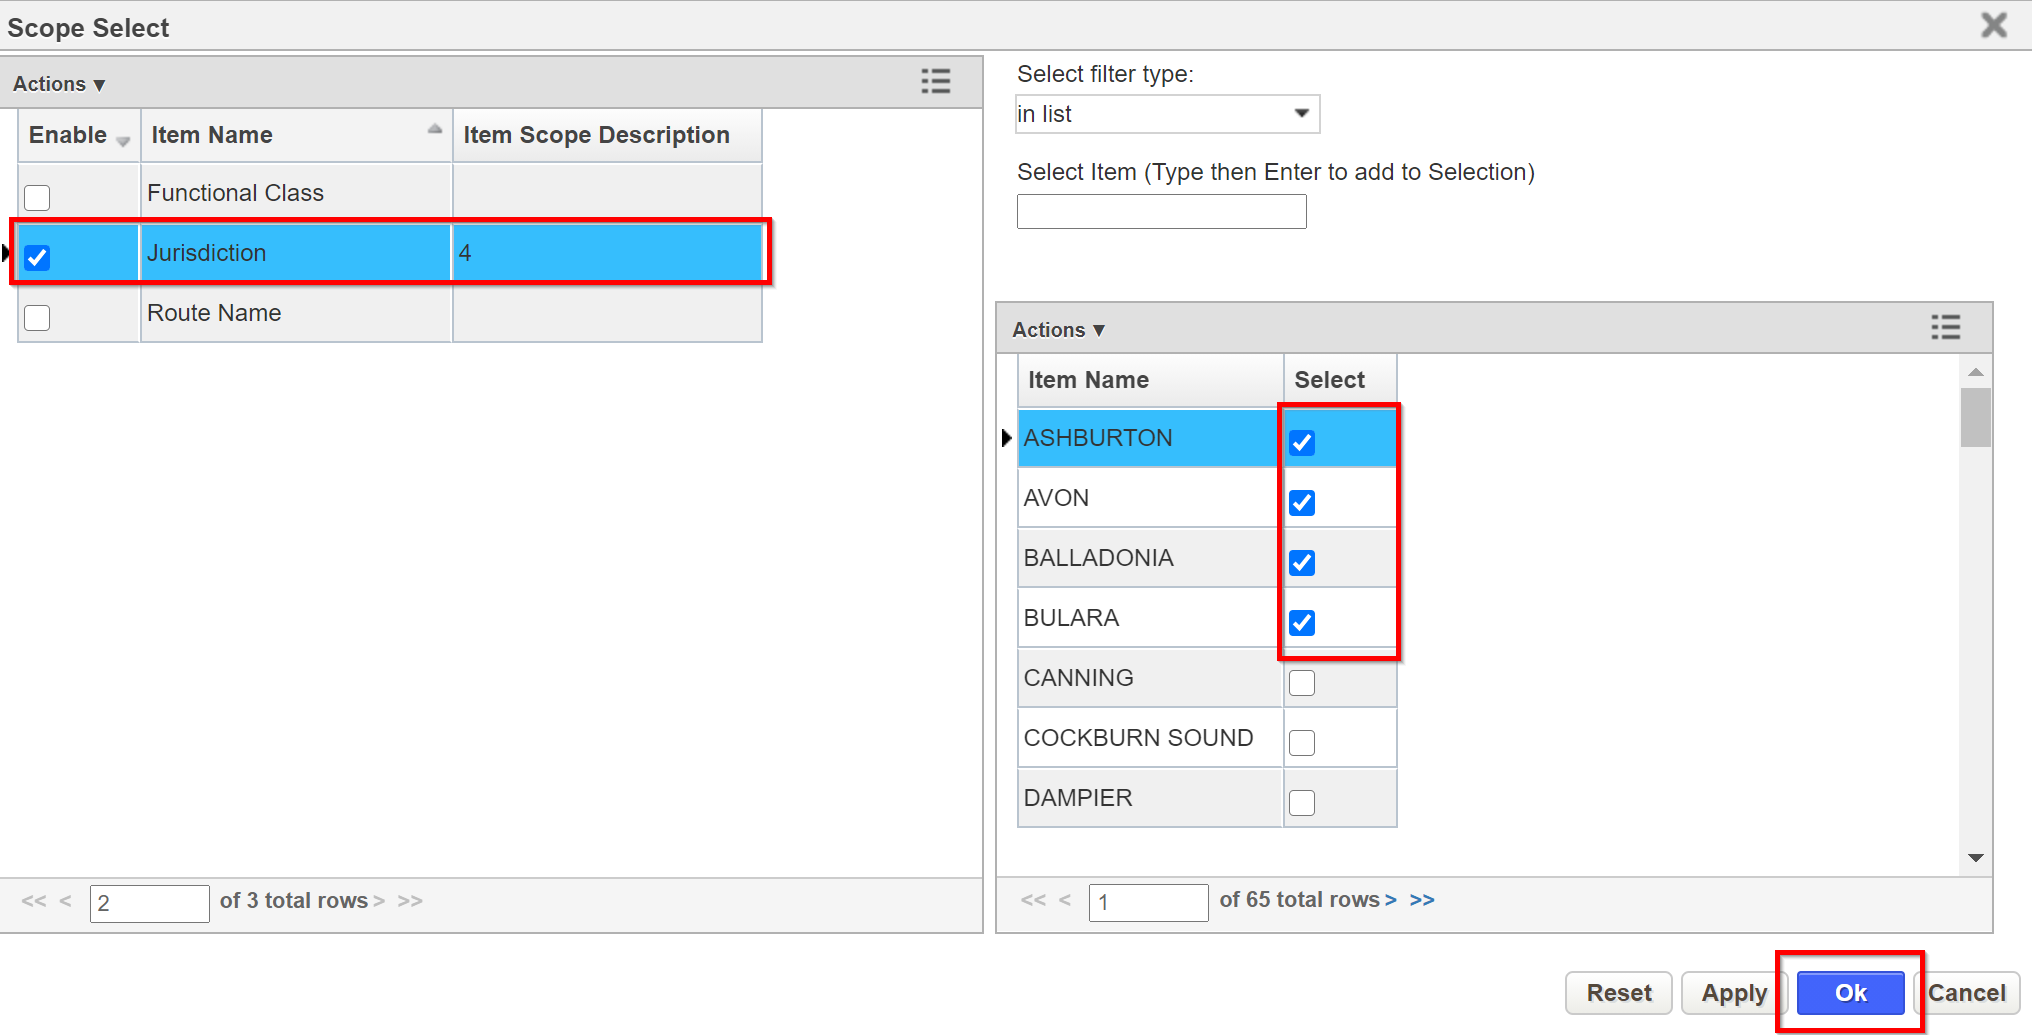
16. Select the Jurisdiction(s) of interest by clicking the check-box(es) adjacent to the Jurisdiction(s). Cliick the OK button when finished.
Note:
Steps 17 thru 21 are optional and should only be use if there is a need to set up a Threshold for crashes.
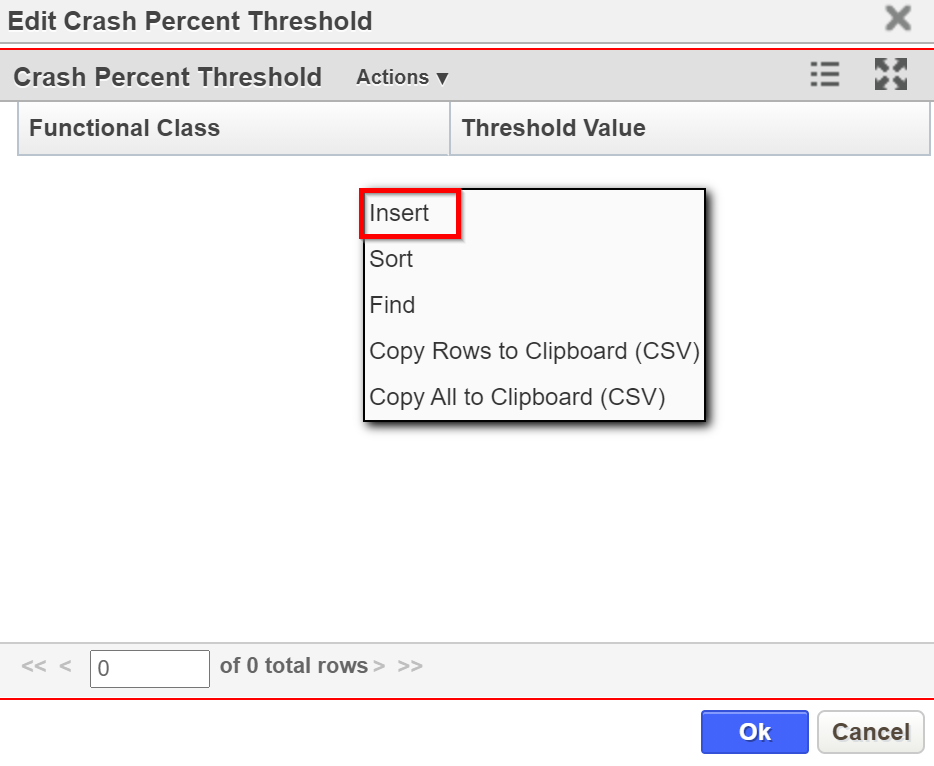
17. Right-click on the record again and choose Edit Crash Threshold. A Edit Crash Percent Threshold pop-up window appears.
18. Right-click in the pop-up window and choose Insert.
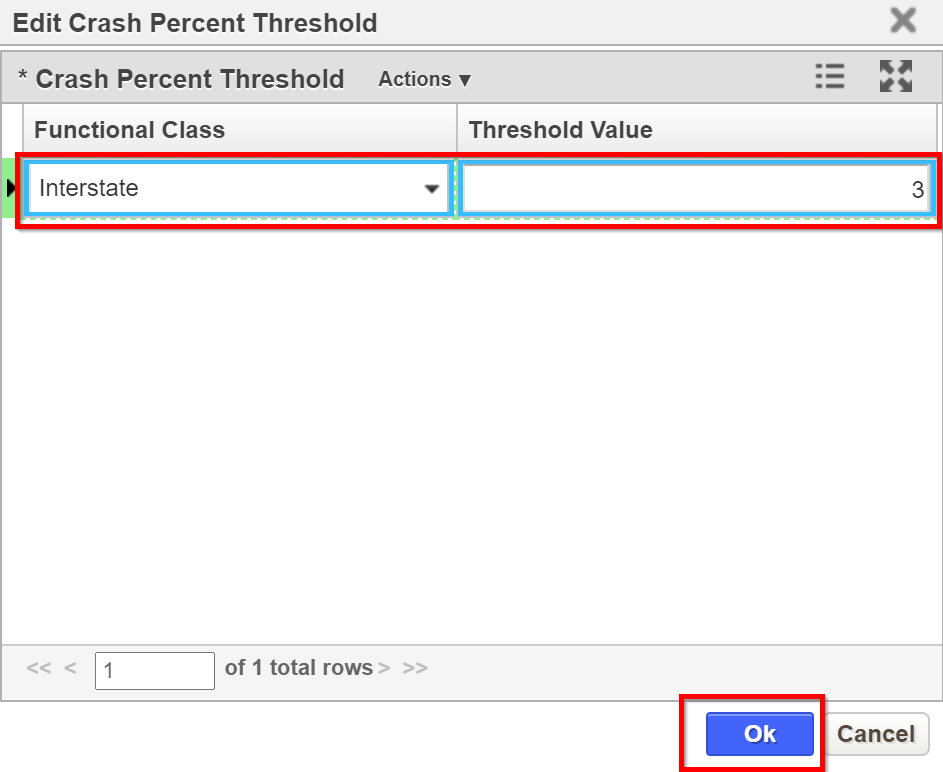
19. Click the Functional Class drop-down and choose the class of interest (i.e. Interstate).
20. Input the numeric value of interest in the Threshold Value field.
21. Click the OK button when finished to close the pop-up.
22. Next, click the Run Scenario button to process the scenario.
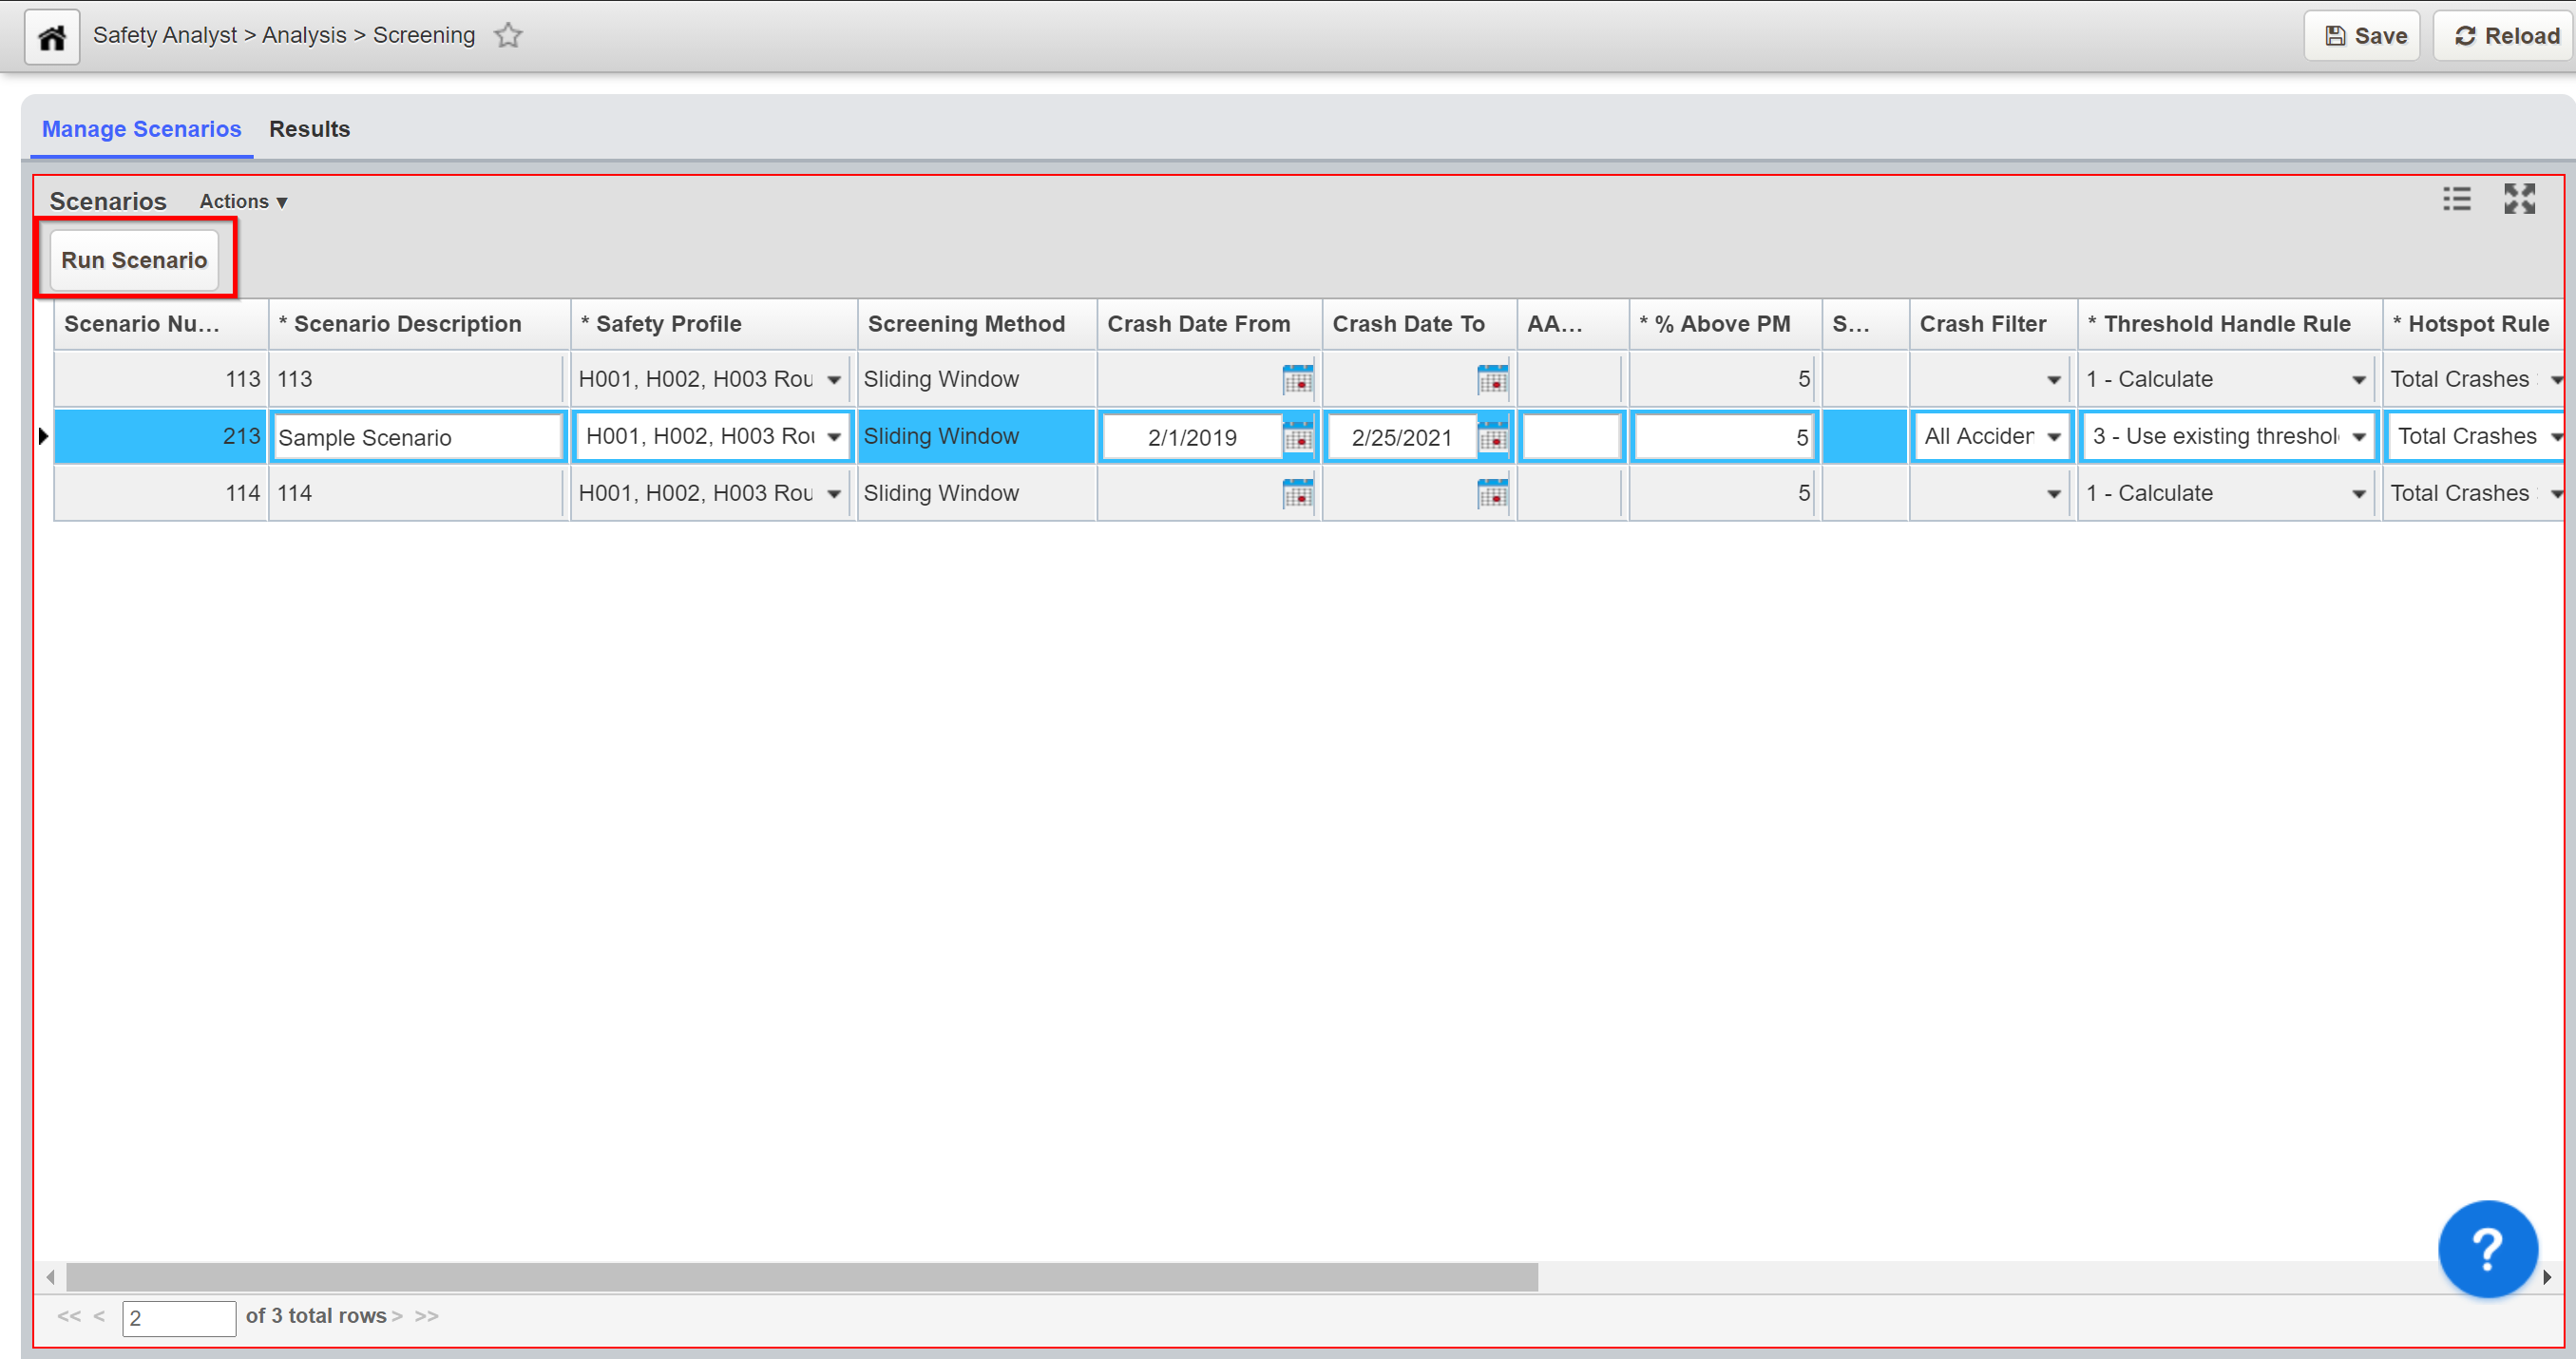
23. A pop-up window appears with information about the data being processed.
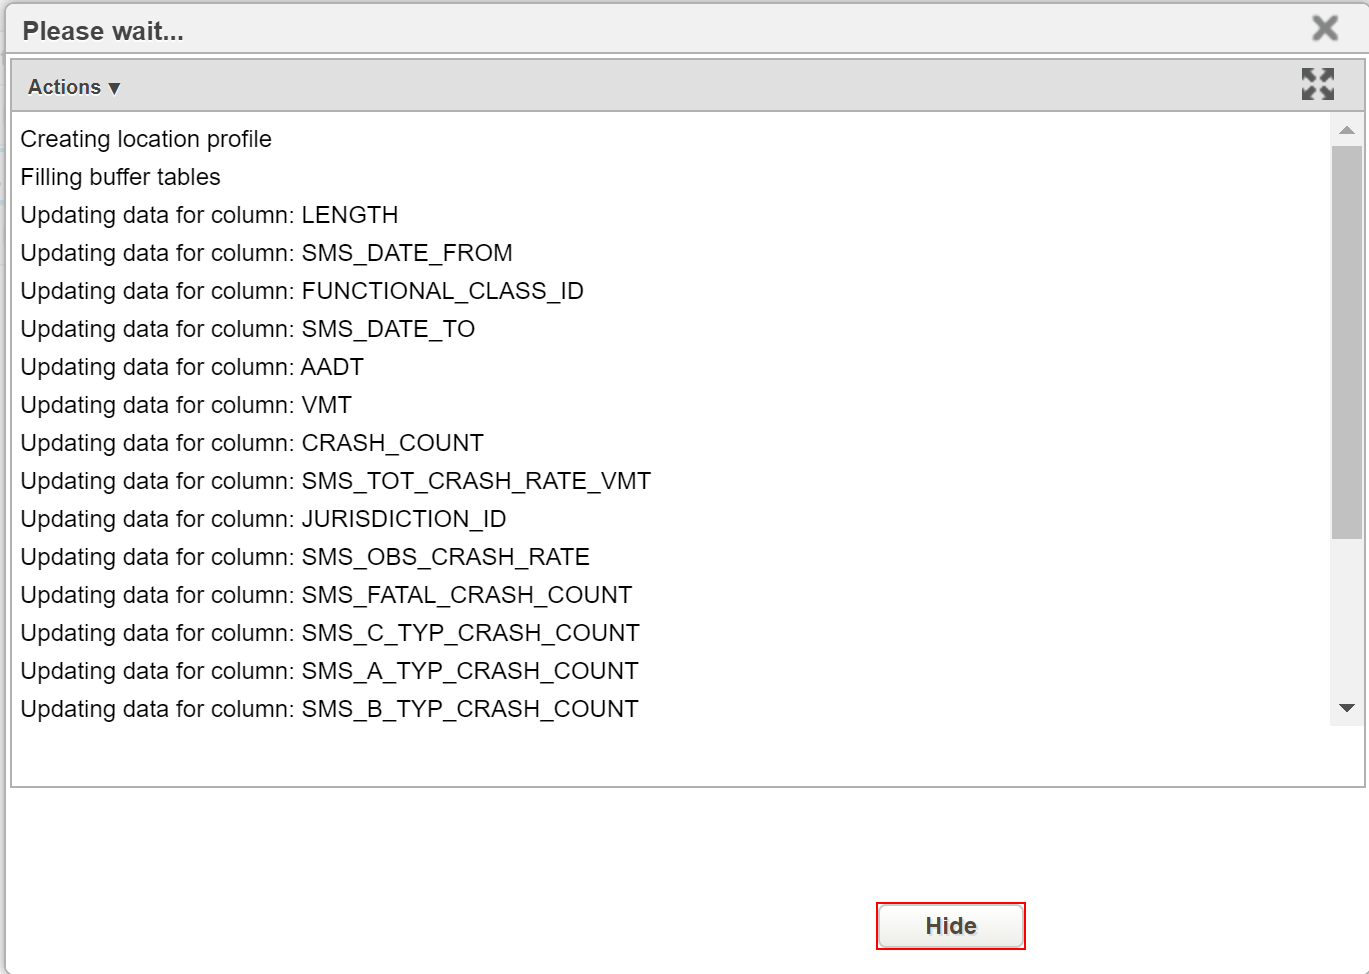
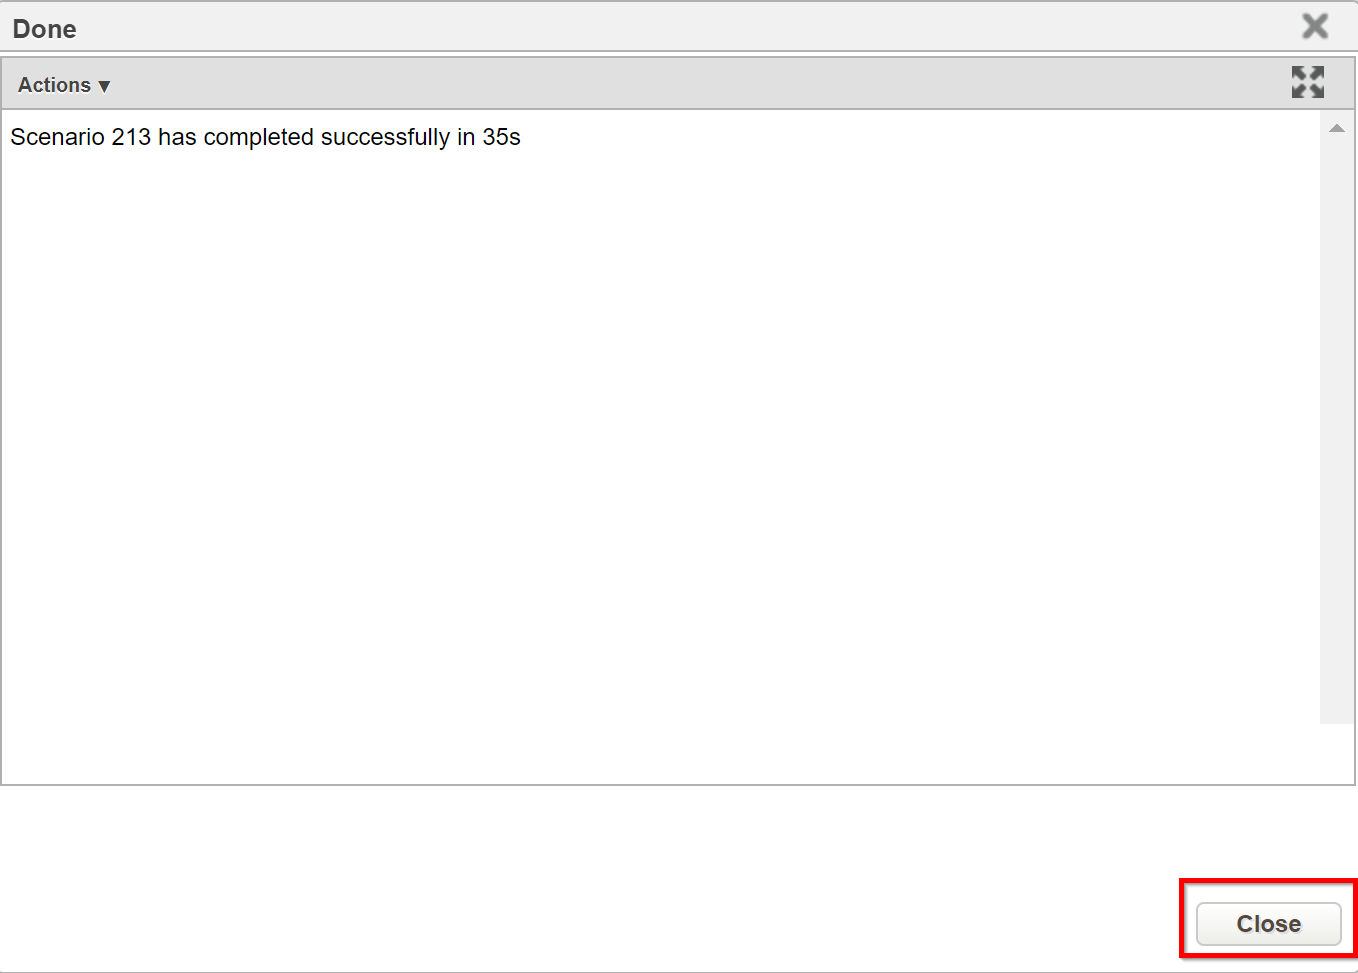
24. Once the scenario process is complete, a confirmation message is displayed. Click the Close button to close the pop-up window.
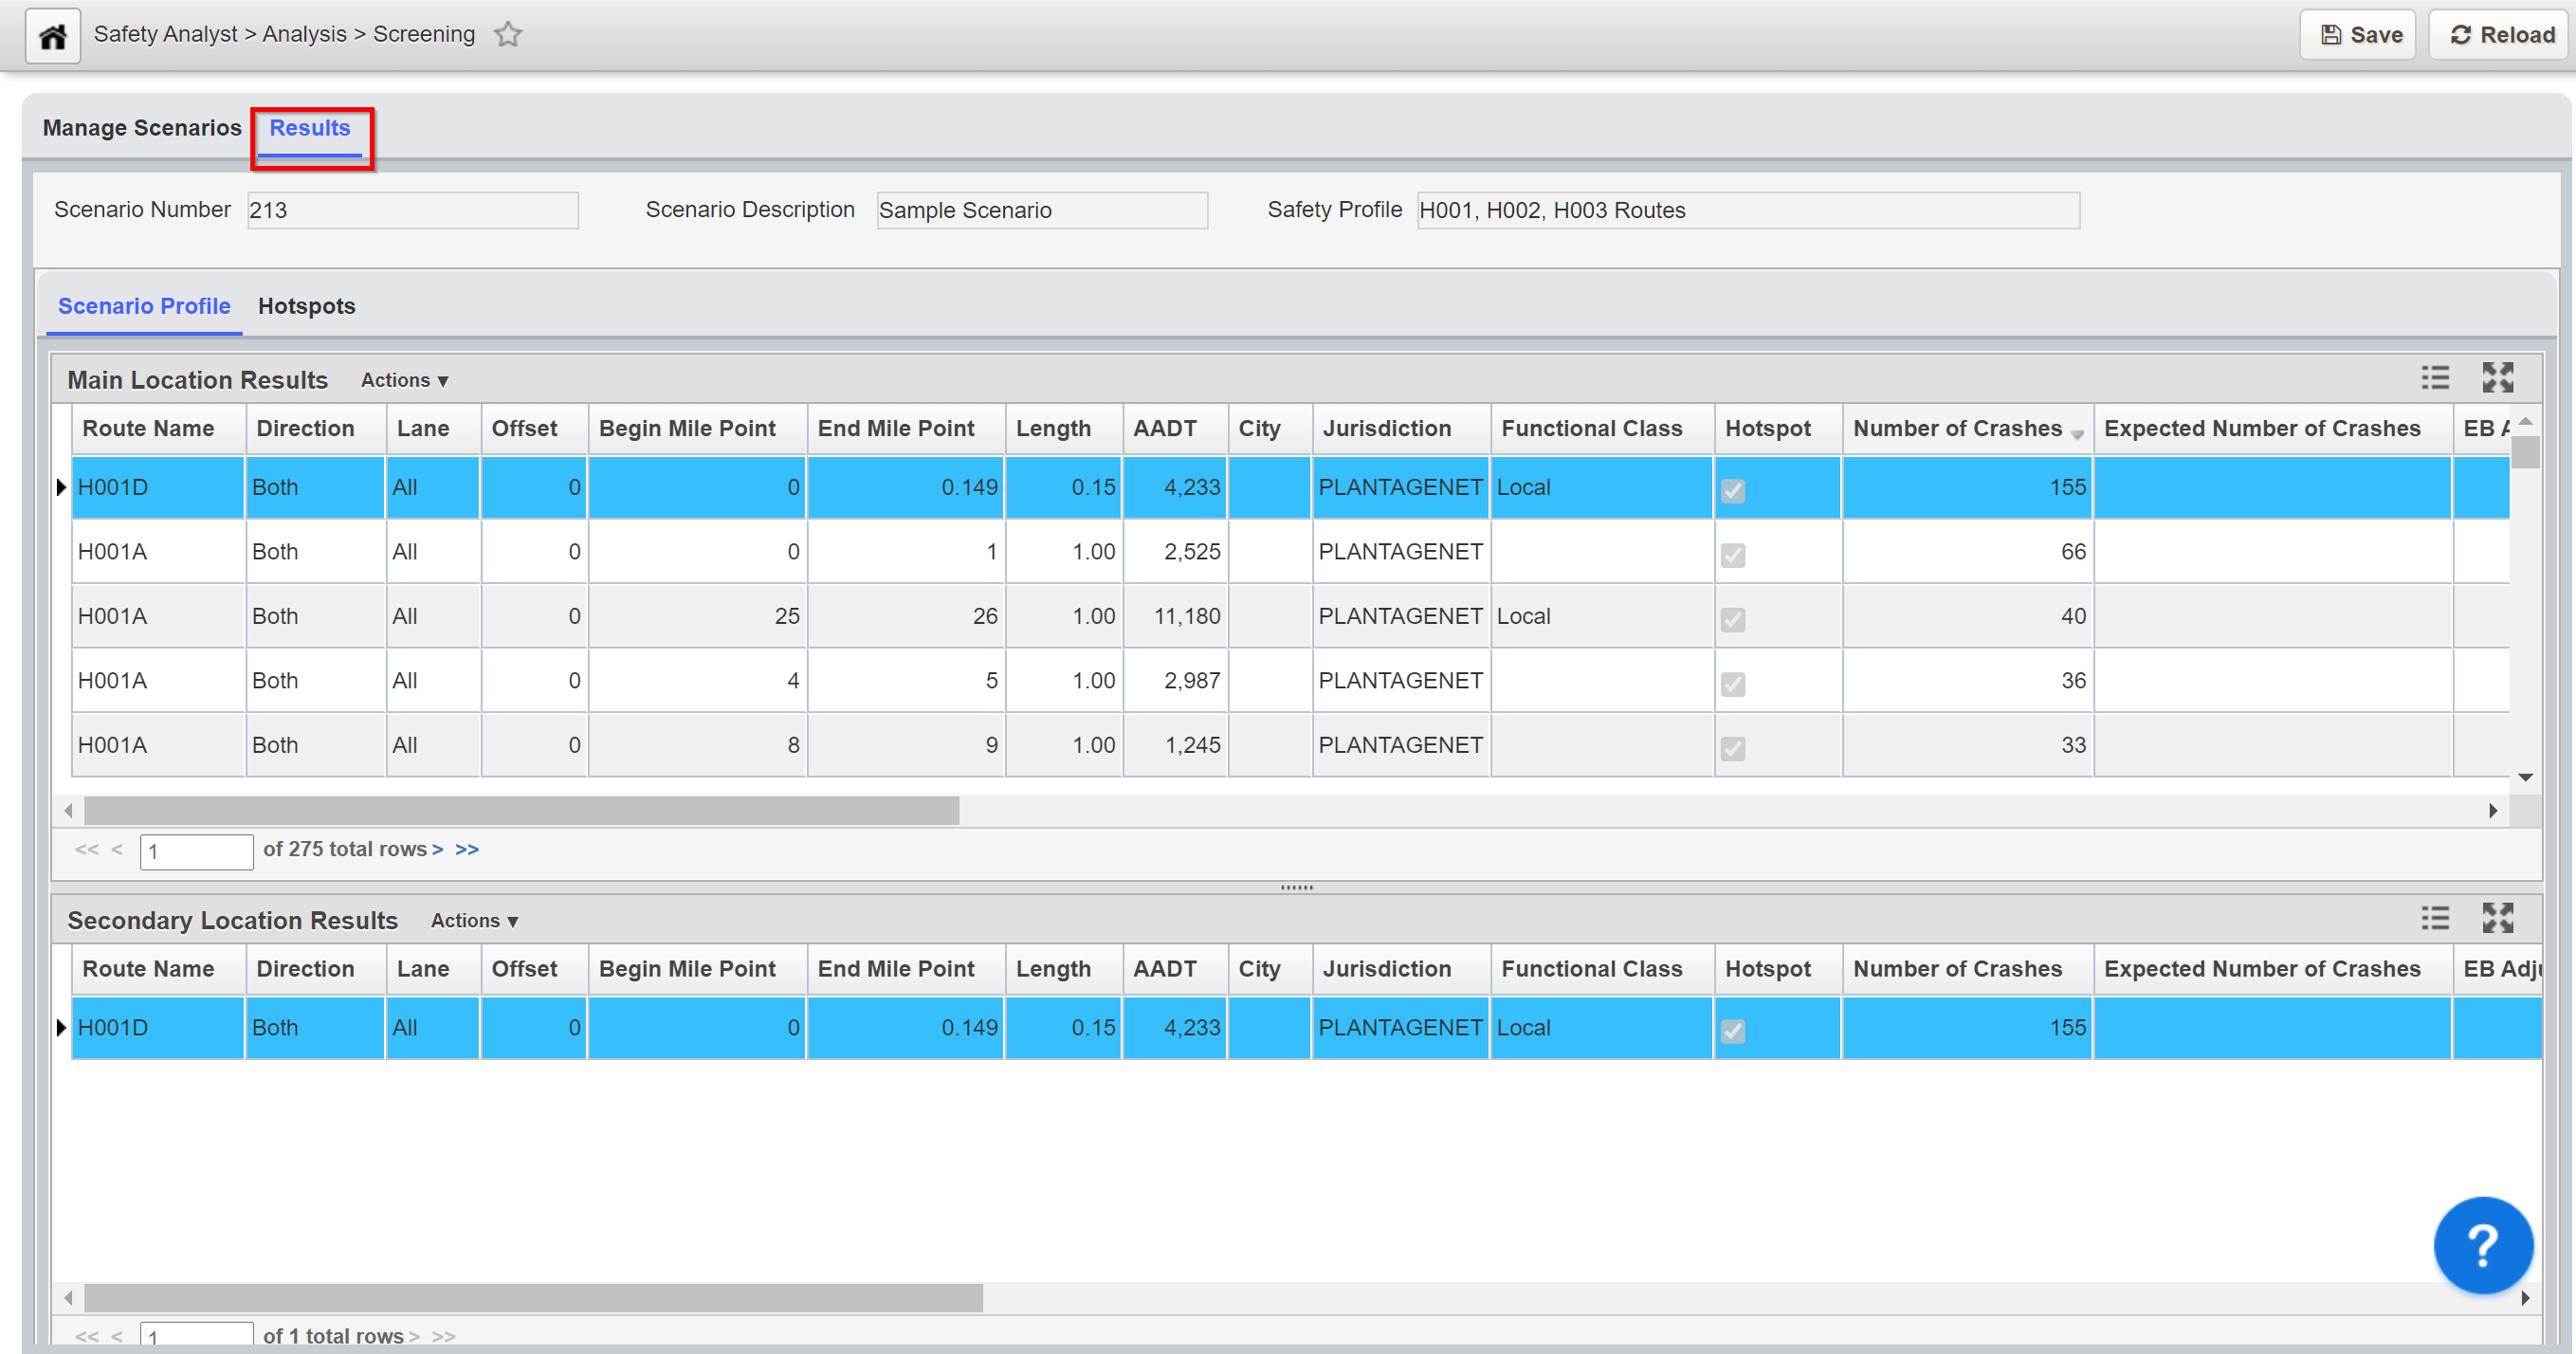
25. Click on the Results tab to review the results of the processed scenario.
26. Next, click on the Hotspots tab to access the Hotspots window.
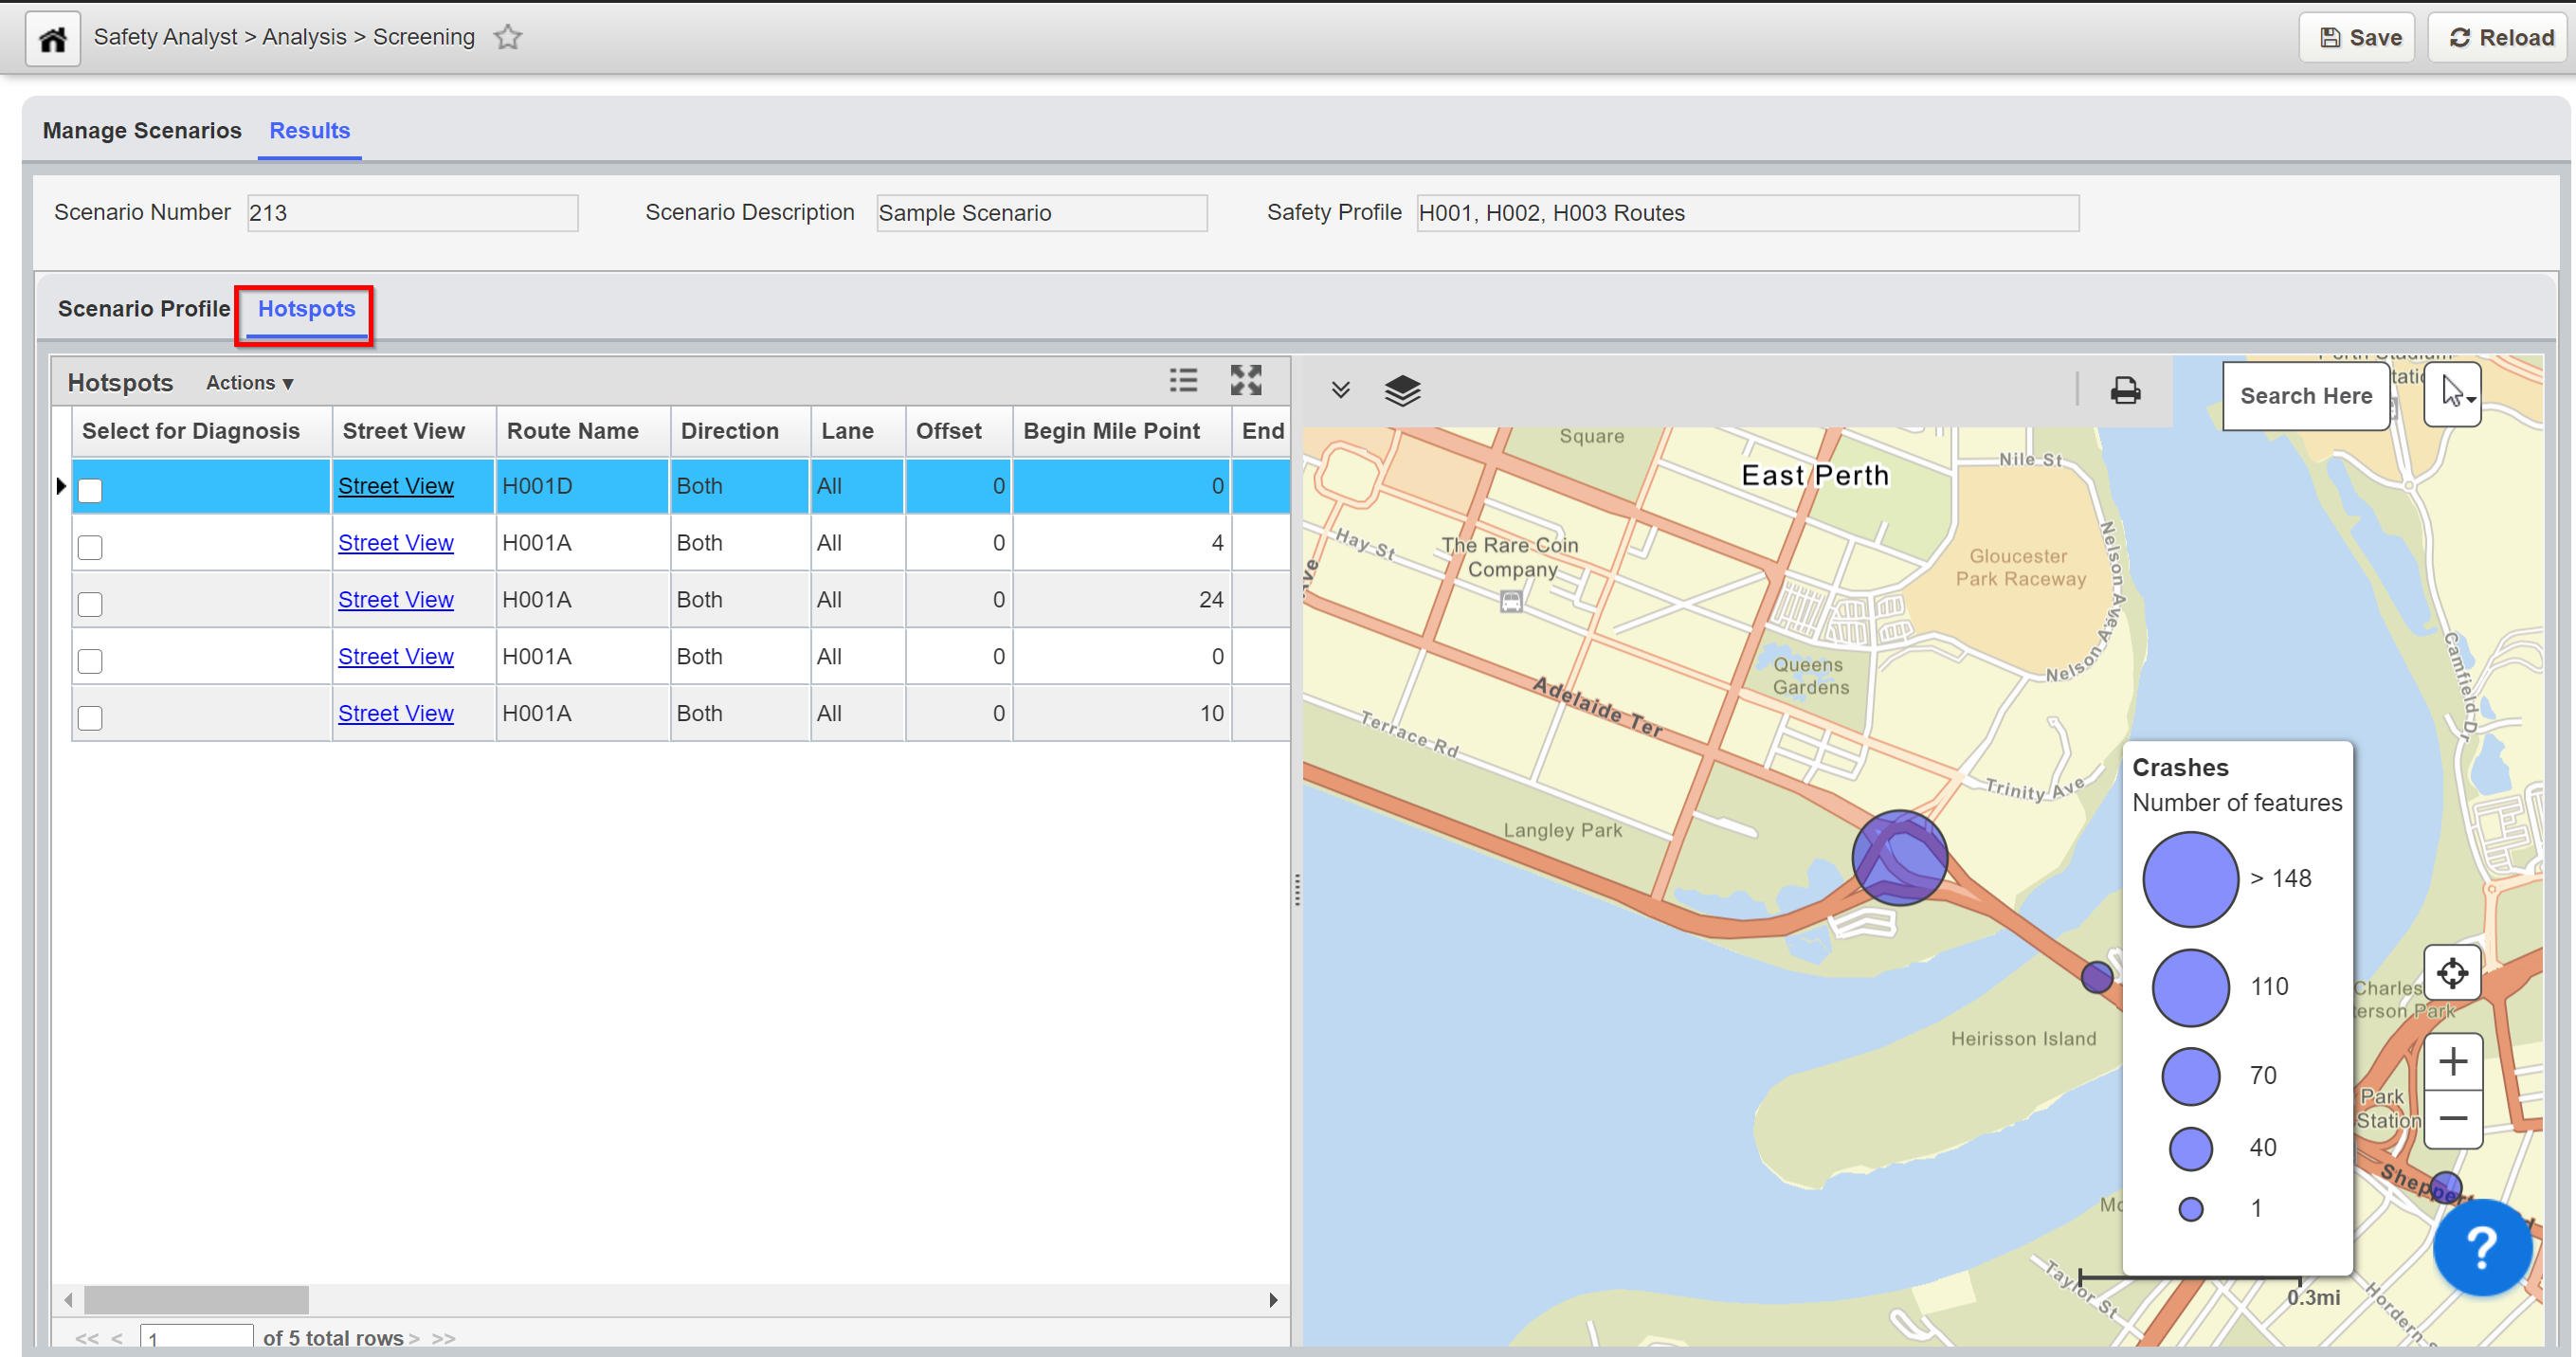
27. Click the Check-box(es) adjacent to record(s) that are to be use for Diagnosis.
Note:
Records that are selected in the Hotspots pane will be automatically be available in the Diagnosis window.
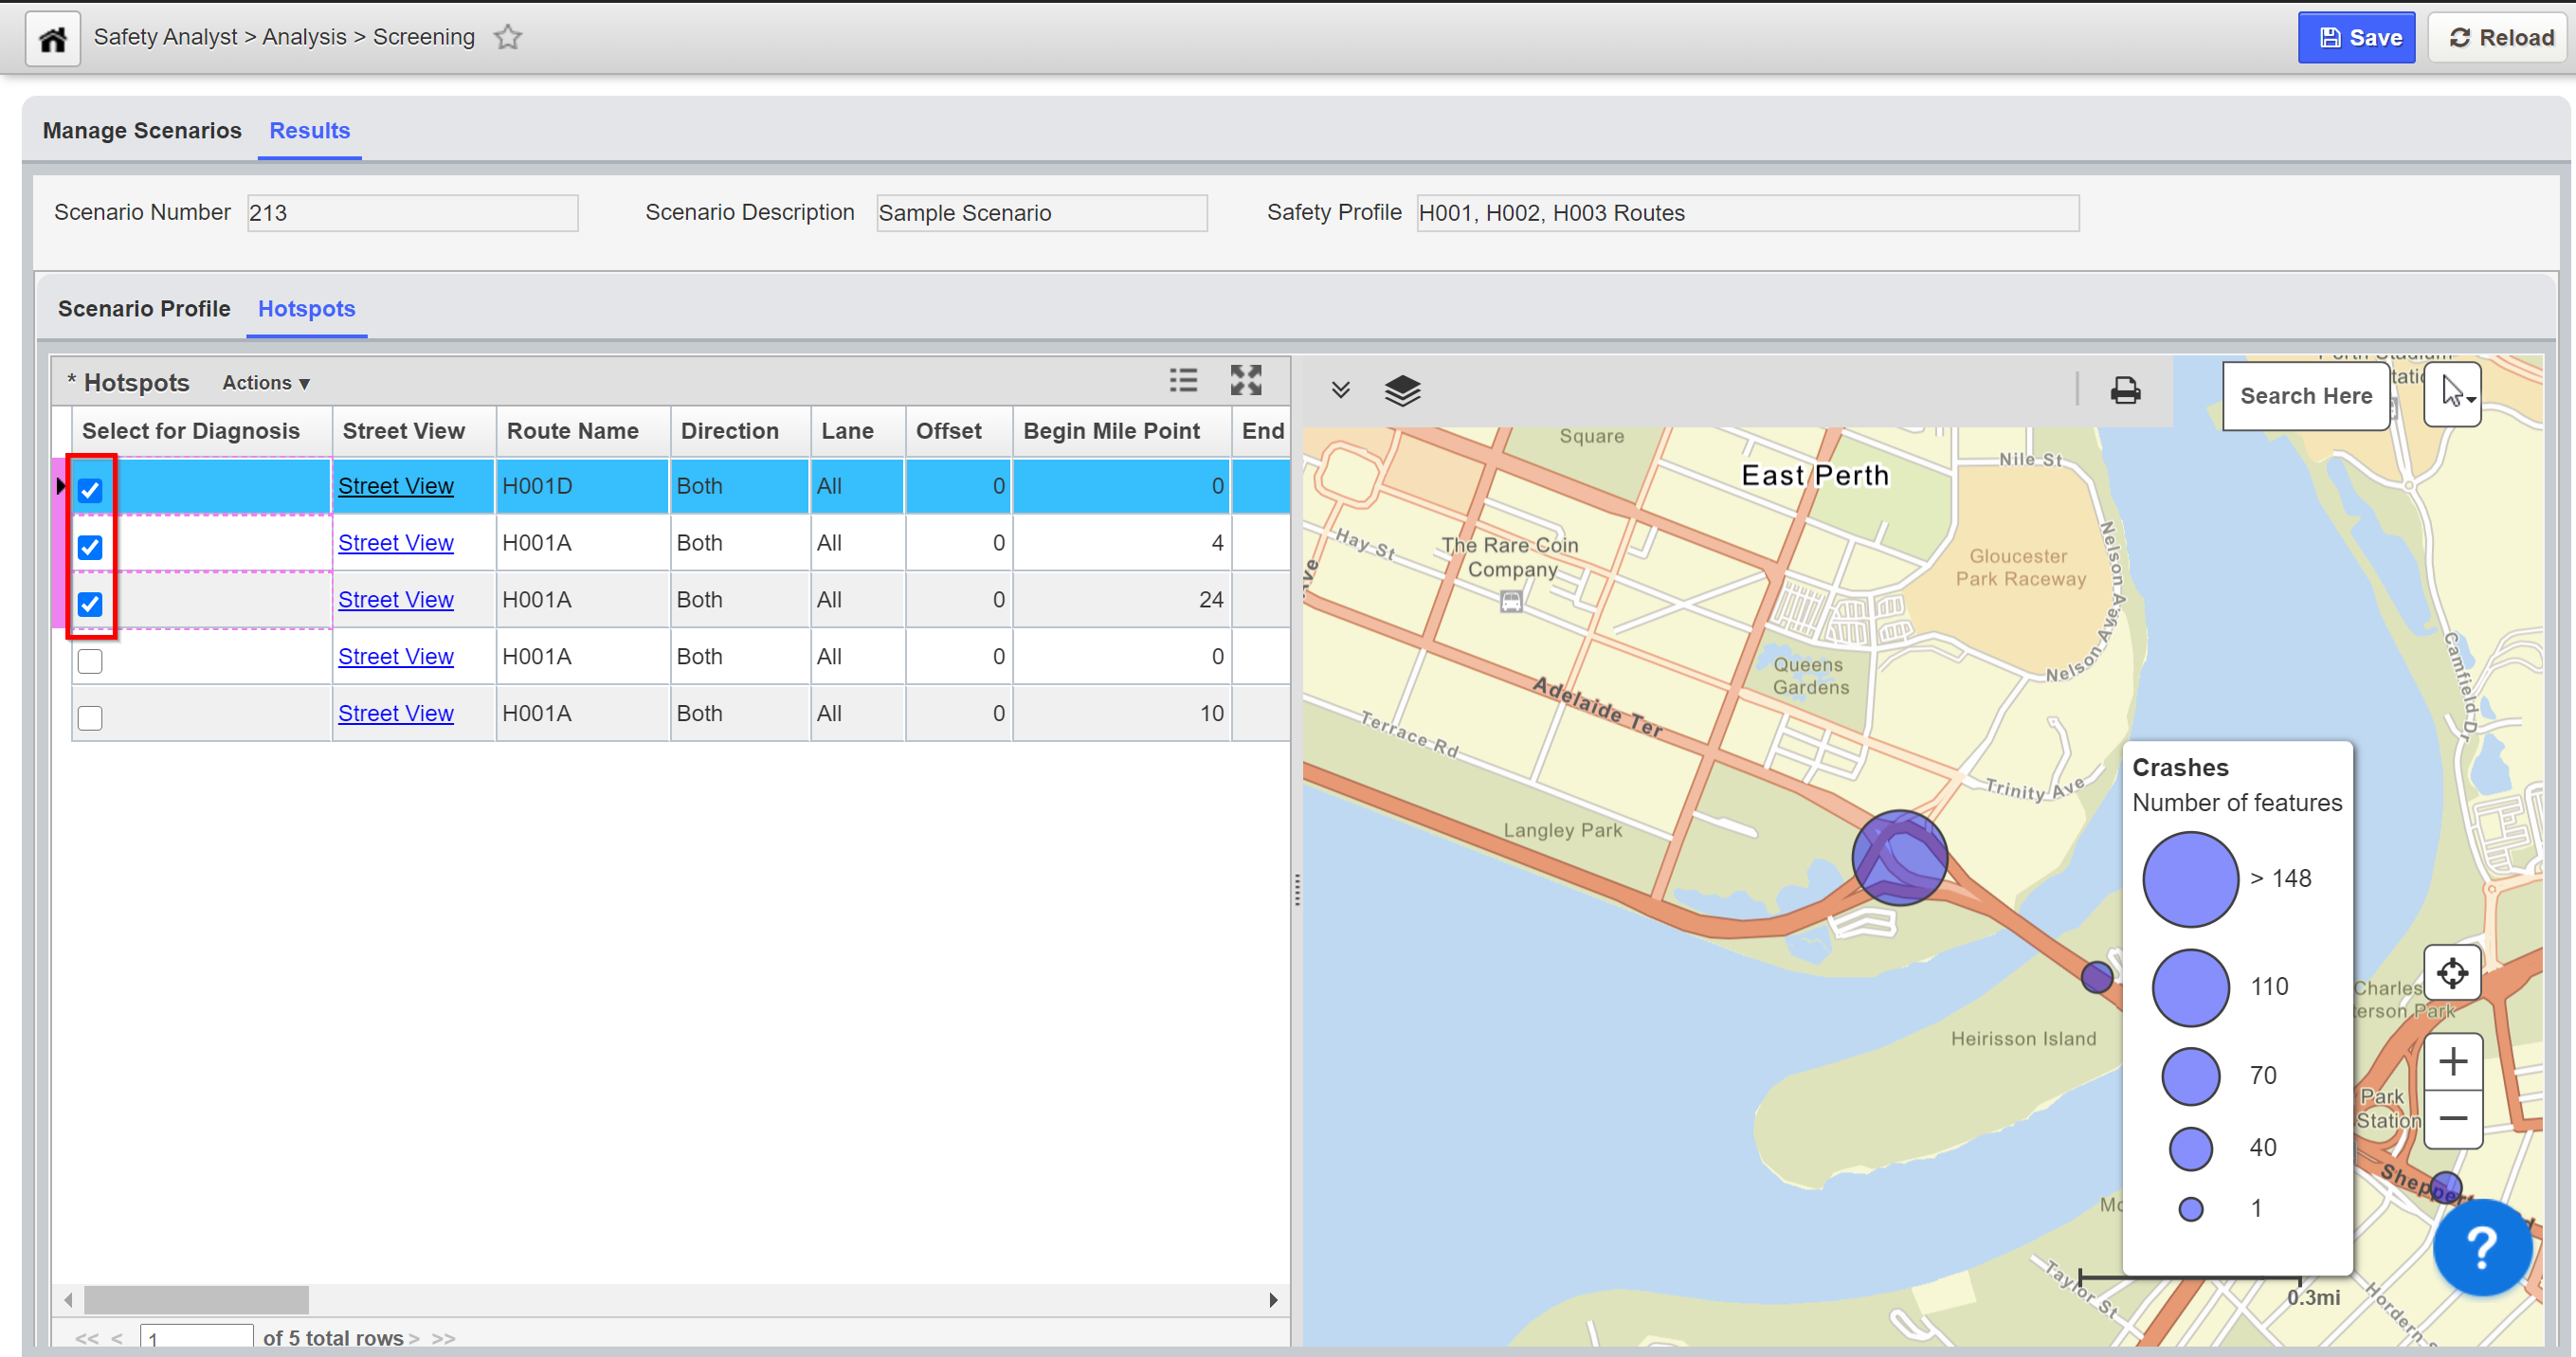
28. Click the Save button to save the record.

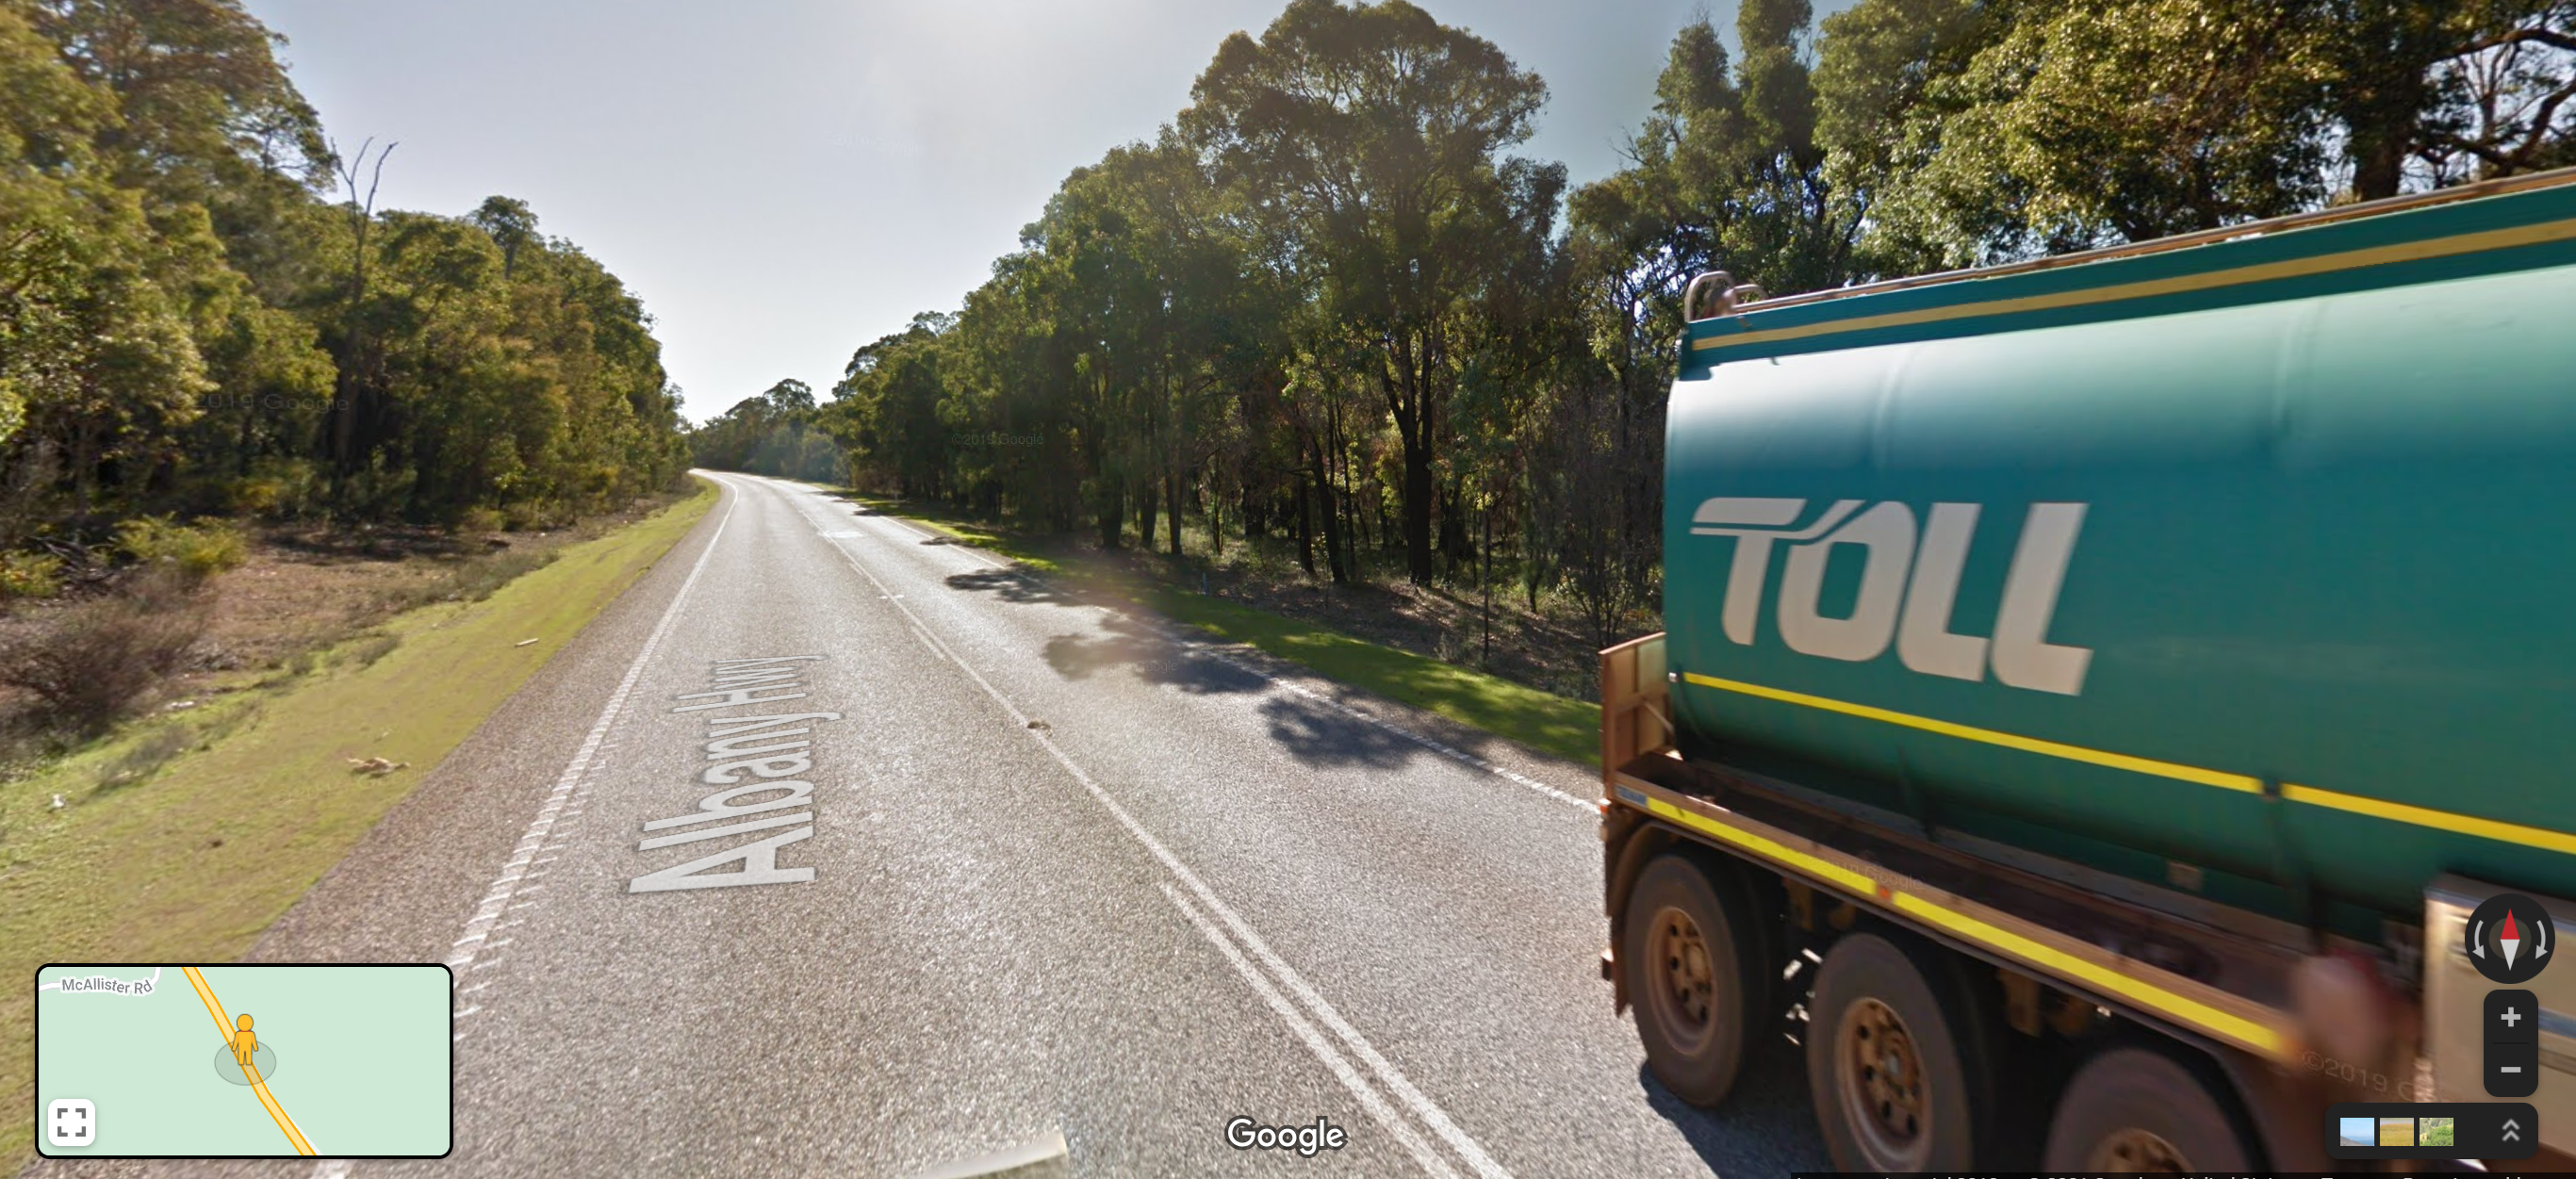
29. To review the road segment of any Hotspot record, click on the Street View hyperlink of that record. A new browser will open and display the street view (segment) map.
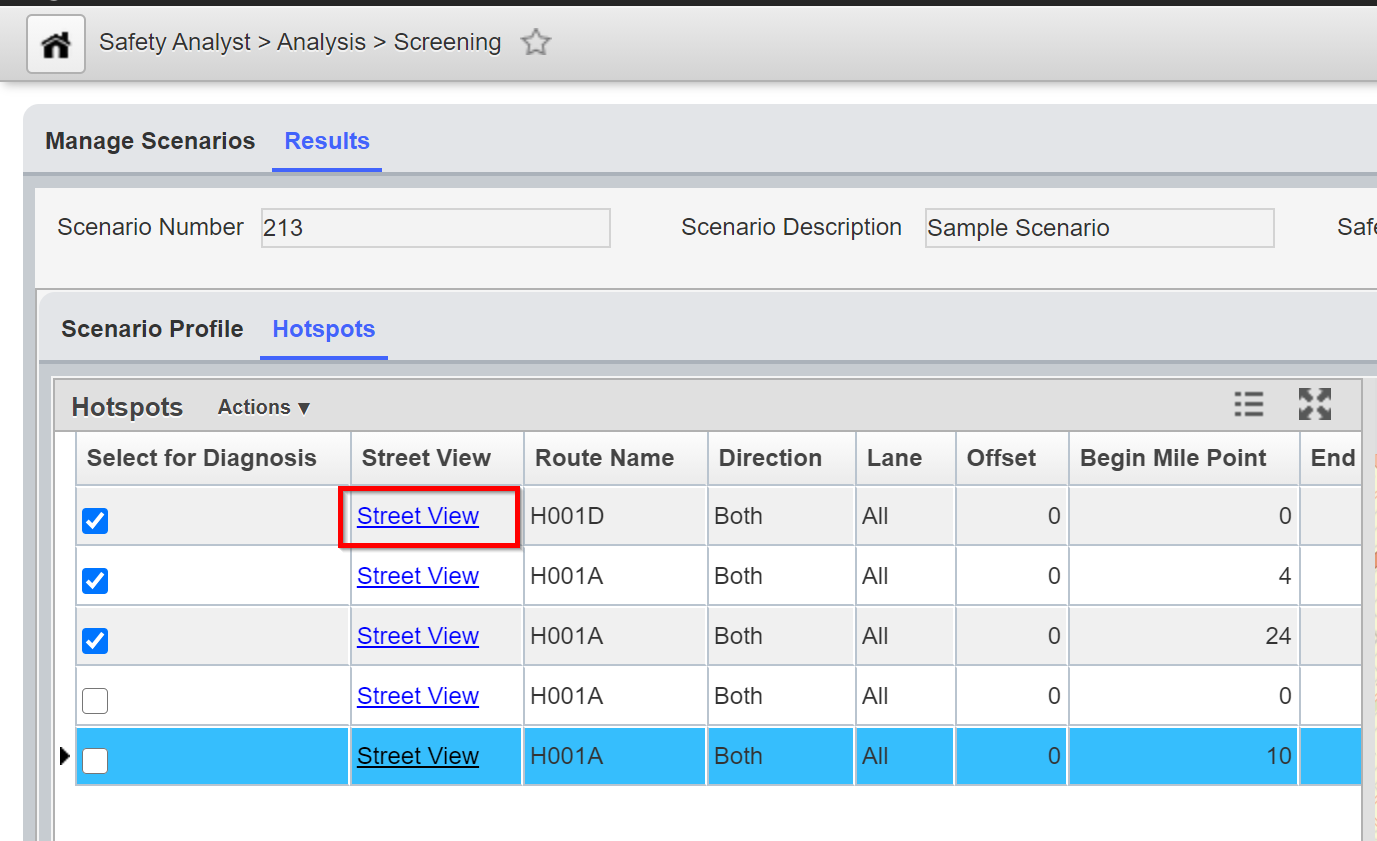
30. SStreet View map display.