To start the Test Mode interface, follow the steps below:
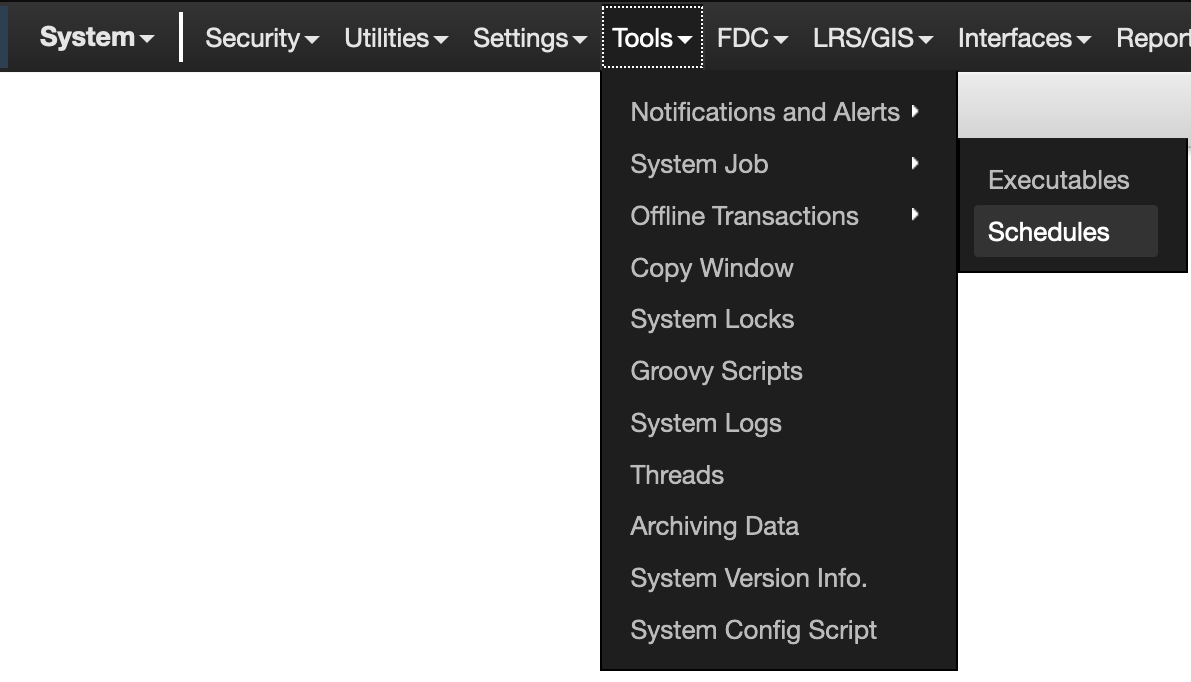
- Click Tools in the top ribbon
- Select System Job
- Select Schedules
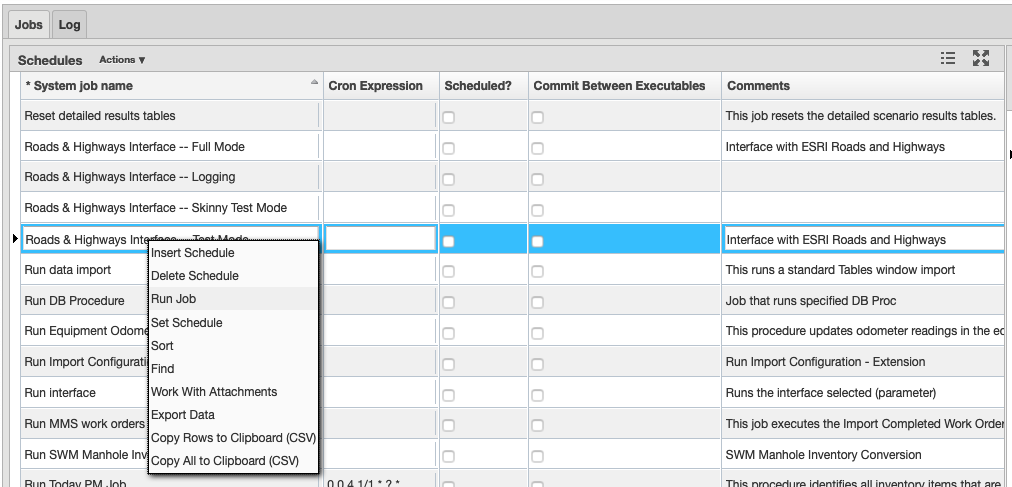
- Scroll through the Schedules list in the Jobs tab and select Roads & Highways Interface - Test Mode
- Right-click to open the functionality list pop-up and select Run Job
Note: Report run will vary, but a range of 15 to 40 minutes is typical. You can either keep the window open to see status messages or hide the window and resume using the system for other purposes. If you choose to hide the window, you will see a message in the system when the job is complete. If you keep Roads & Highways Interface – Test Mode selected and click the Log tab, you will see the messages produced by the job.
When the job is complete, you can review the comparison reports by following the steps below:
- Click System in the top ribbon
- Select Reports from the drop-down menu
- Select Reports from the next drop-down
- In the left pane, select Reports
- Click Public
- Click Roads & Highways Interface
- Select A) Test Mode to see list of comparison and invalidity reports.
- Right-click on a report and select Show Report to open a new browser page with the report
The report can then be downloaded in the following formats:- .csv
- .xls
- .xlsx
- .html
- .xml
There are eight test mode reports, described in the linked pages below. The criteria to evaluate the results in these reports is up to the user. A general criteria of a successful test mode run is as follows:
- No event location edits are made that are not wanted.
- No LRS edits are made that are not wanted.
- No errors show up in the job log.
- No errors show up in the test mode reports.
- No rows show up in the invalidity reports.
It is NOT recommended to run the Full Mode Interface if the Test Mode run is not successful.